Step by Step WordPress Backup Plugin Setup
A practical beginner-friendly guide to installing, configuring, testing, and maintaining a WordPress backup plugin safely.
A WordPress backup plugin protects your site when updates fail, malware damages files, a server issue deletes data, or a mistake breaks an important page. Without a working backup, even a small problem can turn into hours of recovery work.
In this guide, you will install a backup plugin, configure automated backups, connect safe remote storage, test your first backup, and learn how to avoid common setup mistakes. If you are still comparing backup methods, start with this overview of how to backup a WordPress site so you understand what files, databases, and restore points do.
The steps below are written for self-hosted WordPress sites using the WordPress admin dashboard. You can follow them with most popular backup plugins because the core setup process is similar across tools.
Prerequisites
Before you install a backup plugin, confirm that you have the access and storage needed to complete the setup. This prevents failed backups, incomplete restore points, and confusing permission errors later.
- Administrator access to your WordPress dashboard.
- A reliable backup plugin you trust and plan to keep updated.
- Remote storage such as Google Drive, Dropbox, Amazon S3, or another secure off-site location.
- Enough storage space for at least two complete backups.
- Access to your hosting control panel in case you need to restore files manually.
Step 1: Install and Activate Your Backup Plugin
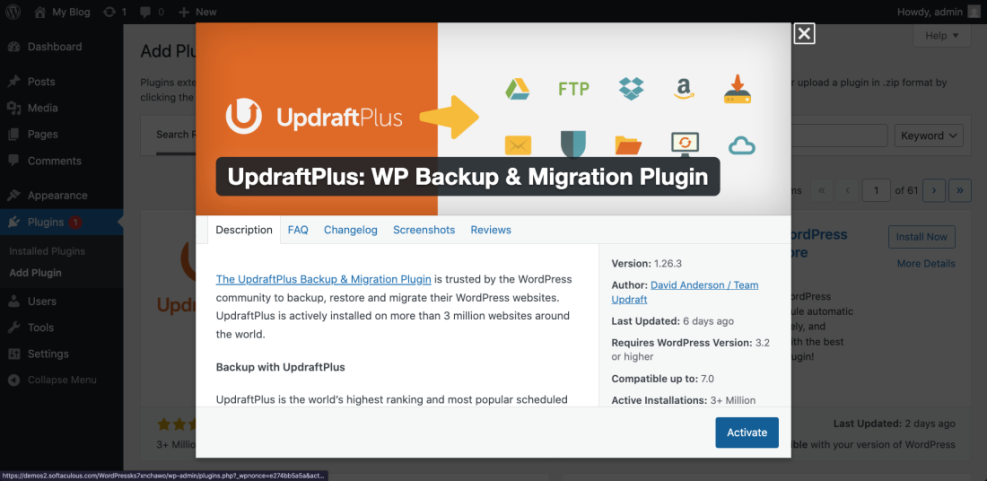
The first step is to install the backup plugin from your WordPress dashboard. Installing from inside WordPress is the safest beginner method because it uses the official plugin workflow and reduces the chance of uploading the wrong file.
- Log in to your WordPress admin area.
- Go to Plugins > Add New.
- Search for your chosen backup plugin by name.
- Review the plugin rating, active installations, recent update date, and compatibility with your WordPress version.
- Click Install Now.
- Click Activate after installation finishes.
If you are new to plugin installation, this separate guide on how to install a plugin in WordPress can help you understand the dashboard workflow before you continue.
Checkpoint: After activation, you should see a new backup menu item in the left sidebar, under Settings, or inside Tools, depending on the plugin.
Troubleshooting: If the plugin does not activate, check whether your PHP version is supported. You can also deactivate conflicting security, caching, or optimization plugins temporarily and try again.
Step 2: Review the Main Backup Settings
After activation, open the plugin settings before creating your first backup. This step matters because default settings may not include everything your site needs, especially if your site uses custom uploads, SEO and UX, and where you will see it in daily work.”>WooCommerce files, membership data, or large media folders.
- Go to the backup plugin menu in your WordPress dashboard.
- Open the main Settings or Configuration screen.
- Find the section for backup contents.
- Enable both database backup and file backup.
- Confirm that plugins, themes, uploads, and WordPress content folders are included.
- Save your changes.
Checkpoint: Your plugin should show that both the database and site files are selected. A complete backup should include the database, themes, plugins, uploads, and important WordPress files.
Troubleshooting: If the plugin warns that your site is too large, exclude temporary cache folders rather than excluding uploads or database tables. Cache folders can usually be rebuilt, but media files and database content may be difficult to replace.
Step 3: Set an Automatic Backup Schedule
Manual backups are useful before updates, but automatic backups protect you when you forget. A good schedule depends on how often your website changes.
- Static business site: Weekly file backups and weekly database backups may be enough.
- Active blog: Weekly file backups and daily database backups are safer.
- WooCommerce or membership site: Daily or real-time database backups are strongly recommended.
- Development or staging site: Backup before each major test or deployment.
To configure the schedule, open your plugin’s schedule settings, choose separate intervals for files and database if available, then select a retention limit. A practical starting point is to keep at least two to four recent backups.
Checkpoint: The plugin should display the next scheduled backup time. Confirm the time zone matches your WordPress site settings under Settings > General.
Troubleshooting: If scheduled backups never run, your WordPress cron system may not be triggering correctly. This often happens on low-traffic sites, sites with disabled cron, or hosting environments with strict resource limits.
Step 4: Connect Remote Storage
Remote storage keeps your backup separate from your hosting account. This is one of the most important safety steps because backups on the same server can disappear during server failure, malware cleanup, accidental deletion, or hosting suspension.
- Open the backup plugin’s Remote Storage, Storage, or Destinations tab.
- Select your preferred storage provider.
- Click the authentication or connection button.
- Sign in to the storage account and approve access.
- Return to WordPress and save the storage settings.
- Send a test file if your plugin offers that option.
Checkpoint: Your plugin should show the storage destination as connected, authorized, or active. You should also see a backup folder created in the remote storage account after the first backup runs.
Troubleshooting: If authorization fails, make sure pop-ups are not blocked, you are logged in to the correct storage account, and the storage account has enough free space.
Step 5: Run Your First Manual Backup
After your settings are saved, run one manual backup immediately. This confirms that the plugin can package your site, store the backup, and complete the process without timeout errors.
- Go to the backup plugin dashboard.
- Click Backup Now, Create Backup, or the equivalent button.
- Choose both database and files if the plugin asks.
- Confirm that the remote storage destination is selected.
- Start the backup and keep the browser tab open until the process begins.
- Wait for the completion message.
Checkpoint: The backup should appear in the plugin’s backup list with a successful status, date, file size, and available actions such as download, restore, or delete.
Troubleshooting: If the backup stops halfway, check available disk space, PHP memory limits, maximum execution time, and large files inside the uploads folder. For more help, review these common WordPress backup errors and fixes.
Step 6: Verify Backup Files and Logs
A backup is only useful if it actually completed and contains the right data. Verification helps you catch partial backups before you need them during an emergency.
- Open the backup list inside the plugin.
- Confirm that the latest backup status says successful or complete.
- Check the backup size and make sure it is not unexpectedly tiny.
- Open the backup log if the plugin provides one.
- Look for warnings about skipped files, database table errors, or storage upload failures.
- Log in to your remote storage account and confirm that the backup file exists there.
Checkpoint: You should see a completed local record inside WordPress and a matching backup file or folder in your remote storage account.
Troubleshooting: If the WordPress dashboard says the backup succeeded but remote storage is empty, the upload step may have failed after the local backup was created. Reconnect the storage provider and run another manual backup.
Step 7: Test the Restore Process Safely
You should not wait for an emergency to learn how restoration works. A safe restore test helps you confirm that your backup files can be used without risking your live site.
The safest option is to test the restore on a staging site, local development site, or temporary copy of your website. Avoid restoring over your live site unless you are solving a real problem and have confirmed the backup is valid.
- Create or open a staging copy of your WordPress site.
- Install the same backup plugin on the staging site if needed.
- Upload or connect to the backup file.
- Run the restore process on the staging site.
- Check pages, posts, images, menus, forms, and plugin settings.
- Confirm that admin login still works after restoration.
Checkpoint: The staging site should load correctly, display your content, and allow admin access after the restore completes.
Troubleshooting: If the restored site redirects to the live domain, update the staging site URL settings and clear cache. Some plugins store URLs in serialized data, so use a proper migration or search-and-replace tool when needed.
Step 8: Maintain Your Backup System
Backup setup is not a one-time task. Plugins, hosting environments, storage permissions, and site size can change over time, so you need a simple maintenance routine.
- Check backup logs at least once per month.
- Confirm that remote storage has enough free space.
- Delete old backups based on your retention policy.
- Run a manual backup before major WordPress, theme, plugin, or PHP updates.
- Test a restore after changing backup plugins or hosting providers.
- Keep the backup plugin updated to reduce security and compatibility issues.
Checkpoint: Your backup dashboard should show recent successful backups, no recurring warnings, and a clear schedule for the next automatic backup.
Troubleshooting: If backup files keep growing too large, review media uploads, old staging folders, cache directories, log files, and unused backup archives stored inside your WordPress file system.
Your WordPress Backup Plugin Is Now Ready
You have installed a WordPress backup plugin, selected the right backup contents, created an automatic schedule, connected remote storage, run a manual backup, verified the files, and tested the restore process safely.
The most important habit now is consistency. Keep the plugin updated, check logs regularly, and run a manual backup before major site changes so you always have a reliable recovery point.
Further Reading
- WordPress Backup Strategy
- WordPress Disaster Recovery Walkthrough
- WordPress Hosting Backups
- Beginner Guide to WordPress Backup and Restore Strategies