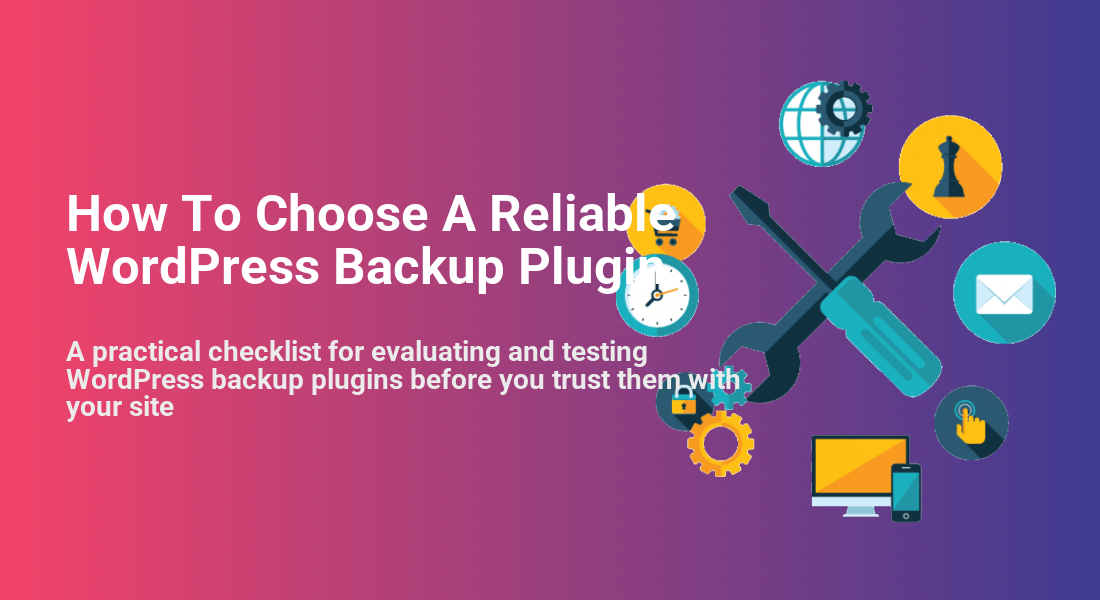
How To Choose A Reliable WordPress Backup Plugin
A practical checklist for evaluating and testing WordPress backup plugins before you trust them with your site
Installing the wrong WordPress backup plugin can be worse than having no backup at all. A plugin that silently fails, stores backups in the wrong place, or can’t restore your site when it matters will give you a false sense of security.
The good news is that you can avoid most of these issues by choosing your backup plugin with a clear checklist. Instead of guessing based on star ratings or ads, you’ll evaluate features, reliability, performance, and restore quality step by step.
In this guide, you’ll build a simple evaluation process that fits into your overall WordPress backup strategy, then test your chosen plugin with real backups and restores before you fully rely on it.
Prerequisites
Before you start comparing backup plugins, make sure you have a few basics in place. This will help you choose a plugin that fits how your site is actually hosted and managed.
- Administrator access to your WordPress dashboard.
- Access to your hosting control panel (cPanel, Plesk, or a custom dashboard) for database and file access if needed.
- At least one safe place to store backups outside your web server (cloud storage account or SFTP/FTP location).
- Basic understanding of your site: approximate size, traffic level, and whether you run eCommerce or membership functionality.
- Ideally, a staging site or test environment where you can perform restore tests without touching the live site.
Step 1: Define Your WordPress Backup Requirements
The most reliable backup plugin is the one that matches your actual needs, not necessarily the one with the longest feature list. Start by documenting what you expect your backup system to do for you.
- Identify your site type and risk level. Is your site a simple brochure site, a blog, or a high-transaction WooCommerce store or membership site? The more dynamic your content, the more frequent and robust your backups must be.
- Decide how often backups should run. For blogs, daily backups might be enough. For busy shops or forums, you may need hourly database backups plus daily full backups.
- Clarify what you need to back up. Some sites only need database + uploads; others require full file system snapshots plus database, including custom code or special directories.
- Set your retention policy. Decide how many backups you want to keep and for how long (e.g., 7 daily, 4 weekly, 3 monthly).
- Define storage locations. Choose where backups should live long-term: cloud storage (e.g. S3), SFTP, external server, or a mix of locations.
Checkpoint: At the end of this step, you should have a short written list of requirements (frequency, scope, retention, and storage locations). You’ll use this as your scorecard for comparing plugins.
Step 2: Compare Essential Backup Plugin Features
Once you know what you need, you can evaluate plugins against a clear list of must-have features. This prevents you from choosing a plugin just because it’s popular, rather than because it actually fits your requirements.
When evaluating each plugin, look carefully at these feature areas:
- Backup types: Does it support full site, database-only, and files-only backups? Can it do incremental backups to reduce load?
- Scheduling flexibility: Can you set different schedules for database and files? Does it support cron-based scheduling and manual runs?
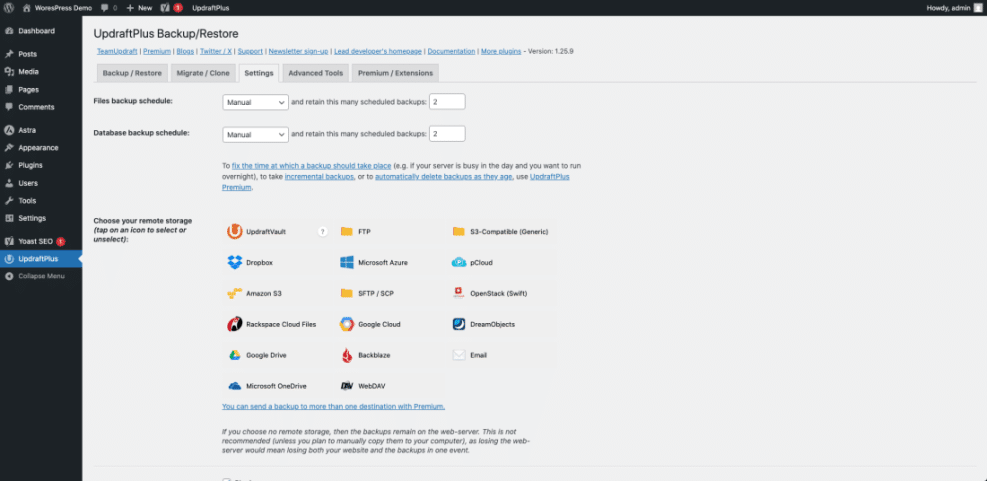
- Storage destinations: Which remote storage options are supported (S3, Google Drive, SFTP/FTP, local download)? Can you configure multiple destinations?
- Restore options: Can you restore directly from the WordPress admin? Does it support selective restores (e.g., database only), and can you download backups as archives?
- Logging and alerts: Does the plugin show detailed logs and send email or dashboard alerts when a backup fails or completes?
- Multisite and compatibility: If you’re using WordPress Multisite or WooCommerce, is this explicitly supported?
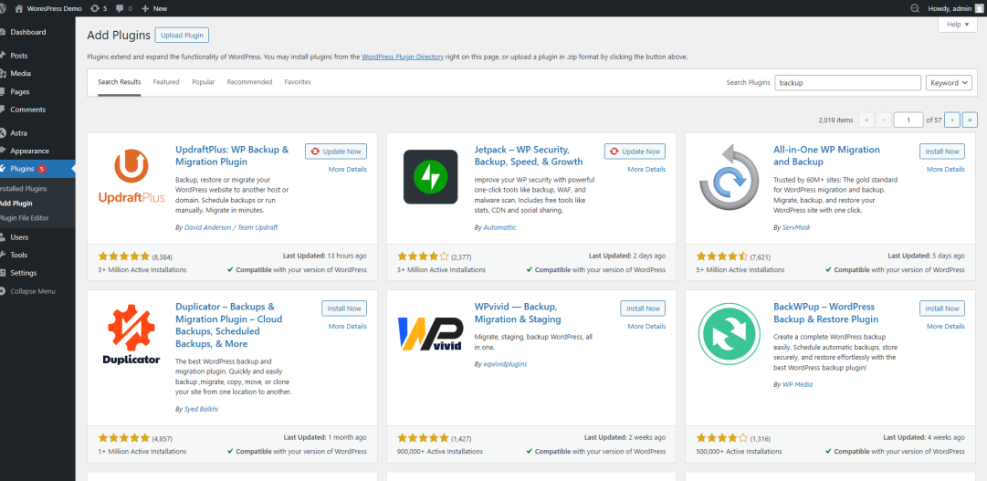
Checkpoint: You should now be able to eliminate any plugin that cannot meet your backup types, schedule, and storage requirements. Use your notes alongside a detailed WordPress backup plugins comparison guide to narrow your shortlist to 2–3 serious candidates.
Step 3: Check Reliability Signals and Vendor Support
A backup plugin is only as good as the team and processes behind it. Plugins that are poorly maintained or unsupported can break silently when WordPress or your hosting environment changes.
- Check update history. On the plugin’s page, verify how recently it was updated and how often new versions are released. Look for active maintenance, not multi-year gaps.
- Review support responsiveness. Browse the support forum or ticket system to see how often the developer responds and how quickly issues are resolved.
- Look at compatibility notes. Confirm that the plugin explicitly supports your current WordPress version, PHP version, and, if relevant, WooCommerce or Multisite.
- Evaluate documentation quality. Reliable plugins usually have clear guides for setup, remote storage configuration, and restore procedures.
- Assess the business model. If the plugin is critical to your business, check whether the developer offers paid plans, SLAs, or support that you can depend on long term.
Checkpoint: After this step, you should have at most 1–2 plugins that meet your feature requirements and show strong signs of ongoing maintenance and support.
Step 4: Evaluate Performance and Security Impact
Backups are resource-intensive. A poorly configured plugin can overload your server, slow down your site, or even cause timeouts that lead to incomplete backups. You also need to be sure the plugin handles data securely.
- Schedule around peak traffic. Configure backups to run during low-traffic hours to avoid slowing down real visitors.
- Use resource throttling if available. Many backup plugins let you throttle CPU or I/O usage so backups don’t overwhelm your server.
- Test incremental vs full backups. For large sites, incremental backups (backing up only changed files) can dramatically reduce load and backup duration.
- Check encryption options. Ensure backups can be encrypted in transit and at rest, especially when stored in third-party clouds.
- Review access control. Confirm that only trusted admin users can run backup and restore operations and manage credentials for remote storage.
Checkpoint: At this point, your chosen plugin should complete test backups within a reasonable time, without causing noticeable slowdowns or errors on your site.
Step 5: Test Backup and Restore Before Committing
The most important step in choosing a backup plugin is testing whether it can reliably restore your site. Until you’ve done a full test restore, you are still guessing.
- Run a manual full backup. From the plugin’s dashboard, trigger a full backup and wait for it to complete. Review the log to confirm there are no warnings or errors.
- Verify backup contents. Download the backup archive and spot-check that it includes your database and key directories (like
wp-content/uploadsand your active theme). - Restore to a staging site. Use a staging environment or a local copy of your site and follow the plugin’s documented restore process step by step.
- Check site behavior after restore. Browse multiple pages, log in as an admin, and test critical flows (checkout, forms, logins) to verify everything works as expected.
- Review logs and adjust. If you see warnings or partial restores, adjust the plugin’s settings, then repeat the backup and restore test.
If your test restore fails or behaves strangely, pause before using that plugin in production. This article on common WordPress backup errors and how to fix them can help you diagnose typical causes like timeouts, permission issues, or incomplete archives.
Checkpoint: Your plugin has now successfully backed up and restored a copy of your site. You can trust it far more than any untested setup.
Step 6: Maintain and Review Your Backup Setup
Choosing a reliable backup plugin is not a one-time decision. You need a simple maintenance routine to keep your backup system healthy as your site and hosting environment evolve.
- Review backup logs regularly. Check logs weekly or monthly to confirm backups are still running on schedule with no errors.
- Rotate and clean up old backups. Ensure your retention policy is respected and storage doesn’t silently fill up.
- Test restores on a regular schedule. Perform at least a quarterly restore test, or more often for high-traffic or revenue-generating sites.
- Update your plugin with care. When new versions are released, read the changelog and test updates on staging if your site is mission-critical.
- Revisit requirements as your site grows. If you add WooCommerce, membership areas, or high-traffic campaigns, adjust your schedule and storage to match the increased risk.
Checkpoint: With a short ongoing routine, your backup plugin will stay aligned with your site’s needs and continue to protect you over the long term.
Choose a Backup Plugin You Can Trust Long-Term
A reliable WordPress backup plugin isn’t just about brand names or 5-star ratings. It’s about whether the plugin matches your requirements, is actively maintained, runs efficiently on your hosting, and can successfully restore your site when disaster strikes.
By defining your requirements, comparing features, checking reliability signals, measuring performance, and running real restore tests, you move from blind trust to evidence-based confidence. Your backup plugin becomes a dependable part of your WordPress security and maintenance stack, rather than a checkbox you hope works when you need it most.
Follow the evaluation process in this guide whenever you audit your backups or consider switching plugins, and you’ll consistently choose tools that protect your content, your revenue, and your peace of mind.
Further Reading
- WordPress Backup Plugins for Online Stores
- WordPress Maintenance and Backup Plan
- How WordPress Hosting Backups Fit Into Your Strategy
- WordPress Disaster Recovery Walkthrough
- Beginner Guide to WordPress Backups & Restore Strategies