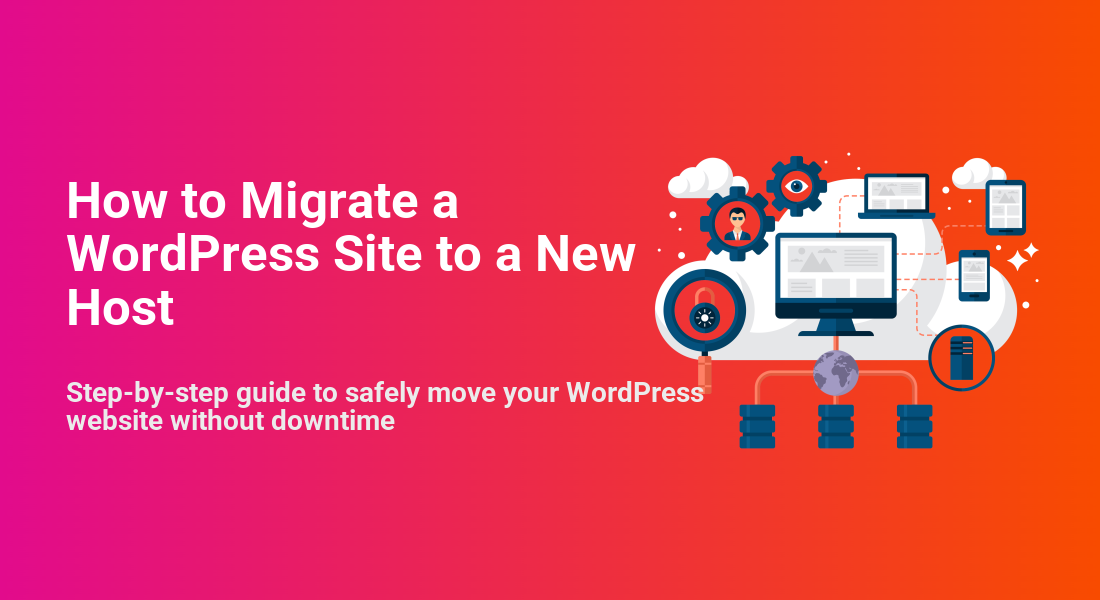
How to Migrate a WordPress Site to a New Host
Step-by-step guide to safely move your WordPress website without downtime
Migrate a WordPress site to a new host can feel risky. One wrong move and you’re staring at a white screen, broken images, or lost content. The good news: if you follow a clear, step-by-step process, you can move your site with minimal downtime and zero data loss.
In this guide, you’ll learn how to migrate WordPress site to a new host using a reliable manual workflow: backing up files and the database, moving them to the new server, updating configuration, testing, and finally switching DNS. If you’re still choosing where to move, it can help to review how to choose the right WordPress hosting so you don’t migrate twice.
We’ll use tools you likely already have (cPanel, phpMyAdmin, FTP/SSH), and we’ll highlight where a migration plugin can help. By the end, you’ll have a clean, working copy of your WordPress site on a new host and a safe plan for retiring the old one.
Prerequisites for a Safe Migrate WordPress Site
Before you touch files or DNS, prepare a few essentials. This reduces the chance of downtime and makes each step faster.
- Access to your current host: cPanel (or similar), File Manager, FTP/SFTP, and phpMyAdmin.
- Access to your new host: cPanel or control panel login plus FTP/SSH credentials.
- Domain registrar login: wherever you manage your domain’s DNS (could be the old host or a third-party DNS provider).
- Disk space on the new server: Enough to hold a full copy of your existing site (files + database).
- Local computer tools: FTP client (FileZilla, Cyberduck) and a text editor (VS Code, Notepad++, etc.).
Step 1: Back Up Your WordPress Files and Database
The first and most important step is to create a full backup you can restore if anything goes wrong. You need both your WordPress files and your MySQL database.
1.1 Back up WordPress files
- Log in to your current host’s cPanel (or control panel).
- Open File Manager and locate your site’s root folder (often
public_htmlor a subfolder like/public_html/my-site/). - Select all WordPress files and folders (including
wp-content,wp-admin,wp-includes, and all loose files likewp-config.php). - Use the Compress option to create a single
.ziparchive and download it to your computer.
1.2 Back up the database
- In cPanel, open phpMyAdmin.
- Select the database used by your site (check
wp-config.phpfor theDB_NAMEconstant if you’re unsure). - Click the Export tab, choose Quick and SQL, then click Go to download the
.sqlfile.
Step 2: Set Up Your New Hosting Environment
Now prepare the new server so it’s ready to receive your site. You’ll create an empty space (directory) and a fresh database on the new host.
2.1 Add the domain or site on the new host
- Log in to your new hosting control panel.
- Add your domain as a primary domain, addon domain, or within a site slot (depending on your host’s UI).
- Note the document root path (for example
/public_htmlor/sites/example.com/), as you’ll upload files here later.
2.2 Create a new database and user
- In cPanel or your host’s tools, open MySQL Databases.
- Create a new database (for example
example_wp). - Create a new database user and set a strong password.
- Assign the user to the database with ALL PRIVILEGES.
- Write down the database name, username, and password for use in
wp-config.php.
Step 3: Move WordPress Files to the New Host
With the new environment ready, transfer your backed-up files from the old host to the new document root.
3.1 Upload via File Manager (simple)
- On the new host, open File Manager and navigate to the document root for your domain.
- Upload the
.zipbackup you created earlier. - Once uploaded, select the archive and use Extract to unpack the WordPress files into the directory.
3.2 Upload via FTP/SFTP (when File Manager is limited)
- Open your FTP client and connect to the new host using the credentials provided.
- Navigate to the document root on the server side.
- On your local side, open the folder where you extracted the
.zipbackup. - Select all WordPress files and drag them into the server directory to upload.
Step 4: Export and Import the Migrate WordPress Site Database
You already exported the database from the old host. Now you’ll import that .sql file into the new, empty database you created.
4.1 Import via phpMyAdmin
- On the new host, open phpMyAdmin and select your new database.
- Click the Import tab.
- Choose your exported
.sqlfile and leave most settings at their defaults (character set, format). - Click Go and wait for the import to complete. You should see a success message and your WordPress tables (like
wp_posts,wp_options) appear.
4.2 Import via command line (advanced)
If your database file is large and you have SSH access, you can import via the terminal instead of phpMyAdmin.
# Run in SSH from your hosting account
mysql -u NEW_DB_USER -p NEW_DB_NAME < /path/to/backup.sql
When prompted, enter the database user password. After the command finishes, confirm in phpMyAdmin that the tables are present.
Step 5: Update wp-config.php for the New Database
Your copied WordPress files still point to the old database credentials. Update wp-config.php on the new host so WordPress can connect to the new database.
- In File Manager or via FTP, locate
wp-config.phpin your site’s root folder on the new host. - Open it in the host’s code editor or download and edit it locally in a text editor.
- Find the lines that define the database name, user, password, and host:
define( 'DB_NAME', 'old_db_name' );
define( 'DB_USER', 'old_db_user' );
define( 'DB_PASSWORD', 'old_db_password' );
define( 'DB_HOST', 'localhost' );
- Replace these with your new database credentials (and host if your provider uses a custom DB host):
define( 'DB_NAME', 'NEW_DB_NAME' );
define( 'DB_USER', 'NEW_DB_USER' );
define( 'DB_PASSWORD', 'NEW_STRONG_PASSWORD' );
define( 'DB_HOST', 'localhost' ); // or the host string from your provider
- Save the file and upload it back to the server if you edited it locally.
Step 6: Test the Migrate WordPress Site Before Changing DNS
Before the world sees your site on the new host, you should test everything privately. There are two common ways: a temporary URL provided by the host or editing your local hosts file.
6.1 Use the host’s preview URL (if available)
- Check if your host offers a temporary URL or preview link in the control panel.
- Open that URL and verify that your site loads from the new server.
6.2 Use your local hosts file (more reliable)
- Find the IP address of your new server (often shown in your hosting dashboard).
- On your computer, edit the
hostsfile to map your domain to the new IP. - Save the file, clear your browser cache, and visit your domain. Only your computer will see the new host; everyone else still sees the old one.
Walk through key pages, log in to /wp-admin, and test forms, search, and checkout (if you have eCommerce). Fix any obvious issues before moving on.
Step 7: Update DNS to Point Your Domain to the New Host
Once you’re happy with the new copy of your site, it’s time to send live traffic to it. You’ll do this by changing DNS settings at your registrar or DNS provider.
7.1 Change name servers (common with shared hosting)
- Log in to your domain registrar account.
- Locate your domain’s DNS or Name Server settings.
- Replace the current name servers with the ones provided by your new host.
- Save changes.
7.2 Or update the A record only (advanced/partial moves)
- If you manage DNS through a third-party provider (e.g. Cloudflare), edit the DNS zone there.
- Update the A record for your domain (and
wwwif separate) to point to the new server’s IP address. - Save changes and wait for DNS propagation.
Step 8: Post-Migrate WordPress site Checks and Cleanup
After DNS has propagated and most visitors see the new host, do a final round of checks and clean up your old environment.
8.1 Verify everything on the new host
- Confirm the site is loading from the new host (check server IP or a custom
phpinfo()file temporarily). - Test logins, contact forms, search, and checkout flows.
- Check that images, CSS, and JavaScript load correctly on critical pages.
8.2 Fix URLs and serialization issues (if needed)
If you changed the domain (for example from oldsite.com to newsite.com), run a search-and-replace on URLs using a safe tool (such as WP-CLI or a serialization-aware plugin).
# Example WP-CLI command (run via SSH on the new host)
wp search-replace 'https://oldsite.com' 'https://newsite.com' --skip-columns=guid
8.3 Decommission the old host safely
- Keep the old hosting account active for a short buffer (a few days to a week) while monitoring for issues.
- Once you’re confident everything works on the new host, remove the old site files and cancel the hosting plan.
Wrap Up Your WordPress Host Migrate WordPress site with Confidence
Moving a WordPress site to a new host doesn’t have to be stressful. By backing up correctly, copying files and the database in an organized way, adjusting wp-config.php, testing on the new server, and only then changing DNS, you greatly reduce the risk of downtime or data loss.
With this process in place, future migrations become routine. You’ll be able to upgrade to better hosting, switch providers, or move between environments (like staging and production) while keeping your visitors and search rankings safe.
Further Reading
- WordPress Migration Checklist for Blogs
- WordPress Migration Blog Guide
- How to Create a WordPress Staging Site
- WordPress Disaster Recovery Walkthrough
- WordPress Backup Strategy
Frequently Asked Questions
What should I do if I see a 500 Internal Server Error after migration?
wp-config.php for typos or extra spaces and confirm your database credentials are correct. Then temporarily disable plugins by renaming the wp-content/plugins folder and see if the site loads; if it does, re-enable plugins one by one to find the culprit. Also review the server error logs in your hosting control panel for a specific error message. Why are my images or styles broken after moving the site?
.htaccess file was copied correctly and that file permissions on wp-content are not too restrictive.