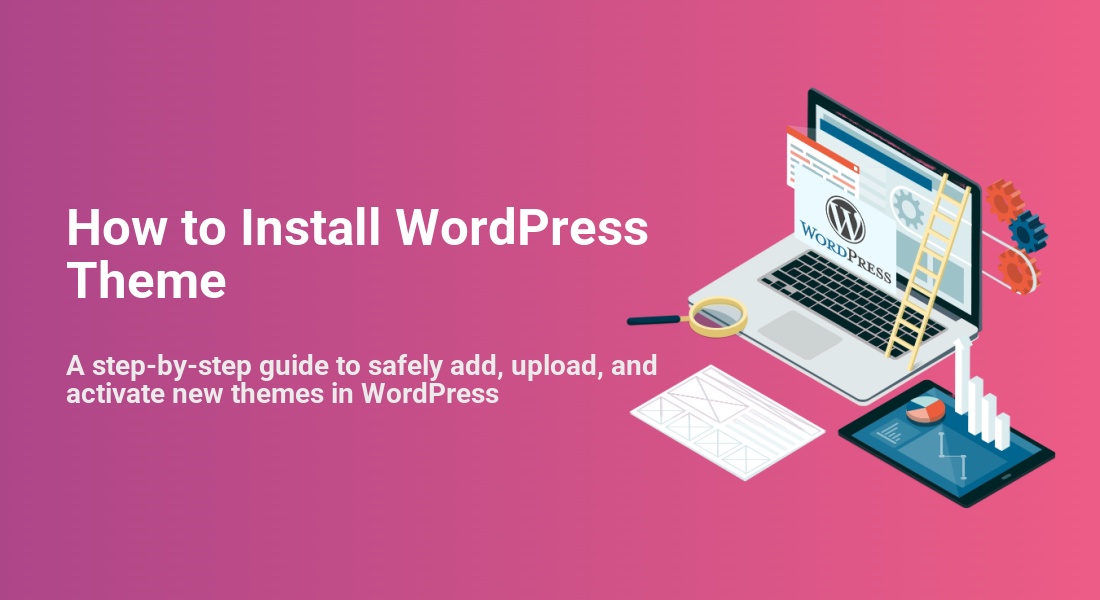
How to Install WordPress Theme
A step-by-step guide to safely add, upload, and activate new themes in WordPress
Found the perfect WordPress theme but not sure how to install it without breaking your site? You’re not alone. Installing a theme is one of the first big steps in launching or redesigning a WordPress website, and doing it the wrong way can lead to ugly layout issues or even a white screen.
In this guide, you’ll learn how to install a WordPress theme using three safe methods: directly from the WordPress theme directory, by uploading a premium or custom theme as a .zip file, and by manually adding a theme via FTP or your hosting file manager. You’ll also learn how to preview, activate, and test your new design so your visitors see a polished site from day one.
We’ll walk through each step in order, explain why it matters, and show you how to fix the most common theme installation errors before they can cause any real damage.
Prerequisites
Before you install a WordPress theme, make sure a few basics are in place. This keeps your site safer and helps you avoid frustrating errors during installation.
- Self-hosted WordPress installed: These steps assume you’re using WordPress.org on your own hosting, not a limited WordPress.com plan.
- Administrator access: You need an admin-level user so you can manage themes.
- A chosen theme: Either a free theme from the WordPress directory or a premium/custom theme downloaded as a .zip file.
- Recent backup of your site: Always back up your database and files before changing themes.
- Stable hosting and HTTPS: A reliable host and valid SSL certificate reduce interruptions during uploads.
If you’re still deciding which theme to use, start with a clear idea of your site’s goal and brand. You can explore design, performance, and feature trade-offs in more depth with our guide on how to choose a WordPress theme.
Step 1: Log In to Your WordPress Dashboard
Everything related to themes is managed from the WordPress admin area. Your first step is simply to log in.
- Open your browser and go to
https://yourdomain.com/wp-admin/. - Enter your username and password, then click Log In.
- Once logged in, you’ll see the WordPress dashboard with the left-hand admin menu.
If you’re unsure of your login URL or keep seeing login errors, follow a dedicated step-by-step WordPress login guide before proceeding. You don’t want to get locked out mid-install.
Step 2: Install a Free Theme from the WordPress Directory
The easiest way to install a theme is to use the official WordPress theme directory built into your dashboard. This method is ideal for beginners and small sites using free themes.
- In the admin menu, hover over Appearance and click Themes.
- At the top of the page, click the Add New button.
- Use the Search themes… box to find a theme by name or feature (for example, “blog”, “portfolio”, or “WooCommerce”).
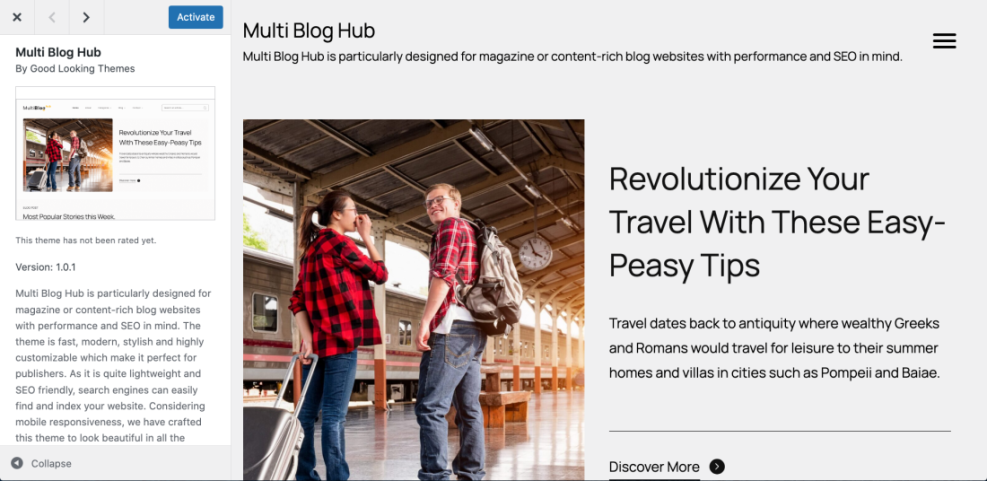
- Hover over a theme thumbnail and click Details & Preview to see more information and a live preview.
- When you’ve found one you like, click Install.
- After the installation finishes, click Activate to make it the live theme on your site.
Step 3: Upload a Premium or Custom Theme (.zip)
If you purchased a theme from a marketplace like ThemeForest (for example, Jannah) or got a custom theme from a developer, you’ll typically receive it as a .zip file. You can upload this directly through the dashboard.
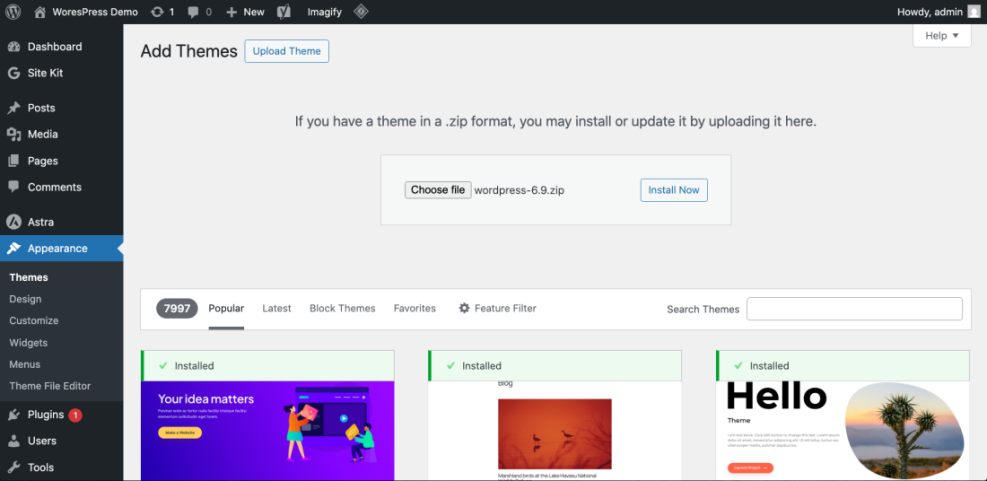
- Download the theme .zip file from your provider and save it to your computer.
- In WordPress, go to Appearance > Themes and click Add New.
- At the top, click the Upload Theme button.
- Click Choose File (or Browse), locate your theme’s
.zipfile, and select it. - Click Install Now and wait while WordPress uploads and unpacks the theme.
- When you see the success message, click Activate or Live Preview to test it before fully switching.
Step 4: Manually Install a Theme via FTP or File Manager
Sometimes the dashboard upload fails—usually because the theme file is too large or your server limits are low. In those cases, you can install the theme manually using FTP or your hosting file manager.
This method is a bit more technical, but it’s reliable and gives you more control.
- Extract the theme .zip file on your computer. You should end up with a folder named after the theme (for example,
jannah). - Connect to your server:
- Use an FTP client (like FileZilla) with your FTP credentials, or
- Open your hosting control panel and use the built-in File Manager.
- Navigate to your WordPress installation folder, then open
wp-content/themes/. - Upload the extracted theme folder into the
themesdirectory (not the zip file, the actual folder). - Once the upload finishes, log in to your WordPress dashboard and go to Appearance > Themes.
- You should now see the theme listed. Click Activate to enable it.
themes/jannah/jannah/). It must be directly inside wp-content/themes/. Optional: Install Themes with WP-CLI
For developers or advanced users with SSH access, you can install themes using WP-CLI (the WordPress command-line interface).
Run the following in your server’s SSH terminal from your WordPress root directory:
wp theme install twentytwentyfour --activateReplace twentytwentyfour with the theme’s slug, and remove --activate if you want to install without activating yet.
Step 5: Preview, Activate, and Test Your New Theme
Installing the theme is only half the job. You also need to preview how it looks, activate it safely, and verify that your key pages still work correctly.
- Go to Appearance > Themes in your dashboard.
- Hover over your new theme and click Live Preview to open the Customizer preview.
- Check important areas: homepage, blog posts, contact page, navigation menu, and footer.
- Make temporary adjustments (logo, colors, menus) in the Customizer so the theme looks “ready” before going live.
- When you’re satisfied, click Activate (or Activate & Publish) to make the theme visible to visitors.
For long-term flexibility, consider using a child theme for advanced customizations so your changes aren’t overwritten by updates. You can follow a dedicated guide to create a child theme in WordPress once your main theme is installed and running smoothly.
Step 6: Fix Common Theme Installation Errors
Even if you follow every step correctly, theme installation can fail due to server limits, corrupted downloads, or packaging issues. Here’s how to solve the most common problems.
“The link you followed has expired”
This usually means your theme zip file is too large or your server’s upload limits are too low.
- Try uploading via FTP/File Manager instead (see Step 4).
- Ask your host or developer to increase
upload_max_filesizeandpost_max_sizein PHP settings.
“Are you sure you want to do this?”
This generic WordPress error often appears when the upload times out or the theme conflicts with a security rule.
- Re-upload the theme zip file to rule out corruption.
- Temporarily disable security/firewall plugins and try again (remember to re-enable them afterward).
- Use the manual FTP method if the error persists.
“Stylesheet is missing” or broken theme layout
This means WordPress cannot find style.css in the expected place.
- Ensure you uploaded the actual theme folder, not the entire package (which may contain documentation and demo files).
- Open the theme folder and confirm there is a
style.cssfile directly inside.
White screen or critical error after activation
If your site goes blank or shows a “There has been a critical error” message after activating a theme, you likely have a PHP error or plugin conflict.
- Access Appearance > Themes and switch back to your previous theme, if possible.
- If you can’t access the dashboard, rename the active theme folder via FTP to force WordPress to fall back to a default theme.
- Check your error logs or enable
WP_DEBUGinwp-config.php(or ask your developer/host) to find the cause.
You’re Ready to Start Using Your New WordPress Theme
Installing a WordPress theme doesn’t have to be risky or confusing. By logging in with the right permissions, choosing a trustworthy theme, and using one of the three installation methods—directory, upload, or manual—you can safely change your site’s design whenever you need.
Now that your new theme is active and tested, you can focus on customizing layouts, colors, and typography to match your brand. With backups in place and a basic troubleshooting checklist in mind, you’ll be able to confidently update or replace themes as your site grows.
Further Reading
- How to Install and Activate a WordPress Theme
- How to Customize a WordPress Theme
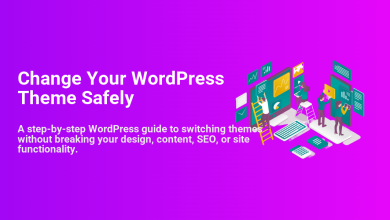
- How to Change Your WordPress Theme Safely
- Best Free WordPress Blog Themes
Frequently Asked Questions
Can I install a WordPress theme without losing my existing content?
Why does my theme upload keep failing or timing out?
upload_max_filesize and post_max_size. Try using the manual FTP method, splitting the upload into smaller chunks, or asking your host to increase the limits. Also verify that your internet connection is stable during the upload.