Beginner Guide to WordPress Performance Tuning
Practical Steps to Speed Up Your First WordPress Site
WordPress performance tuning helps you make your site feel fast even if you are just starting with WordPress. When your pages load quickly, visitors stay longer, click more, and trust your content, while slow pages drive people away and hurt your search rankings.
This beginner guide walks you through clear steps to measure your current speed, apply safe optimizations, and avoid common mistakes that break layouts or plugins. You will start with quick wins, then move on to hosting, themes, plugins, images, and ongoing monitoring so your site stays fast over time.
Quick Start WordPress Performance Tuning
For a beginner, the fastest wins come from a short checklist. First, test your current speed with an online tool so you know your baseline. Next, pick solid hosting, add a caching plugin, use a lightweight theme, compress images, and remove heavy or unused plugins that slow down every page.
What Is WordPress Performance Tuning
WordPress performance tuning is the process of removing delays between a visitor’s click and the moment your page feels usable. You reduce server work, shrink files, and cut extra requests so pages render faster. Instead of guessing, you measure results, change one thing at a time, and keep the wins that help.
Start With One Speed Test Tool
To begin, choose one trusted speed test tool and run several tests on your home page and a key content page. Then note your load time and Core Web Vitals scores for both mobile and desktop. After each change you make, repeat the same tests so you can see which tweaks actually improve your site.
- Choose reliable WordPress hosting.
- Install and configure a caching plugin.
- Switch to a lightweight, well-coded theme.
- Compress and resize large images.
- Remove unused plugins and heavy features.
When you follow this checklist in order, you tackle the biggest performance problems first. As a result, your site often feels noticeably faster before you touch any advanced settings or code.
Measure WordPress Speed and Core Web Vitals
You cannot tune what you do not measure, so you need a simple testing routine. Because different tools report slightly different numbers, you should stick to one main tool and use a second one only as a cross-check.
How Do You Test WordPress Speed
To test WordPress speed, paste a page URL into a speed test tool, choose a location close to your audience, and run several tests. Then record the average load time, Largest Contentful Paint, and overall performance score. You should repeat the same tests after each round of tuning to track progress.
Use Browser Developer Tools and Lab Tests
Modern browsers include developer tools that show you how long each file takes to load. When you open the Network tab and reload your page, you can see slow images, scripts, and fonts. This view helps you decide which assets to compress, defer, or remove without guessing.
Understand Core Web Vitals Basics
Core Web Vitals focus on three main ideas: how fast the main content appears, how stable the layout stays, and how quickly the page responds to input. When you improve those metrics, visitors feel less delay and frustration. Therefore, tuning for these numbers often improves both user experience and SEO.
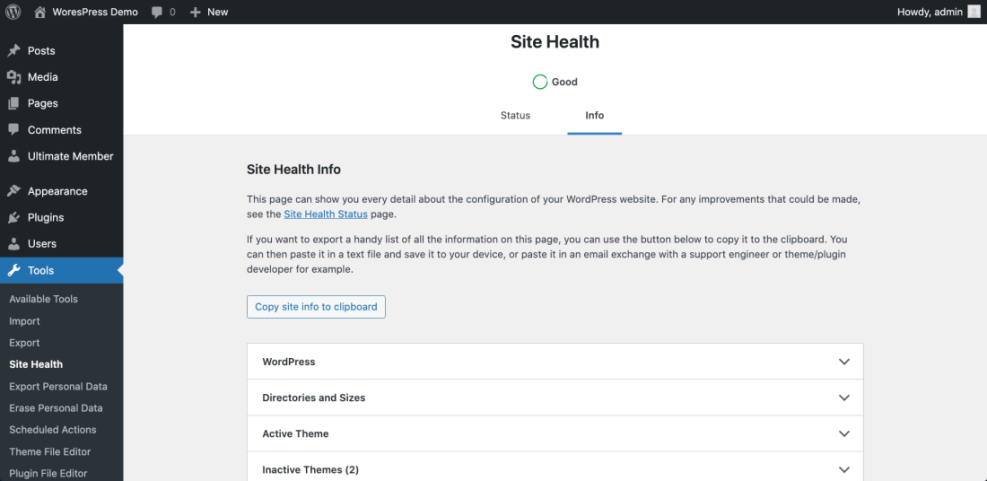
In the WordPress Dashboard, go to Tools » Site Health and open the Info tab to review performance-related details.
Choose Hosting and PHP Configuration
Your hosting provider and PHP version set the ceiling for performance. Even with perfect plugins and images, weak hosting or outdated PHP can cap your speed and cause random slowdowns at busy times.
Shared VPS and Managed Hosting Compared
Before you change hosts, it helps to see how common options differ on speed, control, and support.
| Plan Type | Typical Performance | Management Effort |
|---|---|---|
| Shared Hosting | Slow to moderate, resources shared with many sites | Low, but limited control and tuning options |
| VPS Hosting | Faster, dedicated resources per server slice | Medium, you manage more server settings |
| Managed WordPress | Fast and stable, tuned for WordPress by default | Low to medium, host handles many optimizations |
For most beginners, a well-rated managed WordPress or higher-end shared plan is a safe starting point. Later, if traffic grows, you can move to a VPS or premium managed plan without changing your content.
How to Pick a Faster Host
When you review plans, look for providers that advertise server-side caching, SSD or NVMe storage, and recent PHP versions. In addition, check independent reviews for uptime and real-world speed, not just marketing claims. If a host throttles sites easily or feels crowded, upgrades in WordPress will not fix the bottleneck.
Use the Latest Stable PHP Version
Newer PHP versions often process the same code noticeably faster. Therefore, you should use the latest stable PHP version that your theme and plugins support. If your host provides a PHP selector, switch in a staging site first, test your pages, and only then update PHP for your live site.
In your hosting control panel, open the PHP Selector or Software section and choose the latest stable PHP version recommended by your host.
Optimize Themes Plugins and Scripts
Themes and plugins control much of what your visitors see, but they also add CSS, JavaScript, and database queries. When you choose heavy options or install too many extras, each page has more work to do before it can load.
Pick a Lightweight Theme
A lightweight theme focuses on clean layouts and minimal scripts instead of endless sliders and animations. When you combine a lean theme with a good caching plugin, you often fix many performance issues without touching code. If a theme demo feels slow, your finished site will likely be slower.
How Many Plugins Are Too Many
The best number of plugins is the fewest that deliver what your site truly needs. Instead of counting plugins, review how each one affects speed by disabling it and retesting. When one plugin adds many scripts on every page, you should look for a lighter alternative that does the same job.
Remove Unused Scripts and Emojis
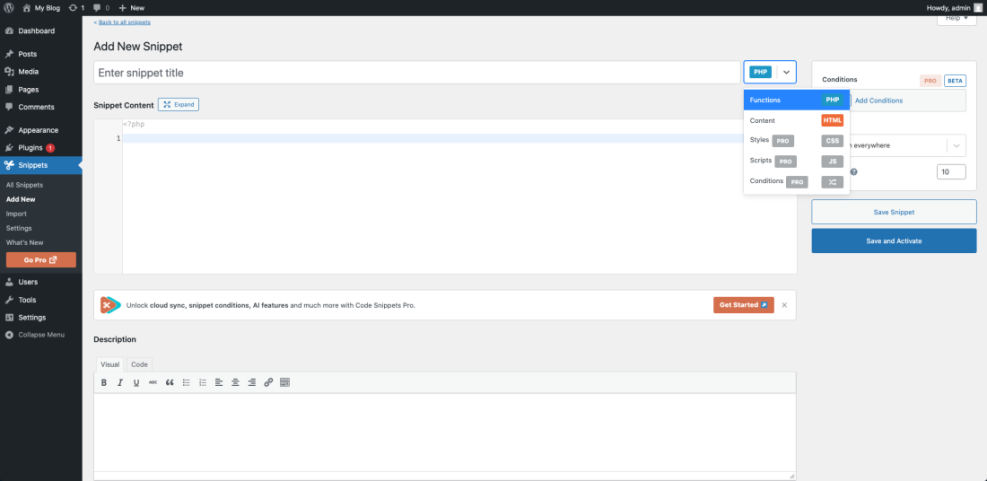
WordPress loads some scripts you may not need, such as emojis and embeds, which add extra requests. You can disable a few of these safely with a small code snippet in a custom plugin or your theme’s functions.php file.
// Disable emojis and embeds to reduce extra scripts.
function wpheadliner_optimize_scripts() {
    // Disable emoji scripts and styles.
    remove_action( 'wp_head', 'print_emoji_detection_script', 7 );
    remove_action( 'wp_print_styles', 'print_emoji_styles' );

    // Disable oEmbed discovery links.
    remove_action( 'wp_head', 'wp_oembed_add_discovery_links' );
}
add_action( 'init', 'wpheadliner_optimize_scripts' );
In the WordPress Dashboard, go to Appearance » Theme File Editor only if you know how to edit PHP safely, or use a custom plugin instead.
Boost Frontend Speed for Visitors
Frontend optimizations focus on what the browser downloads and renders. By caching pages, compressing images, and loading assets efficiently, you make the site feel much more responsive, especially on slower mobile connections.
Set Up a Caching Plugin
A caching plugin saves a ready-to-serve copy of your pages so the server does less work on each visit. Setting it up is usually simple.
- Install a reputable caching plugin from the WordPress plugin directory.
- Activate it and open the plugin’s main settings page.
- Turn on page caching and browser caching if available.
- Enable HTML, CSS, and JavaScript minification only after testing.
- Save changes, clear the cache, and rerun your speed tests.
When you enable caching correctly, you often see a big drop in load time with no change in your theme or content. However, you should always reload your site as a visitor to ensure nothing looks broken.
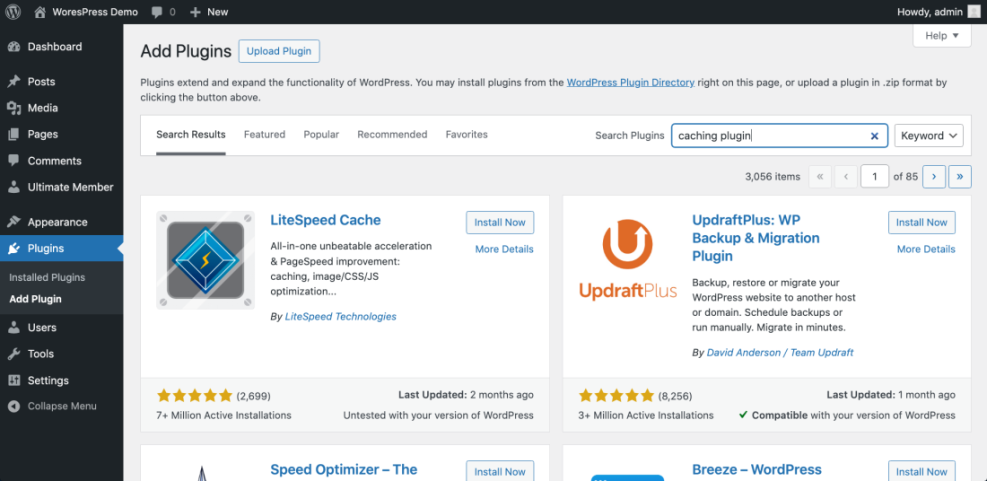
In the WordPress Dashboard, go to Plugins » Add New and search for a well-reviewed caching plugin, then open its settings page after activation.
Optimize Images for the Web
Large, uncompressed images can be the biggest cause of slow pages. Before uploading, resize images to the maximum size they need on the page and export them in modern formats with reasonable compression. In addition, an image optimization plugin can automatically compress new uploads and add lazy loading for images below the fold.
Use a CDN When It Makes Sense
A content delivery network stores copies of your static files on servers around the world. When your visitors are spread across countries or continents, a CDN can reduce latency and improve time to first byte. For a local or regional audience, a good host plus caching is often enough at the start.
Clean Up Database and Background Tasks
Over time, your WordPress database collects revisions, transients, and logs that you no longer need. At the same time, background tasks such as scheduled events and heavy plugins can run too often, adding load even when nobody is visiting your site.
Schedule Database Cleanup Safely
You can use a trusted optimization plugin to clean up revisions, trashed posts, and expired transients on a schedule. Before you run an aggressive cleanup, create a fresh backup so you can restore if something goes wrong. After cleanup, test a few key pages and forms to confirm everything still works as expected.
Reduce Background Work in WordPress Performance Tuning
Some plugins create heavy background tasks for reporting, backups, or email sending. When you see slow admin screens or long-running cron tasks, consider running backups at quiet times, turning off unused reports, or moving email sending to a dedicated service. These changes reduce load spikes and make both front and back ends feel snappier.
When Should You Use Object Caching
Object caching stores database query results in memory so repeated requests return faster. It makes the most sense on sites with many logged-in users or complex queries, such as shops and membership sites. For a small blog, a page cache alone is usually enough, and you can add object caching later as traffic grows.
Monitor Results and Keep Improving
Performance tuning is not a one-time project. Themes, plugins, and content change over time, and so do visitor expectations and device types. Therefore, you should set up a simple routine to watch for regressions.
Track Changes After Each Tweak
When you make changes, document what you changed and when you changed it. Then run your standard tests and note new scores and load times. If numbers get worse or visitors report problems, you can quickly roll back the last change instead of guessing what broke.
Avoid Common Speed Mistakes
Many site owners install several performance plugins at once and turn on every option they see. This mix can create conflicts, double optimizations, and broken layouts. Instead, you should start with a basic caching setup, add one or two extra optimizations at a time, and rely on staging to test risky features.
Create a Simple WordPress Performance Tuning Routine
A good routine is easier to follow than a long checklist you never open. For example, you might test your home page and a key landing page each month, review Site Health, and update plugins and themes after confirming backups. With a steady rhythm, you prevent small issues from turning into big problems.
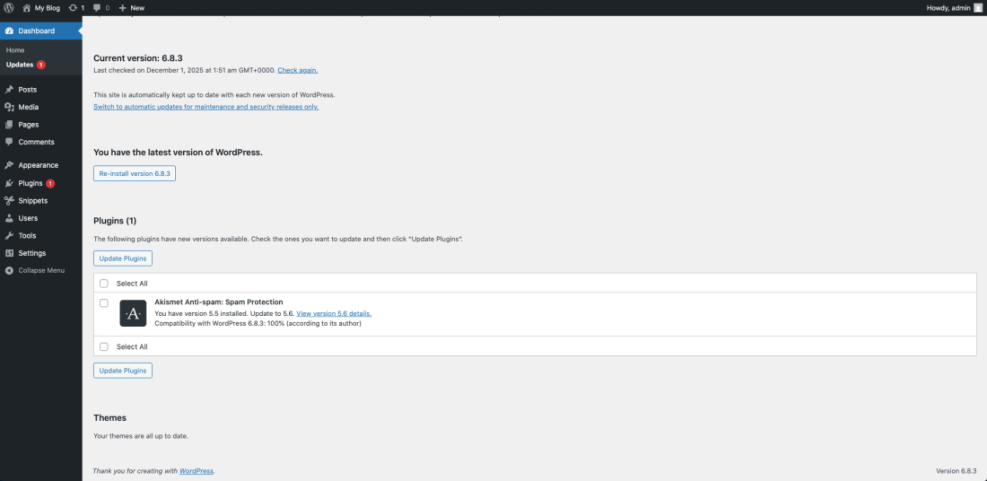
In the WordPress Dashboard, go to Dashboard » Updates once a month, update in small batches, and rerun your speed tests so you can spot any regressions quickly.
WordPress Performance Tuning Conclusion
You now have a practical path from slow, frustrating pages to a site that feels quick and reliable. Start by measuring your current speed, then apply the biggest wins first: better hosting, caching, lightweight themes, and optimized images. After that, refine scripts, database cleanup, and background tasks as your confidence grows.
The most important step is to treat WordPress performance tuning as an ongoing habit rather than a one-off task. When you plan small monthly checks, keep good backups, and test changes before going live, you protect both speed and stability. As traffic and revenue grow, you will already have the processes in place to scale smoothly.
More WordPress Performance Tuning Guides You Might Like
When you are ready to go deeper, these topics help you build on the basics from this guide and cover specific areas like caching, hosting, and Core Web Vitals.
- Developer hooks for optimizing WordPress plugins with code
- How to choose the best WordPress hosting
- Beginner guide WordPress speed core web vitals
- Developer hooks for WordPress database and file optimization
- WordPress maintenance plan monthly
You do not need to master everything at once. Instead, pick the next area that matches your site’s current bottleneck, work through it carefully, and measure the impact before moving on.