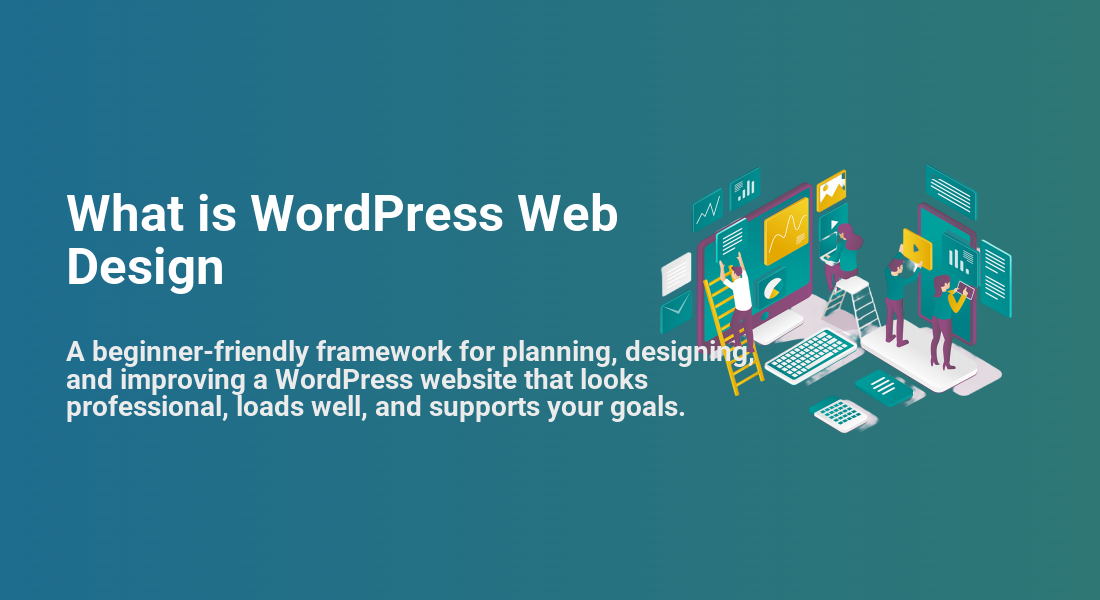
What is WordPress Web Design
A beginner-friendly framework for planning, designing, and improving a WordPress website that looks professional, loads well, and supports your goals.
WordPress Web Design is the process of planning, building, and refining the visual layout, user experience, and content structure of a WordPress website. It covers how your site looks, how visitors move through it, how pages are organized, and how well the design supports your business, blog, store, or portfolio goals.
Unlike general web design, WordPress Web Design happens inside the WordPress ecosystem. That means your theme, block editor, page builder, plugins, menus, widgets, templates, and media library all affect the final design. If you are new to the platform, this guide will help you understand the design process before you start editing pages or installing themes.
By the end, you will know what WordPress Web Design includes, which decisions matter most, and how to approach your site in a practical order. For a hands-on walkthrough after this overview, see this guide on how to design a WordPress website.
Step 1: Understand What WordPress Web Design Includes
WordPress Web Design is more than choosing colors or adding a logo. It combines visual design, content organization, navigation, mobile responsiveness, performance, accessibility, and conversion strategy.
A well-designed WordPress site helps visitors quickly understand who you are, what you offer, and what they should do next. Poor design can make even strong content feel confusing, slow, or untrustworthy.
Core parts of WordPress Web Design
- Layout: The arrangement of headers, sections, columns, sidebars, images, buttons, and content blocks.
- Theme: The design foundation that controls your site’s templates, typography, spacing, and style options.
- Navigation: Menus, internal links, footer links, breadcrumbs, and page structure that help users move around.
- Responsive design: How your website adapts to phones, tablets, laptops, and large screens.
- User experience: How easy, clear, and pleasant the site feels to use.
- Performance: How quickly the design loads and responds when visitors interact with it.
- Branding: Your logo, color palette, fonts, tone, images, and visual consistency.
Checkpoint: You understand that WordPress Web Design is a complete planning and building process, not just a cosmetic task.
Step 2: Define the Purpose of the Website
Before choosing a theme or designing a homepage, define what the website must achieve. A blog, local business website, online store, portfolio, course site, and membership site all need different design priorities.
Your goal determines the layout, page types, calls to action, navigation, and content hierarchy. Without a clear goal, design decisions become random and the site can feel unfocused.
Common WordPress website goals
- Publish blog posts and grow organic traffic.
- Generate leads through forms, phone calls, or quote requests.
- Sell products, downloads, services, or subscriptions.
- Showcase a portfolio or professional services.
- Build an online course, membership site, or community.
- Create a simple business brochure website.
Write one primary goal for the site and one secondary goal. For example, the primary goal might be “get local service inquiries,” while the secondary goal might be “publish helpful blog content for SEO.”
Checkpoint: You should be able to describe the website’s main purpose in one sentence.
Step 3: Plan the Site Structure and Navigation
Site structure is the blueprint for your WordPress design. It defines which pages exist, how they relate to each other, and how visitors move from one page to the next.
Start with the pages most users expect. These often include Home, About, Services, Blog, Contact, Privacy Policy, and any product or landing pages that support your goals.
Basic structure for a small WordPress website
- Home: Introduces the site and directs users to important actions.
- About: Builds trust and explains who is behind the website.
- Services or Products: Explains what you offer and why it matters.
- Blog: Supports education, SEO, updates, and thought leadership.
- Contact: Gives visitors a clear way to reach you.
Navigation should be simple. Use short menu labels, keep the main menu focused, and place secondary links in the footer when they are useful but not urgent.
For a deeper navigation workflow, read this guide to WordPress menus and navigation.
Checkpoint: You should have a short list of required pages and a simple menu order before you start designing individual pages.
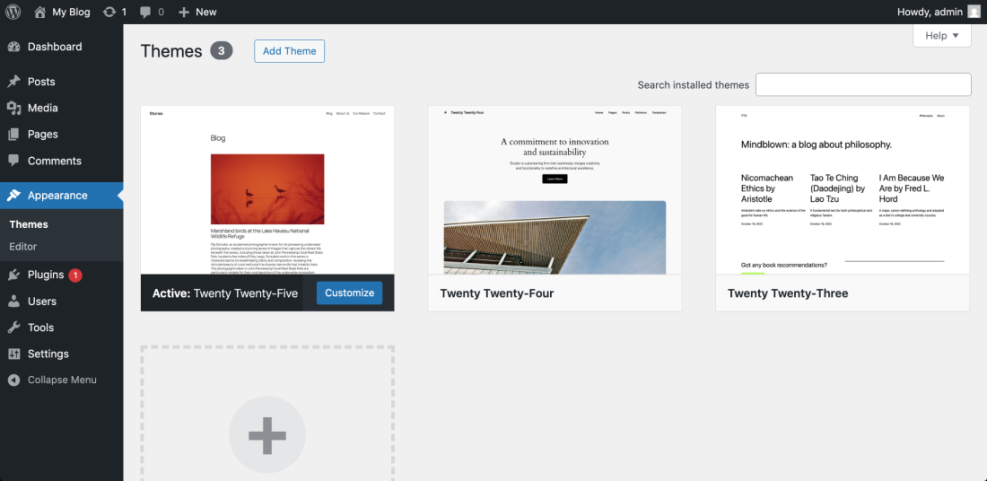
Step 4: Choose a WordPress Theme That Matches the Design Goal
A WordPress theme controls the visual foundation of your site. It can affect page templates, typography, spacing, header styles, footer layouts, WooCommerce design, mobile behavior, and customization options.
The best theme is not always the one with the most demos. Choose a theme that is lightweight, regularly updated, compatible with your plugins, and flexible enough for your content.
What to look for in a theme
- Responsive layouts that work well on mobile devices.
- Clean typography and readable spacing.
- Fast loading and minimal unnecessary features.
- Good compatibility with the block editor or your preferred page builder.
- Clear header, footer, archive, and single post options.
- Positive update history and reliable support.
If you need help comparing options, review this guide on how to choose a WordPress theme.
Checkpoint: You should choose a theme because it supports your site goals, not only because the demo looks attractive.
Step 5: Build a Consistent Visual Style
Visual consistency makes your WordPress site feel more professional. Visitors should see the same design language across the homepage, blog posts, service pages, landing pages, forms, and footer.
Start with a small design system. Choose your logo, two or three main colors, one or two font families, button styles, image style, heading hierarchy, and spacing rules.
Simple branding checklist
- Use one primary brand color for important buttons and calls to action.
- Use a secondary color only where it supports clarity.
- Keep body text readable with enough contrast and comfortable font size.
- Use consistent heading sizes from page to page.
- Crop images consistently so pages feel organized.
- Use the same button language for similar actions.
Checkpoint: Your pages should feel like they belong to the same website, even when they cover different topics.
Step 6: Design for Mobile and Usability First
Many visitors will experience your WordPress site on a phone before they ever see it on a desktop screen. Responsive design makes your layout adapt to smaller screens without breaking readability or usability.
Mobile design is not just about shrinking the desktop version. You need to check whether buttons are easy to tap, menus are simple, images fit the screen, forms are usable, and important content appears early.
Mobile design checks
- Open the site on a real phone, not only in a browser preview.
- Check the homepage, blog post, service page, contact page, and any checkout or form page.
- Confirm that text is readable without zooming.
- Tap every menu item, button, form field, and link.
- Review spacing between sections so the page does not feel cramped.
- Make sure popups, sticky bars, and chat widgets do not block the screen.
Checkpoint: A visitor should be able to understand your site and take the main action on a mobile device without frustration.
Step 7: Design Pages Around Clear Content
Good WordPress Web Design supports the content instead of competing with it. Each page should answer the visitor’s main question and guide them to the next useful action.
Before designing a page, outline the message. Decide what the visitor needs to know first, what proof they need, what objections they may have, and what action they should take next.
Homepage content flow example
- Start with a clear headline that explains what the site offers.
- Add a short supporting sentence that clarifies who the site helps.
- Include one primary call-to-action button.
- Show services, benefits, or content categories.
- Add trust signals such as testimonials, examples, credentials, or guarantees.
- End with a final call to action.
Checkpoint: Every major page should have a clear purpose, a logical order, and one primary next step.
Step 8: Balance Design with Speed and SEO
Design choices can improve or hurt performance. Large image files, too many animations, bloated page builders, heavy fonts, autoplay videos, and unnecessary plugins can slow down a WordPress website.
Speed matters because visitors are less likely to stay on a slow site. Search engines also reward pages that are useful, accessible, and technically sound.
Design choices that support performance
- Compress images before uploading them.
- Use only the fonts and font weights you need.
- Avoid unnecessary sliders and heavy animation effects.
- Keep layouts clean instead of adding many decorative sections.
- Use caching and image optimization tools when appropriate.
- Test key pages after major design changes.
Checkpoint: Your design should look polished while still loading quickly and remaining easy to crawl, read, and use.
Step 9: Keep Improving the Design After Launch
WordPress Web Design does not end when the site goes live. You should review the design after real visitors start using it, because analytics, search queries, support questions, and form submissions can reveal what needs improvement.
Small updates often make a big difference. You may need to rewrite a headline, move a button higher, simplify a menu, improve a form, update images, or add internal links to important pages.
Post-launch design review checklist
- Check whether visitors are reaching important pages.
- Review forms to make sure they work correctly.
- Look for pages with high exits or low engagement.
- Update outdated screenshots, service descriptions, and calls to action.
- Test mobile layouts after plugin, theme, or WordPress updates.
- Remove design elements that no longer support the site’s goal.
Checkpoint: Your design process should include ongoing review, not only a one-time launch checklist.
Turn WordPress Design Into a Clear Website Experience
WordPress Web Design is the complete process of shaping how your website looks, works, loads, and guides visitors. It includes your theme, layout, navigation, branding, mobile experience, content structure, performance, and ongoing improvements.
The best approach is to start with goals, plan the structure, choose the right theme, create a consistent visual style, and test everything on real devices. When design decisions support the visitor’s needs, your WordPress site becomes easier to use, easier to maintain, and more effective for your goals.
Further Reading
- How to Customize a WordPress Theme
- How to Change a Logo in WordPress
- How to Edit a WordPress Website
- How to Change Font on WordPress