WooCommerce Image Optimization
How to Speed Up WooCommerce Product Images for Better UX, Core Web Vitals, and Sales
WooCommerce makes it easy to add beautiful product photos—but if those images are too big or poorly configured, your store slows down, your Core Web Vitals scores drop, and customers bounce before they ever see your checkout.
In this guide, you’ll walk through a complete WooCommerce image optimization workflow: choosing the right image sizes, compressing product photos, using next-gen formats like WebP, and delivering images quickly with caching and CDN tools. The goal is simple: keep your store fast and your products looking sharp on every device.
If you haven’t done basic image cleanup on your site yet, you may also want to follow our image optimization checklist for WordPress websites after you finish this WooCommerce-specific setup.
Prerequisites
Before you start changing image sizes or bulk-compressing files, make sure you have a safe environment and the right access.
- Admin access to your WordPress + WooCommerce site.
- The ability to install and configure plugins (for compression and caching).
- Access to your hosting control panel or SFTP (in case you need to restore files).
- A recent full backup of your site (database + files).
- Basic familiarity with the WordPress Customizer and WooCommerce settings.
Step 1: Audit Your WooCommerce Images
Before you fix anything, you need to understand how your images are currently impacting performance. This audit gives you a baseline and shows which product pages need the most help.
- Open your slowest product pages and the main shop/category pages in an incognito window.
- Use tools like PageSpeed Insights or GTmetrix to analyze those URLs and pay attention to:
- Largest Contentful Paint (LCP) – often your main product image.
- Total image weight – total KB/MB of images loaded.
- “Properly size images” and “Serve images in next-gen formats” warnings.
- In Chrome DevTools, use the Network > Img filter to see each image’s file size and loading time.
Make a simple list of your worst offenders: product pages with massive hero images, category pages with dozens of uncompressed thumbnails, or sliders that load too many large photos at once.
For a broader look at store performance beyond images, you can pair this work with a full WooCommerce optimization guide to address queries, scripts, and other bottlenecks.
Step 2: Configure WooCommerce Image Sizes Correctly
WooCommerce and your theme define specific image sizes for single products, galleries, and catalog thumbnails. If these are misconfigured (or left at bloated defaults), WordPress may serve oversized images and then scale them down in the browser—wasting bandwidth and slowing pages.
- In your WordPress dashboard, go to Appearance → Customize → WooCommerce → Product Images (exact path may vary by theme).
- Review the settings for:
- Main image width (single product image).
- Thumbnail width (shop/category images).
- Thumbnail cropping (1:1, custom ratio, or uncropped).
- Choose widths that match your theme’s content area:
- Main product image: typically 800–1200px wide is enough for most layouts.
- Thumbnails: usually 300–450px wide depending on how many columns you show.
- Click Publish to save your changes.
After changing image sizes, you should regenerate thumbnails so existing product photos get new, correctly sized variants.
- Install a “Regenerate Thumbnails” style plugin from Plugins → Add New.
- Run a bulk regeneration for your product images. Depending on your catalog size, this may take a while.
- Spot-check a few products to make sure images look sharp and correctly cropped on desktop and mobile.
Step 3: Compress Product Images for WooCommerce
Even with perfect dimensions, raw product photos from your camera or designer are usually far too heavy. Compression reduces file size while keeping perceived quality high, especially on product pages where detail matters.
- Install a reputable image optimization plugin that supports WooCommerce and WebP/AVIF (for example, plugins that offer:
- Lossy and lossless compression modes.
- Automatic background optimization when new images are uploaded.
- Bulk optimization for existing media library items.
- Option to keep a backup of original images.
- In the plugin settings, start with a balanced lossy mode rather than the most aggressive setting. You want small files without visible artifacts on close-up product shots.
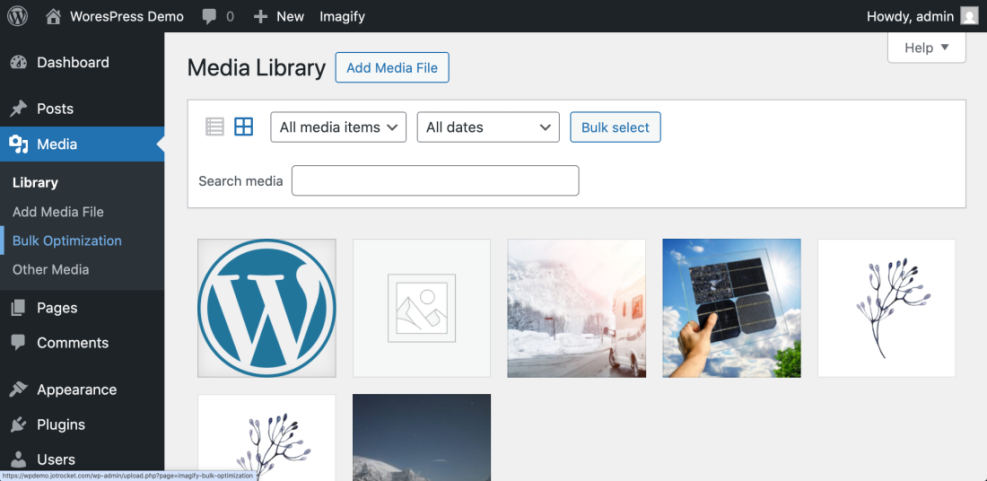
- Run a bulk optimization pass, but start with a smaller batch (e.g., 50–100 images) and review the result on key products before processing your entire library.
For most WooCommerce stores, a well-optimized product image should fall in the 60–200 KB range depending on dimensions and complexity. If files are still multiple megabytes after compression, revisit your export settings or resize images before upload.
Step 4: Use Next-Gen Formats and Responsive Images
Modern formats like WebP and AVIF can dramatically reduce file sizes compared to JPEG and PNG. Combined with responsive images (srcset), they help you serve the right image size and format to each device.
- Enable WebP (and AVIF if available) in your image optimization plugin or CDN.
- Confirm that the plugin:
- Creates WebP/AVIF copies of your existing JPEG/PNG product images.
- Automatically rewrites image URLs on the front end to serve next-gen formats where supported.
- Falls back gracefully to JPEG/PNG in older browsers.
- Inspect a product page in your browser’s DevTools:
- Under Network, confirm that most product images are loading as .webp or .avif.
- In the Elements panel, verify that images include
srcsetattributes so smaller devices use smaller files.
This combination reduces bandwidth significantly, especially for mobile shoppers on slower connections, and it directly improves metrics like LCP and Total Byte Weight.
Step 5: Speed Up Image Delivery with CDN and Caching
Even perfectly optimized images can feel slow if your customers are far from your server. A content delivery network (CDN) caches and serves images from data centers closer to your visitors, reducing latency and improving global performance.
- Enable a CDN in your hosting control panel or via a WordPress caching plugin that supports CDN integration.
- Configure your CDN to offload media:
- Set a CDN URL (e.g.,
cdn.yourstore.com) for image paths like/wp-content/uploads/. - Confirm that WooCommerce product images now load from the CDN domain.
- Set a CDN URL (e.g.,
- Enable browser caching and long cache lifetimes for static assets (images, CSS, JS) via your caching plugin and CDN.
- Re-run PageSpeed Insights on key product pages to confirm reduced image load times.
At this point, you should see lighter images, faster delivery, and better Core Web Vitals. Pairing this with other WooCommerce performance tips can unlock even more speed.
Step 6: Optimize Images on Key WooCommerce Pages
Not all WooCommerce pages use images the same way. You need slightly different strategies for single products, archives, and checkout flows.
Single Product Pages
- Ensure the main product image above the fold is:
- Well-compressed but crisp (no obvious blur or artifacts).
- Loaded without aggressive lazy loading so it can become a fast LCP element.
- Limit the number of gallery images shown on initial load; use thumbnails or sliders rather than stacking full-size images.
Shop and Category Pages
- Keep thumbnail dimensions reasonable (from Step 2) and avoid full-width mega product grids that load dozens of items at once.
- Use pagination or “Load more” instead of infinite scroll when image-heavy category pages become too long.
- Check that all thumbnail images are coming from the new optimized sizes, not original full-resolution uploads.
Cart, Mini-Cart, and Checkout
- Use smaller, lightweight thumbnails in cart and mini-cart areas; large images here add weight without adding value.
- Ensure checkout remains as clean as possible—limit decorative background images or banners that don’t help conversions.
Accessibility and SEO Considerations
- Use descriptive alt text for product images (e.g., “Red leather crossbody bag with gold chain” instead of “IMG_1234”).
- Keep file names meaningful (e.g.,
red-leather-crossbody-bag.jpg) before uploading. - Avoid embedding important text inside images; keep key copy as HTML so it’s indexable and accessible.
Step 7: Test and Maintain Your Image Optimization Workflow
Image optimization is not a one-time task. New products, seasonal campaigns, and design changes all add more images to your store over time.
- Set a recurring schedule (monthly or quarterly) to:
- Review your media library for oversized uploads.
- Run bulk optimization on new images.
- Regenerate thumbnails only when you change size settings or themes.
- Monitor performance via PageSpeed Insights and your analytics:
- Track changes in LCP, FCP, and overall page weight.
- Watch for improvements in bounce rate and conversion rate on key product pages.
- Document your workflow so your team knows:
- What dimensions and formats to use when exporting product photos.
- Which tools/plugins to use for compression.
- How to upload and tag images consistently.
Keep WooCommerce Images Fast and Beautiful
When you optimize WooCommerce images properly, you get the best of both worlds: fast-loading product pages and high-quality photos that build trust and drive sales. You’ve seen how to audit your existing setup, pick the right sizes, compress efficiently, use modern formats, and deliver assets quickly via CDN and caching.
From here, treat image optimization as an ongoing habit rather than a one-off project. With a repeatable workflow in place, every new product you add will be ready to load fast, score better on Core Web Vitals, and keep customers moving smoothly toward checkout.
Further Reading
- How to Optimize Images for WordPress
- WordPress Speed Optimization Step by Step
- WooCommerce Performance for Faster Checkouts
- Complete WordPress Caching Setup Guide