If you just rebranded and need to Change Logo in WordPress, you can update the image in your header without breaking your layout or touching risky code. WordPress lets you control the logo from the Customizer, Site Editor, or your theme options panel in only a few steps.
In this tutorial you will prepare your logo file, upload it to the Media Library, Change Logo in both classic and block themes, and optionally fine tune the size so it looks sharp on desktop and mobile screens.
What You Need to Start
- Administrator access to your WordPress dashboard.
- A prepared logo file in PNG, JPG, or SVG format (preferably transparent PNG).
- Basic knowledge of how to log in to yourdomain.com/wp-admin.
- Your active WordPress theme already installed and activated.
- Optional but recommended a staging site so you can test changes safely. See How to use ai in WordPress for a safe workflow.
Step 1: Prepare Your Logo File and Upload It Before You Change Logo
Before you change anything in your theme, make sure your new logo is ready and stored in the WordPress Media Library. This keeps everything organized and makes it easier to swap logos later.
- Log in to your WordPress admin dashboard at /wp-admin.
- In the left sidebar, click Media » Add New.
- Click Select Files.
- Choose your logo file from your computer and click Open.
- Wait for the upload to complete, then click the file to open the Attachment details panel.
- Fill in a descriptive Title and Alt Text such as “Sitename logo”.
Navigate to Media » Library to confirm that your new logo appears in the list.
How to verify Open the Media Library, switch to the List or Grid view, and confirm that your new logo file is visible and not marked with any errors.
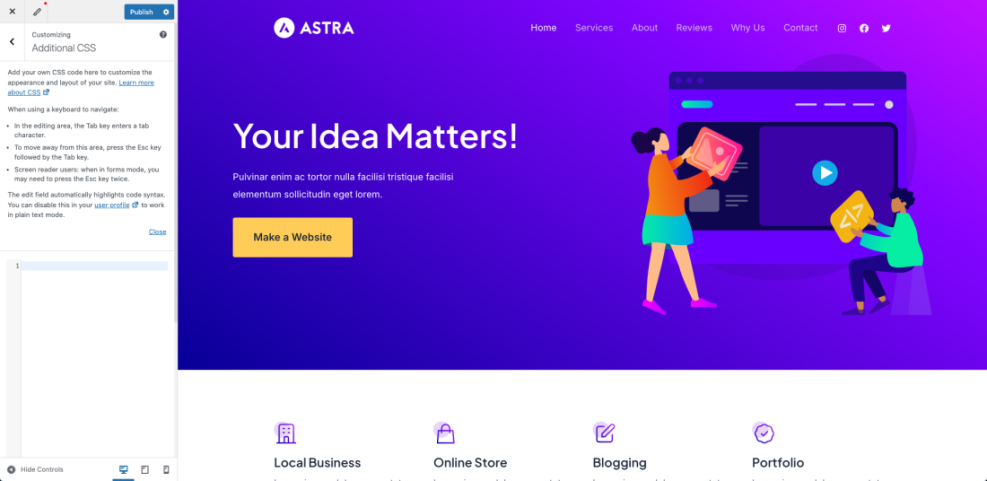
Step 2: Change Logo With the Customizer in Classic Themes
Most classic themes including Jannah use the WordPress Customizer to control the header logo. You will replace the existing logo from the Site Identity section and then publish your changes.
- In the WordPress dashboard, go to Appearance » Customize.
- In the Customizer sidebar, click Site Identity (sometimes called Header or Logo depending on the theme).
- Find the Logo or Site Logo setting and click Select logo or Change logo.
- In the media window, select your new logo from the Media Library and click Select.
- If prompted, use the crop tool to adjust how the logo is framed, then click Crop or Skip Cropping.
- Optionally toggle Display Site Title and Tagline off if you want only the image to show.
- Click the Publish button at the top of the Customizer to save your changes.
Navigate to Appearance » Customize » Site Identity to confirm that the preview shows your new logo in the header.
How to verify Click the X to close the Customizer, then visit your homepage in a new browser tab. Hard refresh the page with Ctrl + F5 (Windows) or Cmd + Shift + R (Mac) and confirm that the new logo displays in the header instead of the old one.
Step 3: Change Logo With the Site Editor in Block Themes
If you use a modern block theme such as Twenty Twenty Four, you will change the logo inside the Site Editor by editing the header template and updating the Site Logo block.
- In the WordPress dashboard, click Appearance » Editor.
- On the top bar, click Templates and then choose Header (or the template that contains your site header).
- In the visual preview, click directly on the existing logo image or Site Logo block to select it.
- In the floating toolbar above the block, click the Replace button.
- Select Open Media Library, choose your new logo, and click Select.
- Use the Width control in the right settings panel to resize the logo until it looks balanced in the header.
- Click Save and confirm all changes in the dialog.
Navigate to Appearance » Editor and open the Header template so you can see the new logo in the header preview.

How to verify Visit your homepage and a few inner pages in a new tab. Confirm that the new logo appears consistently in the header and that it is not cut off or blurry on large screens.
Step 4: Update Logo With Theme Options or Header Builder
Many premium themes, including Jannah, add their own theme options panel or header builder where you must Change Logo instead of using the default WordPress sections. You will locate the theme panel and upload the logo from there.
- In the WordPress dashboard, look for a menu item with your theme name such as Jannah, Theme Options, or Header Builder.
- Click that item, then open the section labeled Header, Logo, or Branding.
- Find the field for the Main Logo and click Upload or Choose File.
- In the Media Library, select your new logo file and click Select or Insert.
- If your theme offers separate Mobile Logo or Sticky Header Logo fields, repeat the upload for each one.
- Click the theme’s Save or Save Changes button.
Navigate to your theme Header or Logo settings screen again to verify that each logo field shows the new image.
How to verify Open your site in a desktop browser and on a phone. Check the normal header, sticky header, and mobile menu to confirm the correct logo displays everywhere.
Step 5: Adjust Logo Size and Spacing Safely
After you Change Logo, you may need to adjust its size so it feels balanced in the header and does not push the navigation onto multiple lines. You can usually control this with theme settings, Additional CSS, or a small functions.php tweak.
- First, check your theme settings under Appearance » Customize or your theme options panel for any Logo Height or Logo Width sliders and adjust them.
- If your theme does not offer enough control, go to Appearance » Customize and click Additional CSS.
- Paste a simple CSS rule to limit the logo height, such as the example below.
- Click Publish to save the CSS changes.
- For advanced control, add or adjust custom-logo support in your child theme’s functions.php file using the PHP snippet below.
Navigate to Appearance » Customize » Additional CSS to preview how your new logo size changes affect the header layout before publishing.
/* Limit the logo height without distorting the image */
.site-logo img,
.custom-logo-link img {
    max-height: 60px;
    height: auto;
    width: auto;
}
If you want WordPress to use specific default sizes for the logo, you can declare custom logo support in your theme or child theme.
// Place this in your child theme's functions.php file.
function wpheadliner_custom_logo_setup() {
    add_theme_support(
        'custom-logo',
        array(
            'height'      => 80,
            'width'       => 250,
            'flex-height' => true,
            'flex-width'  => true,
        )
    );
}
add_action( 'after_setup_theme', 'wpheadliner_custom_logo_setup' );
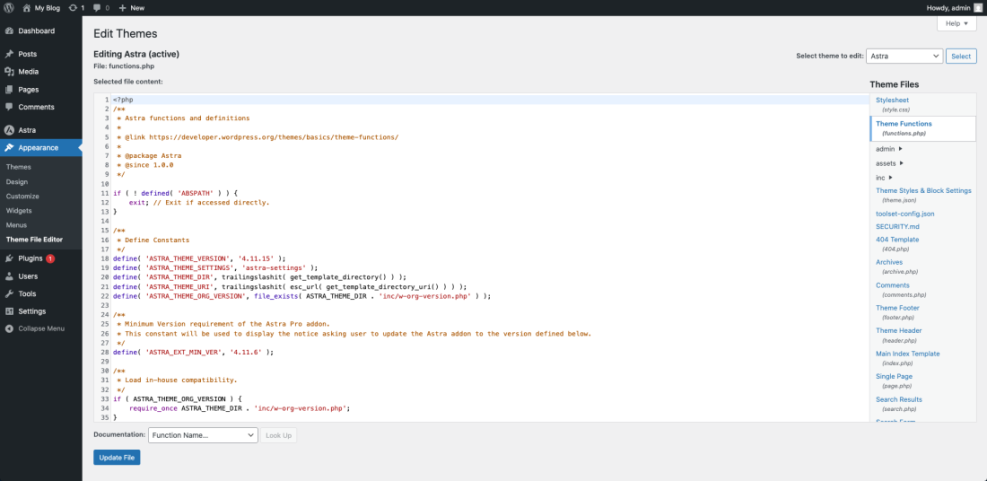
The WordPress Theme File Editor allows direct modification of files like functions.php for the Astra theme.How to verify After adjusting CSS or functions.php, force refresh your site and check the header on desktop, tablet, and mobile. Ensure the logo is crisp, not stretched, and that the navigation still fits on one line where expected.
Conclusion You Are Ready to Go
You have now learned several safe ways to Change Logo in WordPress, whether your site uses the classic Customizer, the new Site Editor, or a theme specific options panel. Your new branding should appear cleanly in the header, with a logo size that fits your layout on every device.
From here you can refine other visual elements such as fonts, colors, and header layout so your entire site matches your updated brand identity.
Further Reading
- How to edit WordPress files
- How to change font color in WordPress
- WordPress migration blog guide
- Beginner checklist optimizing WordPress blog posts