
If blogging on WordPress feels intimidating, you are not alone. Blogging on WordPress means dealing with hosting, themes, plugins, and writing your first post, so it is easy to get stuck before you publish anything.
This step-by-step guide to blogging on WordPress will walk you through every stage so you can move from idea to your first live article without confusion.
By the end, you will have a working WordPress blog, a simple content plan for blogging on WordPress, and a repeatable checklist you can follow every time you publish.
What You Need to Start
- A clear topic or niche you want to write about before you start blogging on WordPress.
- A domain name you own or plan to register.
- Web hosting that supports WordPress, or a WordPress.com account.
- 1–2 hours of focused time for setup and your first post.
- Basic computer skills such as installing software and using a browser.
Step 1: Clarify your blog purpose before blogging on WordPress
Before you touch WordPress, decide what your blog is about and who it serves. This helps you choose the right domain name, theme, and content ideas that attract the right readers when you start blogging on WordPress.
- Write one sentence that describes your blog purpose, for example, “Help busy parents cook 20 minute meals”.
- List 3–5 topics you can write about regularly, such as recipes, grocery lists, or cooking tips.
- Decide how often you can realistically publish, such as once per week.
To verify this step, check that you can describe your blog in one clear sentence and list at least 10 post ideas based on your topics before you dive into blogging on WordPress.
Step 2: Choose your WordPress platform
WordPress comes in two main flavors. Understanding the difference helps you start on the right platform and avoid painful migrations later as you grow blogging on WordPress.
- Decide if you want full control and flexibility with self hosted WordPress (WordPress.org) or a simpler setup with WordPress.com.
- If you choose self hosted, sign up with a reliable host that supports one click WordPress installs. You can review options in How to choose the best WordPress hosting.
- Register your domain during hosting signup or connect an existing domain.
- If you prefer WordPress.com, create an account on WordPress.com and choose a starter plan.
You know this step is successful when you can visit your domain and see either the default WordPress site or a coming soon page from your host.
Step 3: Install WordPress and log in
Now you will install WordPress (if your host has not already done so) and sign in to the dashboard where you will manage everything.
- In your hosting account, open the control panel and look for a tool named WordPress or Softaculous or Install WordPress.
- Click Install or Set Up, pick your domain from the dropdown, and complete the required fields for Site Title, Admin Username, and Admin Password.
- Click Install to start the process. Wait until you see a success message.
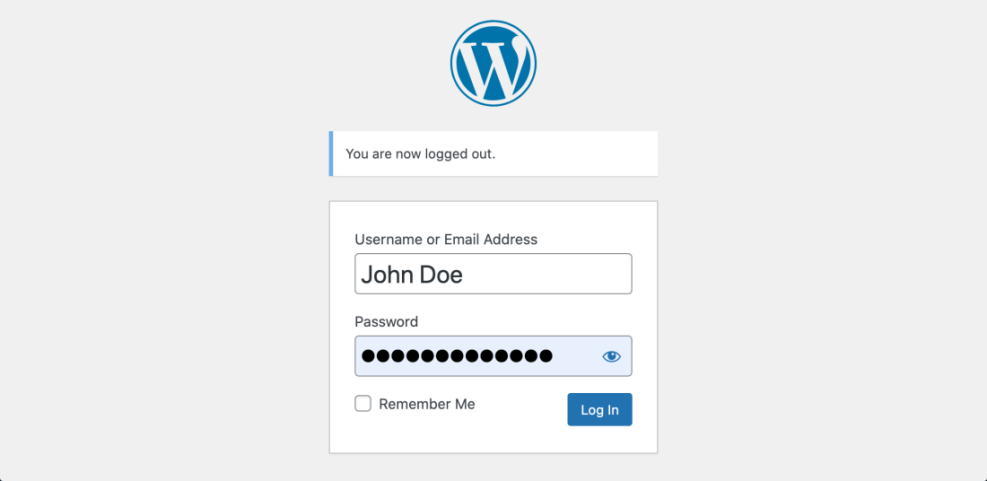
- Visit https://yourdomain.com/wp-admin in your browser.
- Enter the username and password you created, then click Log In to open the WordPress dashboard.
If you see the WordPress dashboard with a left sidebar containing Posts, Pages, and Settings, your installation is complete. For more detail you can also review How to install a WordPress theme.
Step 4: Configure basic WordPress settings
Before you publish your first post, configure a few key settings so your blog looks professional and uses clean URLs that are better for SEO when blogging on WordPress.
- In the dashboard, navigate to Settings » General.
- Update Site Title and Tagline to match your blog purpose, then scroll down and click Save Changes.
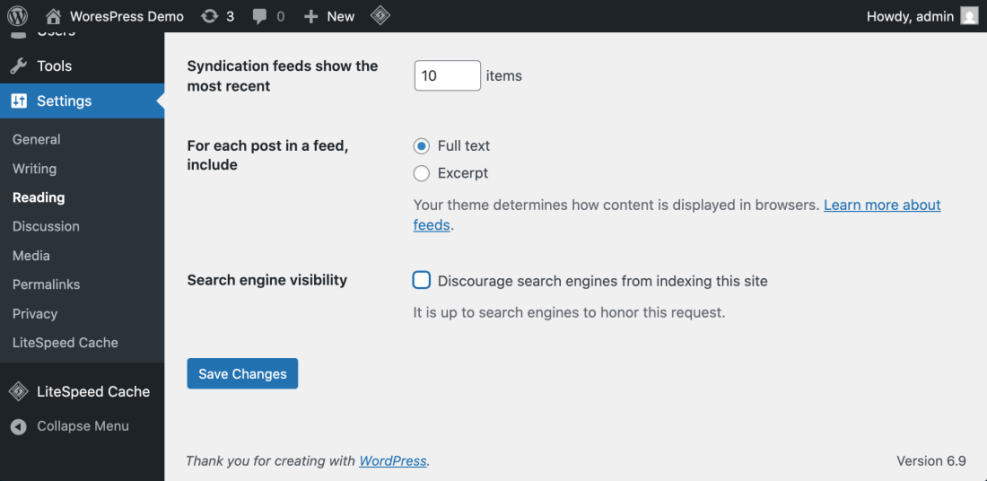
- Go to Settings » Permalinks.
- Select the Post name option, then click Save Changes. For more detail see Beginner guide to WordPress speed optimization.
- Go to Settings » Reading and confirm Search engine visibility is unchecked so Google can find your site.
To verify, open one of the default posts on the front end and confirm the URL uses words instead of numbers, such as /hello-world/ instead of /?p=1. Getting this right early makes blogging on WordPress much smoother later.
Step 5: Choose a simple theme for your blog
Your theme controls how your blog looks. Start with a lightweight, mobile friendly theme so your site loads fast and is easy to read on any device, which is essential for successful blogging on WordPress.
- In the dashboard, navigate to Appearance » Themes.
- Click Add New and use the search bar to find a clean blogging theme.
- Hover over a theme thumbnail and click Preview to see how it looks with your content.
- When you find one you like, click Install, then click Activate.
- Go to Appearance » Customize and adjust basic options like Site Identity, Colors, and Typography.
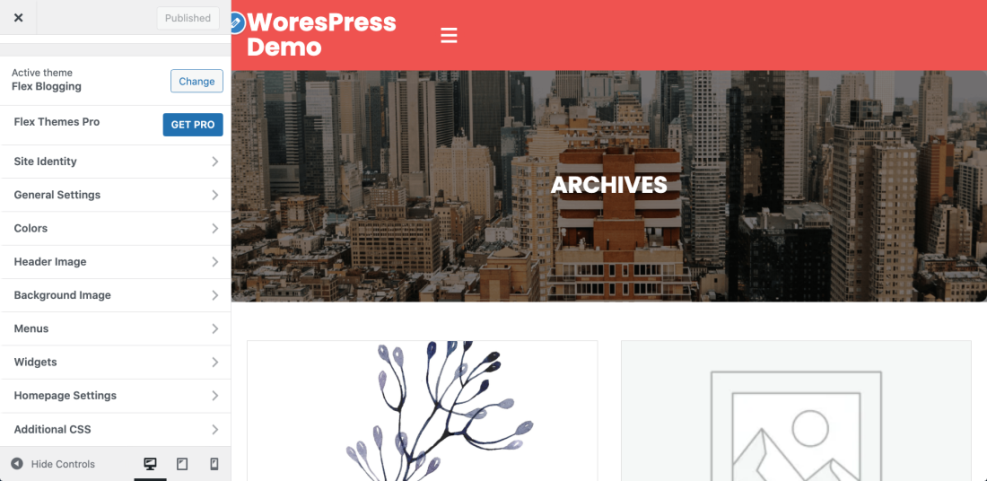
Visit your homepage in a new browser tab. If the design matches the preview and your logo or site title looks correct, the theme is active. For more guidance see How to choose WordPress theme.
Step 6: Create essential pages and navigation
Essential pages such as About and Contact make your blog look trustworthy and help readers connect with you. A simple navigation menu lets visitors explore your content easily as they discover your blogging on WordPress.
- In the dashboard, go to Pages » Add New.
- Create an About page that explains who you are and what your blog offers, then click Publish.
- Create a Contact page. You can later enhance it using guides like How to Build a High-Converting Contact Page.
- Go to Appearance » Menus.
- Create a new menu, add your key pages, check Primary menu, and click Save Menu.
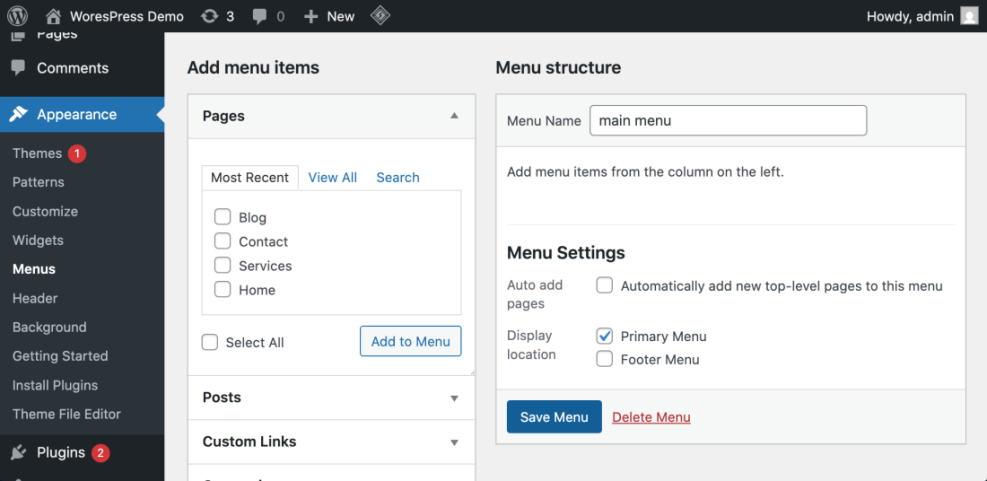
Refresh your site. You should see your About and Contact links displayed in the main navigation at the top of the page.
Step 7: Install essential plugins for bloggers
Plugins add important features to your blog without code. Start with a small set that improves security, backups, SEO, and contact forms so you can focus on blogging on WordPress instead of technical issues.
- In the dashboard, navigate to Plugins » Add New.
- Use the search box to find a trusted SEO plugin, backup plugin, and security plugin. You can review options in Developer hooks for optimizing WordPress plugins with code.
- Click Install Now then Activate for each plugin.
- Install a forms plugin so readers can contact you easily. Open Plugins » Installed Plugins and click Settings under your forms plugin to create a simple contact form.
- Add the contact form to your Contact page using the plugin’s block or shortcode.
To verify, visit your Contact page and submit a test message. Confirm you receive the email at your chosen address.
Step 8: Write and publish your first blog post
Now you are ready to start blogging on WordPress and publish your first post. Your first post does not need to be perfect, but it should follow a simple structure and be easy to read.
- In the dashboard, click Posts » Add New.
- Enter a clear title that matches a problem your reader has.
- Write your content in short paragraphs and use headings by selecting text and choosing Heading from the block toolbar.
- Add at least one relevant image by clicking the + button and choosing the Image block.
- On the right sidebar, open the Categories panel and assign a relevant category.
- Click Preview to review your post, then click Publish and confirm.
Visit your blog homepage. You should see your new post at the top of the list. For a deeper walkthrough, review How to create a blog on WordPress.
Step 9: Optimize your posts for search
Basic SEO helps your blogging on WordPress get discovered in Google. With a good SEO plugin and a simple checklist, you can improve visibility without advanced knowledge.
- Open your published post in the editor and scroll to your SEO plugin panel.
- Set a focus keyphrase that matches what readers search for, such as “quick healthy dinners”.
- Ensure the keyphrase appears in your title, first paragraph, and at least one heading.
- Write a compelling meta description that summarizes the benefit in 1–2 sentences.
- Link to at least one other relevant article on your site using guides like Internal linking WordPress beginners.

Use a beginner friendly checklist such as Beginner checklist optimizing WordPress blog posts to verify you have covered the basics.
Step 10: Build a simple publishing routine
Consistency matters more than perfection when you are blogging on WordPress. A light editorial calendar keeps you accountable without overwhelming you.
- List 10–20 post ideas based on the topics you defined in Step 1.
- Open a spreadsheet or calendar tool and add one post idea per week for the next month.
- Assign a simple workflow for each post, such as Outline, Draft, Edit, Publish.
- Choose fixed writing blocks in your week and treat them like appointments.
- Use a plugin or process described in How to build a website on WordPress if you prefer managing ideas inside WordPress.
You have a working routine when you know what you will publish next week and already have progress on that post.
Bonus: Common Ways to Reuse Page Layouts in WordPress
As your blog grows, you will often want to reuse layouts for key pages and landing pages. Here is a quick comparison of popular methods for cloning and reusing WordPress page designs while you are blogging on WordPress.
| Method | Where You Use It | Main Purpose |
|---|---|---|
| Clone Page With Plugin | WordPress dashboard » Pages » All Pages | Safely duplicate an entire WordPress page including layout, featured image, and most settings in one click. |
| Copy Content Without Plugin | Page editor » Options menu » Copy all content | Reuse the block layout of a page while creating a fresh draft manually, without installing any plugin. |
| Duplicate Page Builder Layout | Page builder editor » Duplicate or Save as template | Clone a page layout built with a visual builder and reuse it as a template for new landing pages. |
| Clone Page on Staging Site | Staging dashboard » Pages » All Pages | Experiment with new layouts and cloned pages in a safe staging environment before changing the live site. |
| Export and Import Page Layouts | Theme or builder tools » Export Import | Move page layouts between sites that use the same theme or builder by exporting and importing designs. |
Conclusion You Are Ready to Go
You have just moved from idea to blogging on WordPress with a live blog that has your first post, essential pages, a simple theme, and a basic publishing routine. With this foundation in place, you can keep improving your site’s speed, SEO, and content quality over time rather than trying to perfect everything on day one.
Each time you log in, follow the same pattern plan your topic, write, optimize, publish, and link it to other helpful posts. Make a habit of blogging on WordPress consistently. That is how blogging on WordPress turns from a confusing project into a repeatable habit that grows your audience.
Further Reading
Use these resources to keep improving your blogging on WordPress as your site grows:
- Beginner guide to WordPress speed optimization
- Developer hooks for optimizing WordPress plugins with code
- WordPress seo complete beginners guide
- How to build a website on WordPress
- WordPress speed optimization new bloggers


