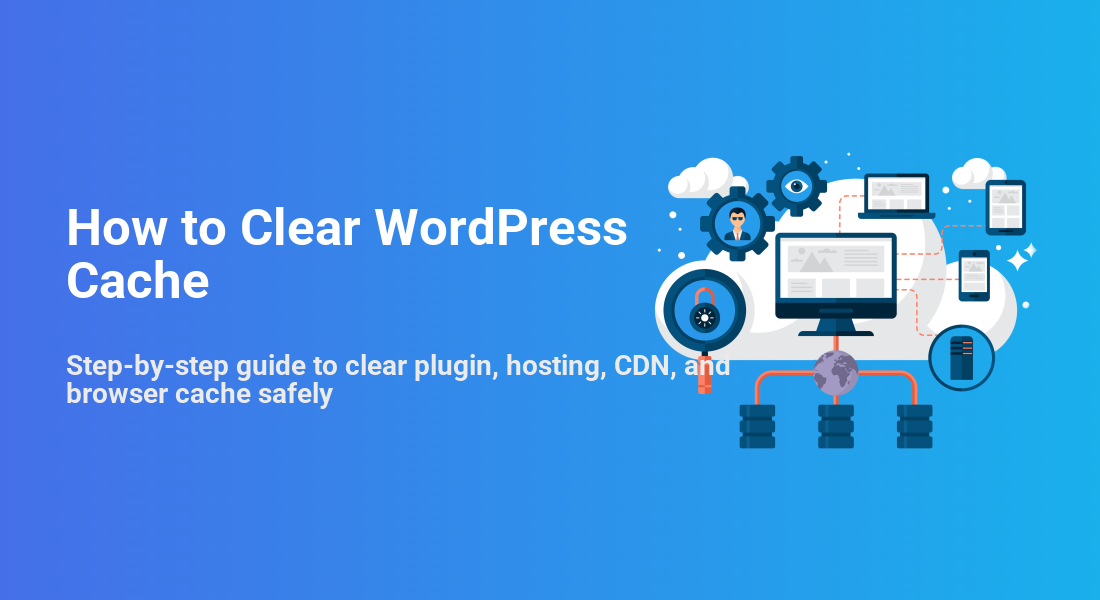
How to Clear WordPress Cache
Step-by-step guide to clear plugin, hosting, CDN, and browser cache safely
Changes not showing up on your site, even after you click “Update” in WordPress? In most cases, the problem is cache: your site is serving an older, stored copy of the page instead of the fresh version you just edited.
In this guide, you’ll learn exactly how to clear WordPress cache at every layer — plugin cache, hosting/server cache, CDN cache, and your browser cache — without breaking your site. We’ll also cover a few emergency techniques if the usual “Clear Cache” button doesn’t work.
If you want to go deeper into how caching works across an entire site, you can also review the full WordPress caching setup guide after you finish this walkthrough.
Step 1: Understand the Types of Cache in WordPress
Before you start purging things, it helps to know what you’re clearing. WordPress sites often have more than one type of cache, and missing a layer is a common reason your changes still don’t show.
Here are the main cache types you’ll deal with:
- Page cache (HTML cache): Stores complete pages so WordPress and PHP don’t rebuild them on every request.
- Object cache: Stores database query results and internal data (often using Redis or Memcached).
- Server/hosting cache: Many managed WordPress hosts add their own caching layer in front of WordPress.
- CDN cache: Content Delivery Networks (CDNs) like Cloudflare cache copies of your pages and assets on edge servers.
- Browser cache: Your visitor’s browser stores static files (CSS, JS, images) to speed up repeat visits.
Prerequisites
You don’t need to be a developer to clear WordPress cache, but you should have a few basics ready so nothing blocks you halfway through.
- Access to your WordPress admin dashboard (wp-admin).
- Login to your hosting control panel (cPanel, Plesk, custom host panel, etc.).
- Login to your CDN account if you’re using one (Cloudflare, etc.).
- Optionally, FTP/SFTP or file manager access and WP-CLI (for advanced troubleshooting steps).
Step 2: Clear Cache from Your WordPress Dashboard
Most WordPress sites use a caching plugin (or a performance plugin that includes caching). These plugins usually offer one-click buttons to clear page cache.
Common caching plugins include LiteSpeed Cache, WP Super Cache, W3 Total Cache, WP Rocket, and others. Even though the interface differs, the process is similar.
- Log in to WordPress admin.
- Look at the top admin bar for a cache-related menu labeled something like “Clear Cache”, “Purge All”, or “Flush Cache”.
- Click the option that clears all cache or “Purge All” for your plugin.
If you don’t see a cache menu in the admin bar, open the plugin’s settings instead:
- Go to Settings → [Your Cache Plugin] or Plugins → Installed Plugins and click Settings under your caching plugin.
- Look for buttons like “Clear Cache”, “Empty All Caches”, or “Delete Cache”.
- Click the button, then visit your site in a new browser tab to confirm the changes appear.
If you’re still choosing a plugin, this comparison of the best WordPress caching plugins can help you pick one that fits your hosting stack and experience level.
Step 3: Clear Server-Level Cache in Your Hosting Panel
Managed WordPress hosting providers and some shared hosts add their own caching layer on the server. This cache can keep serving old content, even if you’ve cleared your plugin cache.
Because each host uses a different interface, use this as a general workflow:
- Log in to your hosting control panel.
- Open the site management page for the domain you’re working on.
- Look for sections labeled “Caching”, “Performance”, “Turbo”, or “Server Cache”.
- Click the option to “Purge Cache” or “Flush Cache” for your site.
After purging the server cache, reload your site in a private/incognito window. If you finally see your changes, you’ve found the missing layer.
Step 4: Purge Cache in Your CDN (Cloudflare and Others)
If you use a CDN, it may be caching CSS, JavaScript, images, and sometimes HTML pages. Even if you clear plugin and server cache, the CDN may still serve old assets.
Here’s the typical flow (using Cloudflare as an example):
- Log in to your CDN dashboard.
- Select the domain you’re working on.
- Open the Caching section.
- Use “Purge by URL” to clear cache for specific pages you changed, or use “Purge Everything” if many assets are stale.
Step 5: Clear Your Browser Cache to Rule Out Local Issues
Sometimes the site is updated correctly, but your browser is still holding onto an old version of the page or its assets. Before you dive into advanced troubleshooting, rule this out.
Quick checks:
- Open your site in an incognito/private window. If the change appears there, it’s a browser cache issue.
- Try another browser or device (desktop vs. mobile).
If you confirm it’s a browser cache problem, clear cache only for your site:
- In most browsers, open Settings → Privacy & Security → Site Settings → View permissions and data stored across sites (or similar).
- Find your domain and clear stored data/cache for that site.
Step 6: Test Your Site After Clearing the Cache
After clearing cache at each layer, you should verify that the new version of your content is live and that performance hasn’t regressed.
- Make a small, obvious change on a test page, such as adding a unique word or emoji in the footer.
- Clear cache in the plugin, hosting panel, CDN, and browser as needed.
- Open the page in an incognito window and check that the unique change appears.
If you’re working on performance improvements in addition to cache clearing, use a speed audit checklist such as the step-by-step WordPress speed optimization guide to confirm your site is loading efficiently for real users.
Step 7: Troubleshoot When WordPress Cache Won’t Clear
Sometimes the usual “Clear Cache” buttons don’t work, either because of a misconfigured plugin or a deeper issue on the server. In those cases, you can try more advanced methods.
1. Temporarily disable caching plugins
- Go to Plugins → Installed Plugins.
- Deactivate your caching plugin(s).
- Check your site again in an incognito window.
If the change shows up after you deactivate the plugin, the plugin’s cache or configuration was the problem. Reactivate it and review its settings or reinstall it cleanly.
2. Clear cache using WP-CLI
If you have SSH access and WP-CLI installed, you can clear some caches directly from the command line. Run these commands in your site’s root directory via SSH:
# Clear WordPress object cache
wp cache flush

# Clear all transients (temporary cached data)
wp transient delete --all
These commands are safe, but they may temporarily increase load while caches rebuild. Always run them on the correct site if you’re hosting multiple WordPress installs.
3. Manually remove cache directories
As a last resort, you can delete cache folders manually via FTP/SFTP or your hosting file manager:
- Connect via FTP/SFTP or open your host’s File Manager.
- Navigate to /wp-content/.
- Look for folders such as /cache/, /w3tc-cache/, /wp-super-cache/, or plugin-specific cache directories.
- Rename them (for example, cache-old) or delete them if you’re sure you don’t need the data.
/wp-content/ can break plugins if you remove the wrong thing. If you’re unsure, take a quick backup first or consult your host’s support. Keep Your WordPress Cache Under Control
Clearing WordPress cache doesn’t have to feel like guesswork. Once you understand the different layers — plugin, server, CDN, and browser — you can follow a structured process to clear the right cache at the right time.
Use this guide as your go-to checklist whenever changes don’t show up, and combine it with sensible cache rules and exclusions. Over time, you’ll spend less effort on “Why isn’t this updating?” and more time improving performance and content quality for your visitors.
Further Reading
- Redis Object Cache WordPress Beginner Guide
- Caching Plugin Comparisons for WordPress Performance
- WordPress Performance Tuning Beginner Guide
- WordPress Speed Optimization Checklist
Frequently Asked Questions
Do I need to clear WordPress cache every time I update a post?
Will clearing cache break my WordPress site?
How do I clear cache in WordPress without a plugin?
wp cache flush and wp transient delete --all when you have SSH access.