When you try to choose WordPress theme for your site, the endless options and demos can feel overwhelming. A bad choice when you select a WordPress theme can slow down your site, confuse visitors, and create maintenance problems later.
In this step by step guide, you will learn how to choose a WordPress theme by evaluating speed, design, features, and long term support. By the end, you will confidently pick one theme that fits your brand and keeps your WordPress site fast and stable.
What You Need to Start Before You Choose a WordPress Theme
Before you actually choose a WordPress theme, make sure you have the basics ready. This helps you compare theme demos faster and avoid getting stuck on details that do not matter yet.
- Access to your WordPress admin dashboard with an Administrator account.
- A clear idea of your site type, for example blog, small business, online store, or portfolio.
- A shortlist of 3–5 themes from the WordPress.org Themes directory or trusted theme shops.
- Optional but strongly recommended a staging site where you can test themes safely before going live.
- Basic performance tools such as PageSpeed Insights or WebPageTest open in your browser.
Step 1: Define Your Site Goals Before You Choose a WordPress Theme
Before you compare designs or features, clarify what your site must do. A theme that is perfect for a photo portfolio will not fit an online course or busy blog. Clear goals make it easier to choose a WordPress theme that supports your visitors instead of distracting them.
- Write down your primary goal, for example generate leads, publish articles, or sell products. Different goals often require a different WordPress theme layout.
- List 3–5 key pages you need, such as Homepage, Blog, Services, Shop, and Contact.
- Decide how often you will publish new content, for example weekly blog posts or monthly case studies. This affects which blog and archive layouts you prefer when you select a WordPress theme.
- In your WordPress dashboard, navigate to Pages and review which pages already exist.
- Open Posts and check how many categories you use, especially if you are planning a content heavy blog and want a theme with flexible blog layout options.
Verify this step by confirming that you have a short written summary of your site purpose and a list of required page types. You will use this list as a checklist when you compare demos and choose a WordPress theme that fits your content.
Step 2: Match Your WordPress Theme Layout to Your Content
Now align your content plan with real layouts. A good WordPress theme should support your homepage, blog, and core pages without heavy redesign. When you choose a WordPress theme, focus on layout structure first, not colors or images, because those can be customized later.
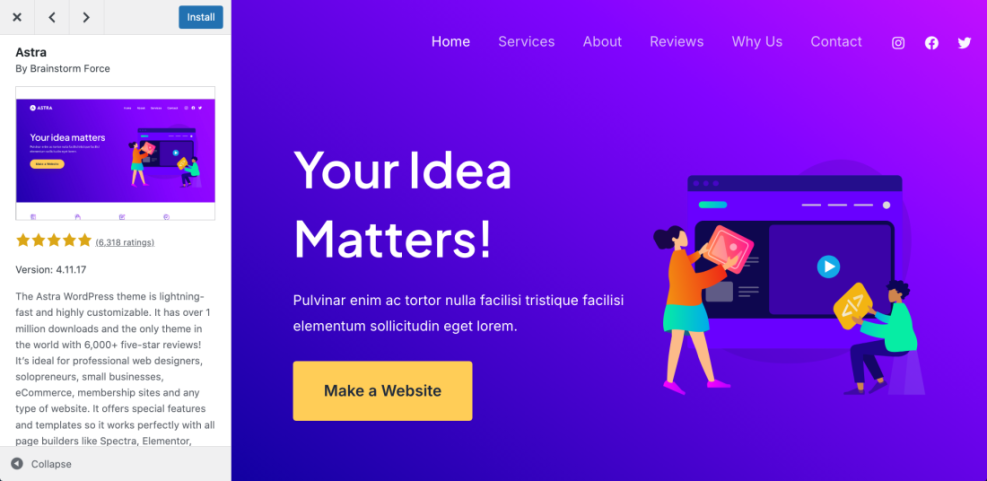
- In WordPress, go to Appearance » Themes.
- Click Add New to browse themes from the WordPress.org directory.
- Use the search field to find themes that match your niche, such as blog, business, or portfolio. This speeds up your theme selection process.
- Hover over a theme and click Preview to see the default homepage and inner page layouts.
- Compare the demo menus, header, and blog layouts with the list of key pages you created in Step 1 to decide if you would actually choose this WordPress theme for your content.
Verify success by confirming that each theme on your shortlist offers a homepage, blog layout, and basic page templates that closely match your content needs without relying on heavy page builder templates for everything. At this stage, remove any theme that clearly does not fit what you need so you can more easily choose the best WordPress theme later.
Quick Comparison of WordPress Theme Selection Methods
Use this quick table while you choose a WordPress theme, so you know which method to use at each step of your decision.
| Method | Where You Use It | Main Purpose |
|---|---|---|
| Browse Themes in WordPress.org Directory | WordPress dashboard » Appearance » Themes » Add New | Quickly discover free, well-reviewed themes that meet basic quality and security standards and narrow down your WordPress theme choices. |
| Use Live Preview on Your Site | WordPress dashboard » Appearance » Themes » Live Preview | See how a theme looks with your existing content and menus before you activate it on your live site, which helps you choose the right WordPress theme with less risk. |
| Test Theme on a Staging Site | Hosting control panel or staging subdomain | Safely experiment with theme settings and layouts without affecting visitors or search rankings while you are still deciding which WordPress theme to use. |
| Import Demo or Starter Templates | Theme options panel or Starter Sites plugin | Quickly replicate a complete layout from the theme demo and then customize it for your brand, which makes it easier to see if you should choose that WordPress theme. |
| Combine Lightweight Theme with Page Builder | WordPress dashboard » Plugins » Add New (for builder) | Get a fast base theme while using a page builder for key landing pages and more complex layouts, a common way to choose a flexible WordPress theme setup. |
Step 3: Check WordPress Theme Performance and Responsive Design
Performance should always influence how you choose a WordPress theme. Theme performance affects SEO, user experience, and conversions. A slow or poorly coded theme will make every future optimization harder, so you should avoid picking heavy, bloated themes.
- Open the main demo URL of each theme in your browser.
- Copy the demo URL and paste it into PageSpeed Insights or WebPageTest.
- Check Largest Contentful Paint and Total Blocking Time scores for both mobile and desktop.
- Resize your browser window to a narrow width or use browser Device Toolbar to simulate smartphones.
- Confirm that navigation, buttons, and text remain readable on small screens, and that images scale properly in each theme you might choose.
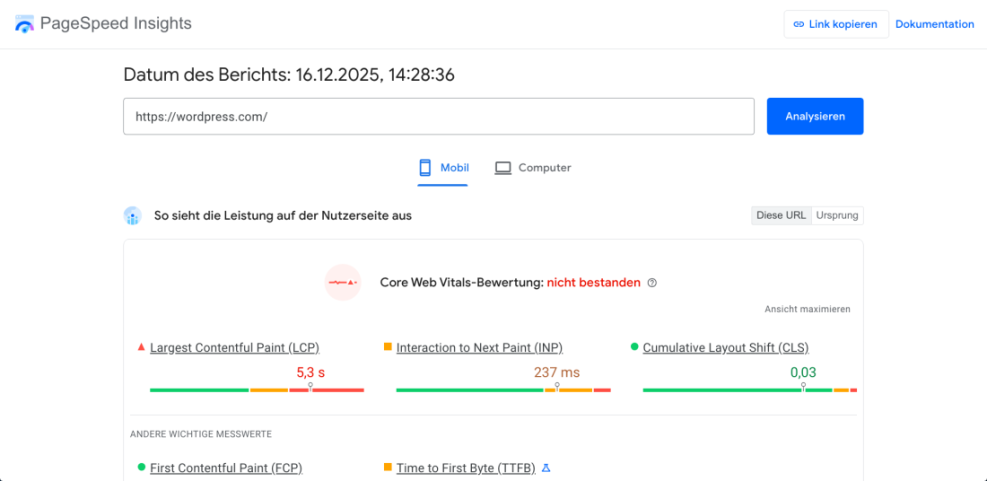
Verify success when all themes on your shortlist load quickly in the demo, pass basic Core Web Vitals thresholds, and have layouts that stay clean and readable on mobile devices. If a theme fails these checks, remove it from your list and choose a WordPress theme that performs better instead.
Step 4: Confirm WordPress Theme, Plugin, and Page Builder Compatibility
Your theme must work smoothly with the plugins you rely on. Conflicts between themes, page builders, and key plugins cause layout issues, slowdowns, and support headaches. As you choose a WordPress theme, always confirm compatibility before you install it on a live site.
- List your critical plugins, such as SEO plugins, form builders, caching plugins, or WooCommerce.
- On the theme page, scroll to find references to Gutenberg, classic editor, or supported page builders.
- Look for explicit mentions of compatibility with WooCommerce if you run a store. Do not choose a WordPress theme for ecommerce that lacks WooCommerce support.
- In WordPress, navigate to Plugins » Installed Plugins and note any plugin that heavily affects layout.
- Search the theme documentation or support forums for known conflicts with your critical plugins and avoid themes with serious unresolved issues.
Verify success when your shortlisted themes officially support your editing workflow and core plugins, and when you do not find unresolved conflict reports in the theme support area on WordPress.org or the vendor site. Only then should you seriously consider choosing that WordPress theme for your project.
Step 5: Evaluate WordPress Theme Updates, Support, and Long Term Safety
A WordPress theme is a long term decision. An abandoned or poorly supported theme becomes a security and compatibility risk. When you choose a WordPress theme, you are also choosing its developer, update policy, and support quality.
- On the theme page in the WordPress.org directory, check the Last updated date and Active installations.
- Scroll to the Ratings section and read several 1 star and 5 star reviews to see if other users were happy with their theme choice.
- Visit the Support tab and look at how quickly and clearly the developer answers questions.
- Open the theme developer’s site to review documentation and changelog if available.
- Decide whether you prefer a free theme, a premium theme, or a mix, then read Best free WordPress blog themes if you are unsure which type of WordPress theme to choose.
Verify success by confirming that your chosen theme has recent updates, active support, and generally positive reviews from users with similar site types. If those signs are missing, do not choose that WordPress theme no matter how attractive the demo looks.
Step 6: Test Your Chosen WordPress Theme on a Staging Site
Never switch themes blindly on a live site. Testing on a staging copy lets you experiment, adjust layouts, and fix issues without affecting visitors or search rankings. This is where you confirm that the WordPress theme you chose really works with your real content.
- Create or access your staging site using your host’s tools or a plugin, then log in as Administrator.
- In the staging dashboard, go to Appearance » Themes and click Add New.
- Search for your chosen theme, click Install, then click Activate on the staging site only.
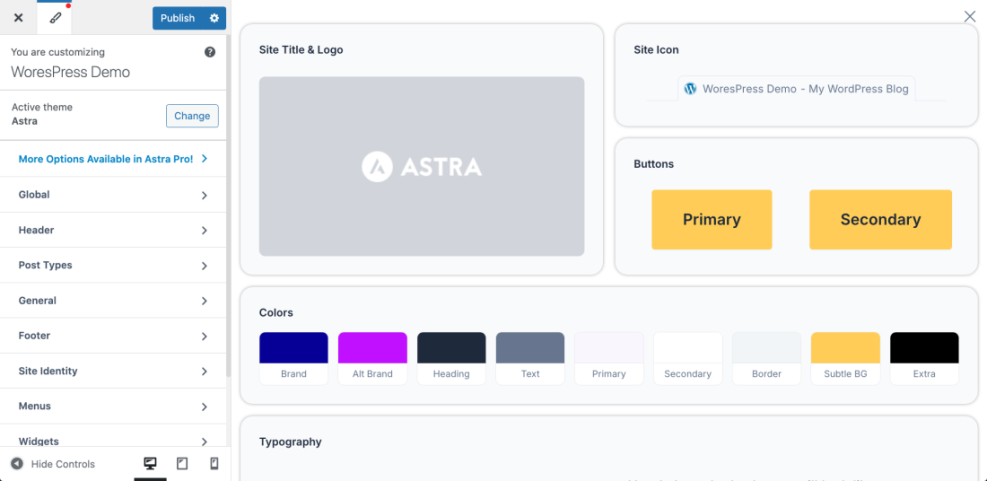
- Navigate to Appearance » Customize and adjust site logo, colors, and menus to match your brand.
- Open each key page on staging and check headings, images, forms, and navigation on desktop and mobile. If your new layout still feels right, you likely made a good WordPress theme choice.
Verify success when your staging site looks correct, loads quickly, and all critical forms and flows still work. Before changing your live theme, review How do you change your WordPress password for a detailed switch checklist, especially if this is your first time you change and choose a new WordPress theme.
Step 7: Roll Out the New WordPress Theme on Your Live Site
Once you are satisfied with the staging test, you can safely deploy the new theme on your live site with minimal risk. This is the final step where you fully commit to the WordPress theme you selected.
- Create a full site backup using your preferred backup plugin or your host’s backup tool.
- Log in to your live site and navigate to Appearance » Themes.
- Install the new theme, but click Live Preview first to double check key pages before activation.
- Click Activate when you are confident, then immediately review Homepage, Blog, Shop, and Contact pages to confirm that the WordPress theme you chose looks correct.
- Run a fresh speed test and basic checks from your WordPress Dashboard and analytics tools.
Verify success when your live site design matches your staging version, important content is visible and readable, and your performance metrics remain within acceptable ranges. If everything checks out, you can be confident you managed to choose the right WordPress theme for your site.
Conclusion You Are Ready to Go With Your New WordPress Theme
By following these steps, you moved from guessing to a deliberate framework to choose a WordPress theme. You defined your site goals, matched layouts to your content, checked performance and plugin compatibility, and safely tested everything on a staging site before launch.
From here, you can fine tune your homepage and blog layouts with resources like WordPress migration blog guide and Best WordPress seo plugins and tools to keep improving your new design over time. Revisit this checklist any time you need to select a new WordPress theme for another project.
Further Reading on How to Choose a WordPress Theme
- How to choose WordPress theme
- Best free WordPress blog themes
- Woocommerce performance tips for faster stores
- How do you change your WordPress password
- How to change WordPress username