Troubleshooting Broken Layouts After Performance Tweaks
Practical fixes when speed plugins break your design
Broken layouts often appear after aggressive performance tweaks on your WordPress site. You enable caching, minify everything, or switch on a CDN, and suddenly fonts, columns, or buttons jump out of place on desktop or mobile.
You will see how to spot what went wrong, undo the damage without panic, and then reapply performance tweaks in a safer way. The guide starts with a quick layout rescue, walks through detailed troubleshooting steps, and ends with a prevention checklist you can reuse on every future optimization round.
Quick Fix for Broken Layouts
What Should You Check First?
First, confirm the problem is real and not a one-off cache glitch. Open the site in a private browser window, then test on at least one other device or network. If the layout looks fine there, clear your browser cache and any local ad blockers before you change the site itself.
Next, think about what you changed in the last 10–15 minutes. Most broken layouts right after performance tweaks come from a single plugin setting, such as “combine CSS,” “defer JavaScript,” or “optimize delivery of CSS.” Start with those changes rather than random settings all over the dashboard.
How to Safely Roll Back Changes
The fastest way to restore a broken layout is to undo only the performance tweaks you just applied, then clear all caches in the chain.
- Log in to your WordPress Dashboard.
- Open the performance or caching plugin you changed most recently.
- Disable new options you just enabled, such as minify or combine CSS and JavaScript.
- Click the plugin’s purge or clear cache button, then clear any CDN cache as well.
- Reload the page in a private window and confirm whether the layout is back.
This sequence keeps changes focused, so you do not lose other custom work or content that already behaves correctly.
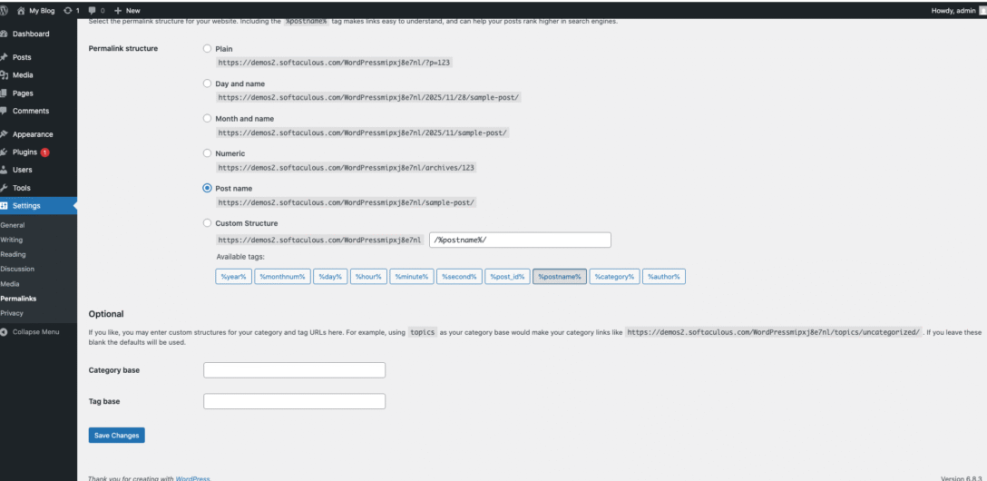
Go to Settings » Permalinks and confirm a structure is selected, then save once without switching it.
When Can You Turn Caching Back On?
After the layout is stable again, you can re-enable caching step by step. Turn the main page cache on first, then test your homepage and a few key templates. Add one optimization at a time, such as CSS minify, test again, and stop as soon as a specific toggle breaks the design. That setting becomes your main suspect for deeper debugging later.
Why Layouts Break After Speed Tweaks
Common Caching And Minify Problems
Most layout issues after performance tweaks come from how CSS and JavaScript files are combined, minified, and delayed. When a plugin moves code to different files or loads it later, page builders, icon fonts, and sliders can lose the styling they expect. A single missing or delayed stylesheet is often enough to wreck the entire layout.
The table below shows typical symptoms and what usually causes them after speed changes.
| Symptom | Likely Cause | Quick Check |
|---|---|---|
| Page shows unstyled text before layout snaps into place | CSS loaded too late or deferred | Disable “optimize CSS delivery” and purge cache. |
| Icons or fonts show as squares or wrong glyphs | Font files blocked by CDN or wrong URL | Disable CDN for font files and test again. |
| Columns stack strangely on desktop | Combined CSS missing grid or flex rules | Turn off CSS combine and recheck layout. |
| Mobile menu or sliders stop working | JavaScript deferred or combined in wrong order | Disable JS defer and test; then re-enable slowly. |
| Only some pages break, others look fine | Page builder CSS loaded only on certain templates | Check builder settings and clear its internal cache. |
By matching symptoms to causes, you can focus on a small set of plugin options instead of guessing across the entire stack.
CDN And Proxy Conflicts Explained
When you enable a CDN or a proxy service like Cloudflare, your asset URLs may change. Therefore, CSS and JavaScript references that worked before can start returning 404 errors or mixed-content warnings if your site is moving from HTTP to HTTPS. These silent failures often show as broken grids, missing background images, or wrong fonts.
Check whether your CDN rewrites asset URLs or strips query strings. If “remove query strings” is active, versioned CSS and JavaScript files may not update when you change them. In that case, disable the option, purge the CDN cache, and reload the site from a private window to see if the layout returns.
Theme And Page Builder Pitfalls
Modern themes and page builders now ship with their own performance settings. You might see options to enable internal caching, dynamic CSS, or optimized asset loading. If you also run a performance plugin, both tools can try to optimize the same files and end up duplicating or breaking styles.
Open your theme or builder’s performance panel and look for toggles related to CSS output, script combining, or image optimization. If the layout breaks only when those options and an external caching plugin run together, leave optimization to one place and disable it in the other. This single change often removes hard-to-track layout bugs.
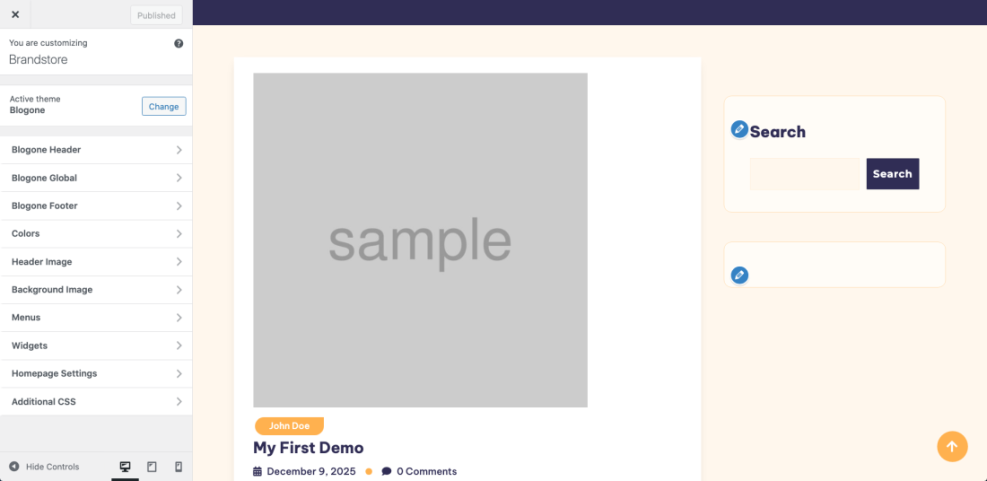
Navigate to Appearance » Customize and open your theme’s performance or layout section if it exists.
Step by Step Layout Recovery
How to Test on a Staging Site
Ideally, you should test risky performance tweaks on a staging site instead of your live site. Many managed hosts give you a one-click staging feature, which lets you clone your site and experiment without visitors seeing errors. Once your staging copy looks fast and stable, you can apply the same settings in production.
- Create or refresh a staging site from your hosting control panel.
- Apply the same caching, minify, and CDN settings you plan to use live.
- Test key templates such as the homepage, blog index, and checkout.
- Document what worked and what broke in a simple checklist.
- Apply only proven settings to your live site, then test again.
This workflow saves time because you break things privately and carry only safe changes into production, which fits well with a clear Maintenance Process.
Disable And Reconfigure Performance Plugins
When you cannot use staging yet, you can still recover methodically on the live site. Rather than deactivate every plugin at once, start with only performance-related ones, such as caching, minify, image optimization, or database cleanup tools. This keeps core features such as forms or ecommerce active while you debug layout issues.
- Turn off advanced CSS and JavaScript optimizations first.
- Leave basic page caching on while you test layout changes.
- Exclude critical pages like cart and checkout from full-page caching.
- Re-enable optimizations one by one while watching your main templates.
This checklist lets you keep some speed benefits during debugging while avoiding the settings that most often break layouts.
Use Browser Tools to Spot Errors
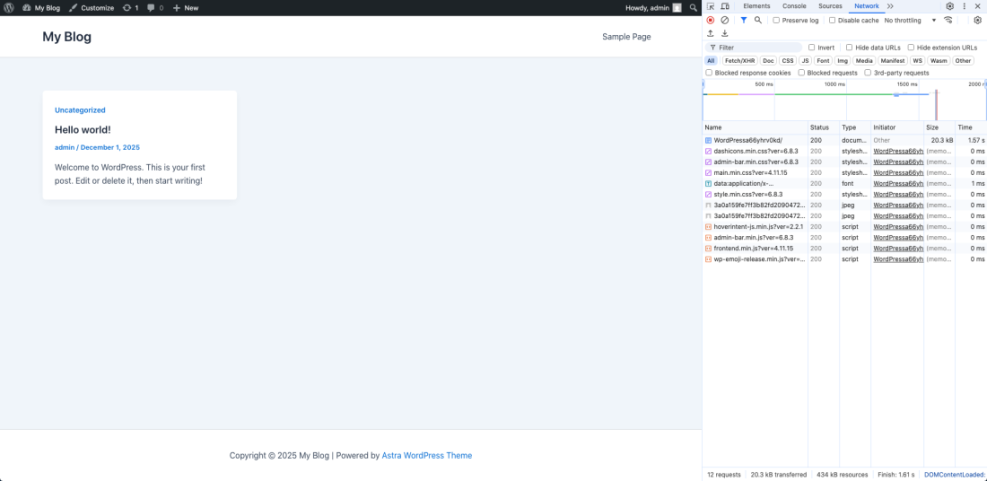
Browser developer tools show you what files fail to load. Open your site, press F12 or use your browser’s developer tools menu, and look at the Console and Network tabs. Red errors often point to missing CSS or blocked JavaScript, and they usually show which plugin or path is involved.
Focus on 404 and 5xx responses for CSS and JavaScript files first. Then, copy any repeating error messages into a text document so you can share them with your host or plugin support later. This small habit saves a lot of time when you open a ticket or ask for help.
Open your site in Chrome, press F12, and switch to the Network tab before you reload the page.
Advanced Debugging for Stubborn Layout Issues
Enable Script Debugging in WordPress
If minified core files are hiding the real problem, you can temporarily tell WordPress to load non-minified versions. This makes it easier to read error messages and see which script or stylesheet fails. You do this by editing your wp-config.php file.
/** Temporarily load non-minified core files for debugging */
define( 'SCRIPT_DEBUG', true );
After adding this line above the line that says /* That’s all, stop editing! */, reload your site and check again. When you finish debugging, set the value back to false or remove the line, then clear all caches.
Exclude Problem Files From Optimization
Sometimes a single CSS or JavaScript file refuses to work when minified or combined. Most performance plugins let you exclude specific files or patterns from optimization. Therefore, once you identify a problematic script handle or URL, you can add it to the exclusion list and keep the rest of your optimizations active.
Look for an “Exclude files from minification” or similar field in your caching plugin. Add the builder’s main CSS or JavaScript file path, save, purge the cache, and test again. If the layout stabilizes, leave that file excluded long term and move on to the next optimization you want to test.
When to Ask Your Host for Help
Sometimes layout issues are tied to server-level caching or security tools you cannot see from WordPress. Hosts may run Nginx caching, Varnish, or a web application firewall that alters responses. In that case, share specific URLs, screenshots, and any browser console errors with support so they can trace the problem on their side.
Prevent Future Layout Breaks Safely
Build a Safe Performance Testing Process
To prevent broken layouts in the future, treat performance work like any other change process. Always run a quick backup before big tweaks, then change only one or two options at a time. Test your most important pages on desktop and mobile, and only keep settings that pass that test twice in a row.
You can move this into a simple spreadsheet, with columns for the setting name, plugin, result, and notes. Over time, this becomes your personal playbook for safe speed tuning instead of random experiments. It also helps when you share tasks with a teammate or an agency later.
Document Settings Before You Change Them
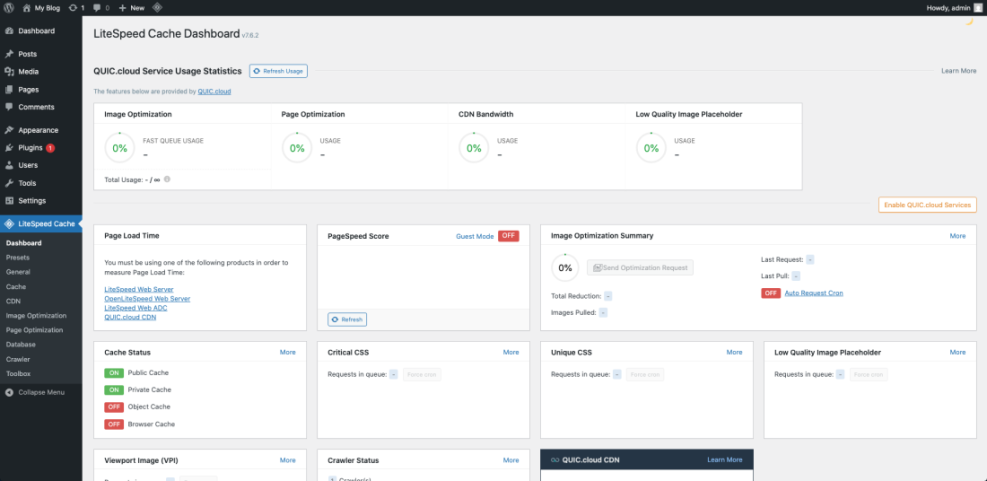
Screenshots are the easiest way to document current performance settings. Before you flip switches, capture the full plugin settings page and store the images in a shared folder. If something goes wrong, you can restore the previous configuration without trying to remember what you did last month.
Go to your caching plugin under Settings or Performance, then scroll through each tab to capture a full screenshot before changes.
Should You Use Multiple Caching Layers?
Many site owners stack plugin caching, host caching, and CDN caching at the same time. This can speed up a site but also makes debugging harder when layouts break. A safer approach uses a single primary caching layer and keeps others simple, such as using a CDN only for static assets.
Start with the layer you control best, often your WordPress performance plugin. Then, keep host-level and CDN caching more conservative. If you ever see repeating layout issues, simplify the stack before you change more settings and plan a separate WordPress cdn blog setup review later.
Broken Layouts Troubleshooting Conclusion
Broken layouts after performance tweaks feel scary, but they rarely mean your site is ruined. When you roll back recent changes, test on staging, and re-enable optimizations one step at a time, you gain both speed and reliability. Treat performance settings like code deployments, and your future tuning sessions will be faster, calmer, and far more predictable.
More WordPress Guides You Might Like
Once your layout is stable again, you can deepen your skills with guides that focus on safe optimization, staging workflows, and long-term site health.
- Developer hooks for optimizing WordPress plugins with code
- Woocommerce performance tips for faster stores
- How to use ai in WordPress
- Beginner guide WordPress speed core web vitals
- WordPress migration checklist for blogs
These follow-up topics help you build a complete toolbox, from speed fundamentals to detailed monitoring, so layout bugs stay rare and easy to fix.