Use WordPress plugins when you want to add new features to your site without custom code—like SEO tools, contact forms, security protection, caching, backups, or ecommerce.
In this step by step tutorial, you’ll learn how to add and manage plugins safely: choose the right option, install and activate it, configure plugin settings, display plugin features on pages, update extensions carefully, and fix common conflicts without breaking your site.
What You Need Before You Use WordPress Plugins
- Administrator access to your WordPress dashboard.
- Your WordPress login URL (usually
/wp-admin). - A clear goal (SEO, forms, security, speed, ecommerce).
- A recent full backup before installing new add-ons or running major updates.
- Optional: A staging site for testing changes before going live.
Step 1: Log In to WordPress and Open the Plugins Menu
The WordPress dashboard is where you install plugins, adjust plugin settings, and run updates. If you cannot reach the login screen, your site may use a custom login URL or a security redirect.
- Open your browser and go to
https://yourdomain.com/wp-admin. - Enter your Username or Email Address and Password.
- Click Log In.
- Confirm you see the admin sidebar with Plugins, Pages, and Settings.
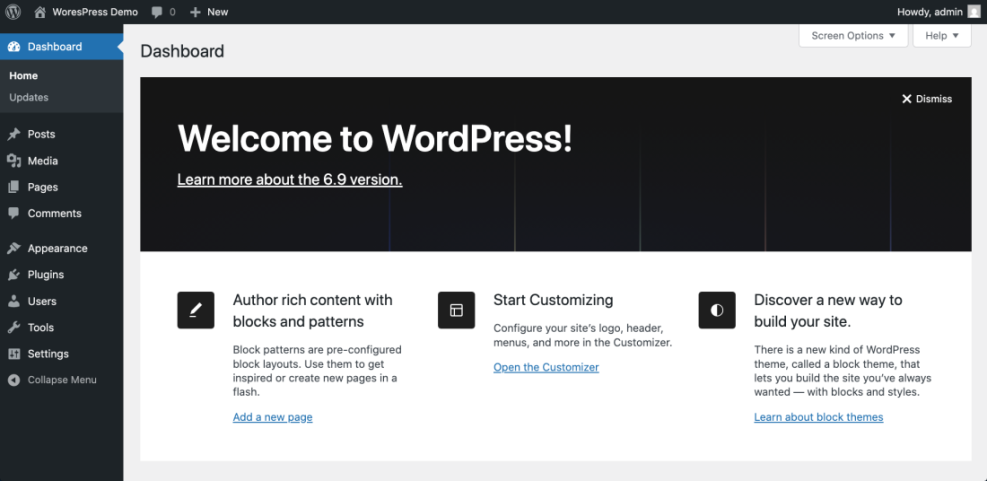
Verify: You can access the WordPress Dashboard and see the Plugins menu.
Step 2: Choose the Right Plugin (Quality, Compatibility, Support)
Pick one trusted plugin that solves your problem instead of stacking multiple tools with overlapping features (example: two caching tools or two security suites).
Plugin Checklist (Updates, Reviews, Compatibility)
- Updated recently: choose tools maintained and updated often.
- Compatible: supports your current WordPress version.
- Trusted: good ratings, active installs, and real support responses.
- Focused: prefer lightweight tools that do one job well.
- Safe source: avoid “nulled” or pirated downloads (common malware risk).
- Verify: You can name the feature you need and the plugin you plan to install.
Step 3: Install Plugins From the WordPress Plugin Directory
This is the most common way to add a plugin to a live site.
Install and Activate a Plugin (Free Directory Method)
- Go to Plugins » Add New.
- Search by name or feature (example: “SEO”, “forms”, “cache”).
- Click Install Now.
- Click Activate.
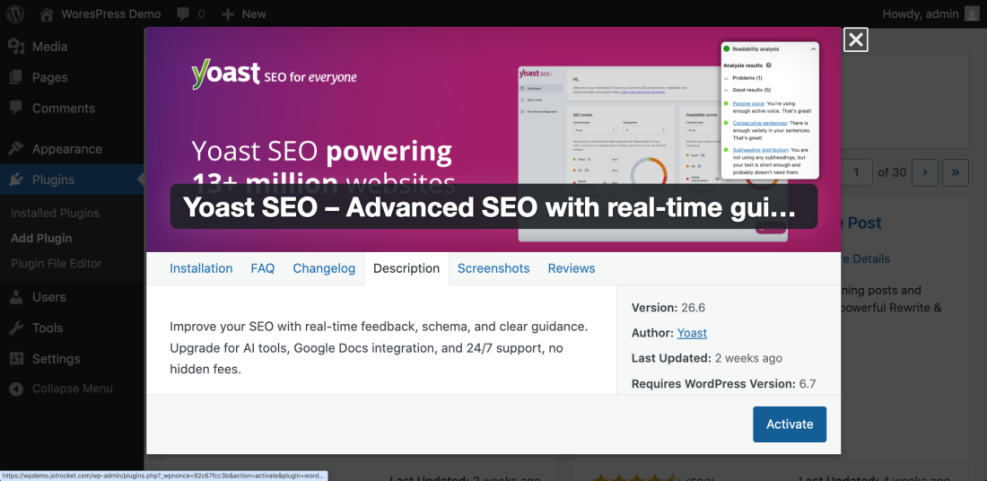
Verify: The plugin shows as Active in Plugins » Installed Plugins.
Step 4: Upload a Premium Plugin ZIP and Activate It
Use this method for paid tools you purchased or custom add-ons you received as a ZIP file.
Upload a Plugin ZIP in WordPress
- Go to Plugins » Add New.
- Click Upload Plugin.
- Select the ZIP file and click Install Now.
- Click Activate Plugin.
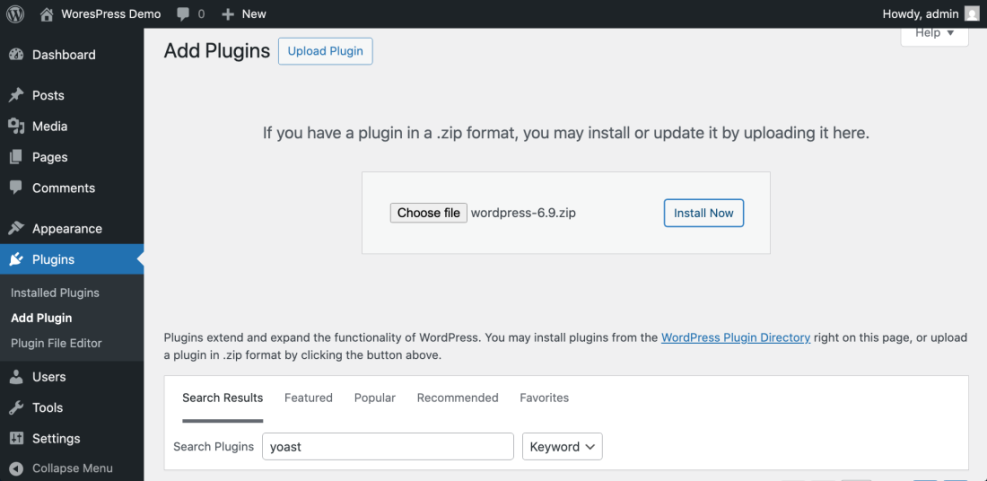
Verify: The plugin appears as active and you can open its settings/menu link.
Step 5: Configure Plugin Settings After Activation
After you activate a plugin, you usually need to configure settings so the feature works correctly.
Where to Find Plugin Settings in WordPress (Settings, Tools, Plugin Menu)
- Settings (common for simple tools).
- Tools (utilities and import/export features).
- Appearance (design-related add-ons).
- A new top-level menu (common for SEO, caching, security tools).
Run the Setup Wizard to Configure a Plugin (If Available)
If the plugin includes a wizard, start with recommended defaults, then fine-tune later after you confirm everything works.
Verify: You can reopen settings and confirm the main feature is enabled.
Step 6: Use Plugin Features on Pages (Blocks, Shortcodes, Widgets)
Once your plugin is installed and configured, you typically display it using blocks, shortcodes, or widgets.
Use Plugin Blocks in the WordPress Editor
- Open a page or post in the editor.
- Click the + button to add a block.
- Search for the plugin block (example: form block, reviews block, table block).
- Insert the block, configure it, then click Update.
Use Plugin Shortcodes to Display Features
Some tools provide shortcodes you paste into a Shortcode block, for example: [your-plugin-shortcode].
Use Plugin Widgets in Sidebars and Footers
If the plugin provides widgets, add them via Appearance » Widgets (or the Site Editor for block themes).
Verify: The feature displays correctly on the live page.
Step 7: Update Plugins Safely (Backup, Update, Test)
Updates are important for security, but update carefully to reduce conflicts.
Update Add-ons One-by-One to Avoid Conflicts
- Create a backup (or confirm your host has a restore point).
- Go to Dashboard » Updates or Plugins » Installed Plugins.
- Update items one at a time (especially caching, security, and page builder tools).
- Test key pages: homepage, login, forms, checkout (if WooCommerce).
- Clear cache after major updates (plugin cache + hosting cache if used).
Verify: The site loads normally and key pages still work after updates.
Step 8: Remove Unused Plugins (Deactivate and Delete)
Unused items increase maintenance and risk. If you don’t need it, remove it.
Plugin Cleanup for Speed and Security
- Go to Plugins » Installed Plugins.
- Click Deactivate under the plugin.
- Click Delete to remove the plugin files.
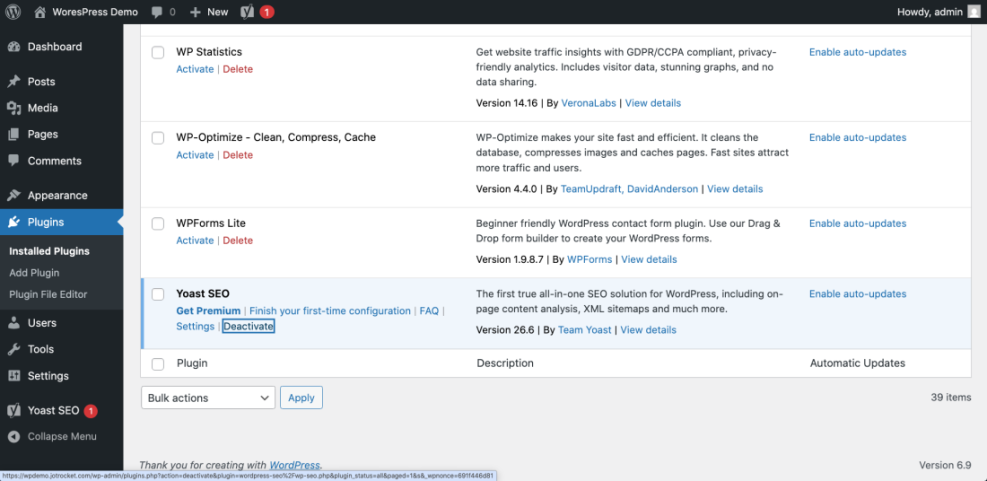
Verify: The plugin no longer appears in the Installed Plugins list.
Step 9: Troubleshoot Plugin Problems (Conflicts, Errors, Slow Site)
Conflicts happen when two tools (or a tool and theme) try to change the same feature.
Find a Plugin Conflict (Deactivate and Test)
- Deactivate the most recently installed or updated plugin.
- Refresh the page where the issue happens.
- If fixed, reactivate other items one-by-one to confirm the conflict.
Disable a Plugin Without wp-admin (File Manager / FTP)
If you cannot log in, disable the plugin from your hosting File Manager by renaming its folder in /wp-content/plugins/.
Verify: The site loads again and you can identify which plugin caused the issue.
Quick Comparison: Best Ways to Use WordPress Plugins
Use this table to choose the best method based on what you’re trying to do.
| Method | Where You Use It | Main Purpose |
|---|---|---|
| Plugin Directory | Plugins » Add New | Search and install plugins using update history, ratings, and active installs. |
| Upload Plugin (ZIP) | Plugins » Add New » Upload Plugin | Install premium or custom add-ons from a ZIP file. |
| Plugin Settings | Settings / Tools / Plugin menu | Configure settings so the tool works correctly and avoids conflicts. |
| Blocks / Shortcodes / Widgets | Editor / Appearance » Widgets | Display plugin features on pages, posts, and sidebars. |
| Updates + Cleanup | Dashboard » Updates / Plugins | Keep your site stable by updating and removing unused tools. |
Step 10: Test Your Site After Installing or Updating Plugins
After you install or update plugins, test your site so visitors don’t hit broken pages.
Post-Plugin Testing Checklist (Forms, Pages, Checkout)
- Open your homepage and one important internal page.
- Test forms (contact form, newsletter form).
- If you run a store, test cart and checkout.
- Check mobile layout quickly.
- Clear cache (plugin/host/CDN) if changes don’t show.
Verify: Visitors can use the site normally and plugin features work as expected.
Conclusion: Use WordPress Plugins Confidently Without Overloading Your Site
You now know how to use WordPress plugins safely: choose reputable options, install and configure them carefully, update one-by-one, and delete unused items so your site stays fast and stable.


