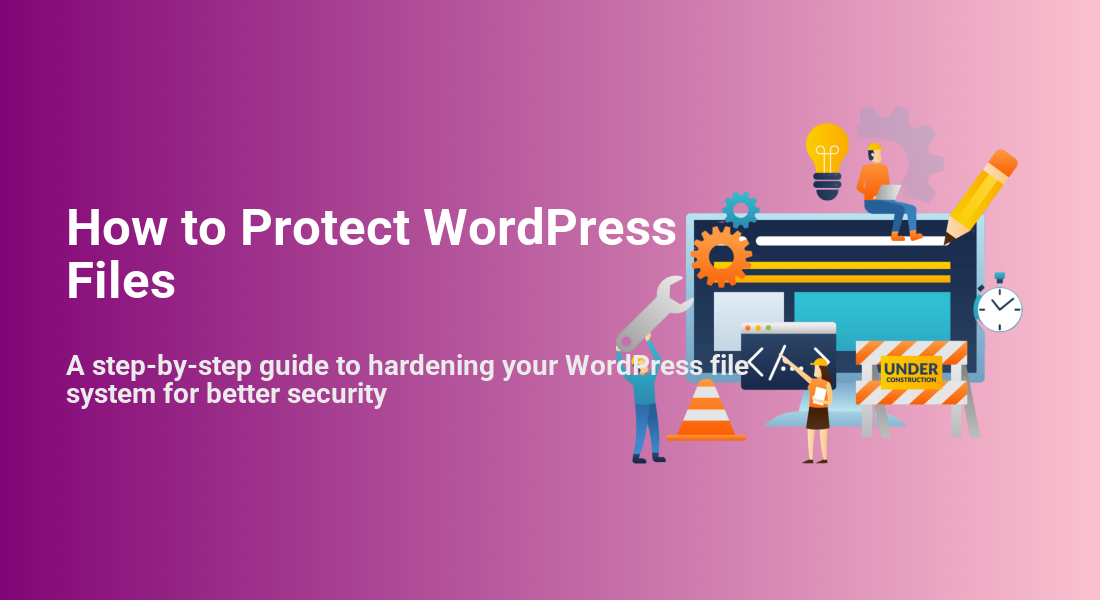
How to Protect WordPress Files
A step-by-step guide to hardening your WordPress file system for better security
Most attacks against WordPress start with your files. If a hacker can write or read the wrong file, they can upload malware, steal configuration details, or even wipe out your entire site. The good news: you can dramatically reduce that risk by hardening how WordPress files are stored and accessed on your server.
In this guide, you’ll learn exactly how to protect WordPress files: setting safe file permissions, hardening .htaccess, blocking malicious uploads, locking down file editing, and using backups as your safety net. You don’t need to be a sysadmin—just follow the steps carefully and test as you go.
Protect Wordpress file is one part of a bigger security picture. As you work through this tutorial, keep in mind how these changes support your broader efforts to secure your entire WordPress website.
Prerequisites
Before changing anything, make sure you have the right access and a rollback plan. You can’t protect WordPress files safely if you can’t undo mistakes.
- Access to your hosting control panel (e.g., cPanel, Plesk) or an FTP/SFTP client like FileZilla.
- Basic familiarity with the WordPress file structure (where
wp-content,wp-admin, andwp-config.phplive). - The ability to edit text files like
.htaccessandwp-config.phpvia your File Manager or code editor. - A full site backup (files + database) you can restore if something goes wrong.
.htaccess, wp-config.php, or changing permissions. A typo in these areas can take your site offline. Step 1: Understand which WordPress files need protection
Not every file is equally critical, but some are “high value targets” that attackers love. Knowing what you’re protecting helps you apply the right safeguards without breaking normal site behavior.
Key areas of the WordPress file system
- Core files in
/wp-admin/and/wp-includes/– Protect WordPress Files itself. These should never be modified directly. - Configuration files such as
wp-config.php,.htaccess, and sometimesphp.inior.user.ini. These control how WordPress connects to your database and how the server behaves. - Content files in
/wp-content/, including themes, plugins, and your/uploads/folder where images and documents live. - Temporary/cache directories like
/wp-content/cache/, where plugins store generated files.
Step 2: Set secure file and folder permissions
File permissions control who can read, write, or execute each file and folder on your server. Loose permissions are one of the easiest ways for attackers to take over a site. Your goal is to give WordPress just enough access to run, and nothing more.
Recommended permission values
- Folders:
755 - Files:
644 wp-config.php:600or640when your host allows it
How to change permissions in cPanel File Manager
- Log in to your hosting control panel and open File Manager.
- Navigate to your WordPress root (often
public_htmlor a subfolder). - Right-click a folder like
wp-contentand choose Change Permissions. - Set directories (e.g.,
wp-admin,wp-includes,wp-content) to 755. - Set individual files (PHP, CSS, JS) to 644.
- For
wp-config.php, try tightening to 600 or 640; if your host doesn’t support this, fall back to 644.
How to change permissions via FTP/SFTP
- Connect to your site using SFTP (preferred) or FTP.
- Right-click a folder or file and select File permissions… or CHMOD.
- Enter 755 for folders and 644 for files.
- Use the option to apply to “subdirectories only” or “files only” as appropriate when applying recursively.
Step 3: Harden .htaccess and disable directory browsing
On Apache servers, .htaccess controls how the server handles requests in a folder. A few carefully chosen rules can protect sensitive files and stop attackers from snooping around your directories.
1. Protect wp-config.php
Edit your .htaccess in the WordPress root (the same folder as wp-config.php). Use your File Manager or an SFTP text editor—not the WordPress theme editor.
<Files "wp-config.php">
  Require all denied
</Files>
This tells Apache to deny all direct HTTP requests to wp-config.php, even if someone knows the full URL.
2. Hide sensitive configuration files
Add this snippet below your existing WordPress rewrite rules:
<FilesMatch "\.(htaccess|htpasswd|ini|log|txt)$">
  Require all denied
</FilesMatch>
This blocks direct access to files like .htaccess, .htpasswd, php.ini, and log files that might contain internal information.
3. Disable directory indexing
Directory indexing shows a raw file listing when there’s no index.php or index.html. Attackers love this because it reveals structure and file names.
Options -Indexes
Place this near the top of your main .htaccess file. If a visitor tries to access a directory directly, they’ll see a 403 error instead of a file list.
.htaccess can cause 500 errors. If your site breaks, rename .htaccess to .htaccess.bak via File Manager or SFTP, then reload the site to confirm the issue. Step 4: Secure uploads and download files
The /wp-content/uploads/ folder is a common attack vector because it accepts files from users and administrators. If an attacker can upload a PHP file here and execute it, they can run arbitrary code on your server.
1. Block PHP execution in uploads
Create a new .htaccess file inside /wp-content/uploads/ (and optionally in /wp-content/cache/ and other writeable folders) with this content:
<FilesMatch "\.php$">
  Require all denied
</FilesMatch>
This prevents any PHP file in the uploads directory from running via a web request, even if it somehow gets uploaded there.
2. Keep uploads to safe file types
Only allow the file types you actually need (images, PDFs, etc.). If you run a membership or course site, be cautious with archives like .zip files, because users may upload hidden scripts inside them.
3. Harden downloadable files
For paid downloads or private documents, it’s often safer to store files outside the web root and serve them through a plugin that checks user permissions. For more advanced setups, you can follow a dedicated guide to securing WordPress downloads with protected links.
Step 5: Lock down file editing inside the WordPress dashboard
By default, WordPress lets administrators edit theme and plugin files directly from the dashboard. While convenient, this feature is also a gift to attackers who compromise an admin account—they can drop malicious code right into your theme.
Disable the built-in file editor
- Open
wp-config.phpin your hosting File Manager or via SFTP. - Find the line that says
/* That's all, stop editing! Happy publishing. */. - Just above that line, add the following:
define( 'DISALLOW_FILE_EDIT', true );
Save the file and reload the WordPress dashboard. The Theme File Editor and Plugin File Editor links under Appearance and Plugins will disappear.
Optionally block installation and updates via the dashboard
If you manage updates via a deployment workflow or your host handles them, you can go further and disable plugin/theme installs and updates from the dashboard:
define( 'DISALLOW_FILE_MODS', true );
DISALLOW_FILE_MODS will block adding new plugins, themes, and running core updates via the dashboard. Only use it if you have another reliable way to update or protect WordPress files. wp-config.php changes to production so you don’t break a live site unexpectedly. Step 6: Monitor file changes with a security plugin
Even with strong permissions and hardened configuration, you still need visibility. A good security plugin can alert you when suspicious file changes occur, so you can act before damage spreads.
What to enable in your security plugin
- File change detection: Alerts when core, theme, or plugin files are modified unexpectedly.
- Malware scanning: Regular scans of your file system for known signatures.
- Upload scanning: Optional scans on new files added to
/wp-content/uploads/. - Firewall rules: To block known bad IPs and common attack patterns before they reach PHP.
Configure email or dashboard notifications so you don’t miss critical alerts. Review them regularly and investigate any file changes you didn’t initiate.
Step 7: Improve server-level file access security
Finally, look at how you connect to your server and how your host is configured. Strong application security won’t matter if attackers can log directly into your hosting account or upload files through insecure protocols.
Use SFTP or SSH instead of plain FTP
- Disable traditional FTP accounts if your host allows it.
- Use SFTP (FTP over SSH) or direct SSH for all file operations.
- Use strong, unique passwords or SSH keys for all connections.
Lock down your hosting and control panel
- Enable multi-factor authentication (2FA) on your hosting account and control panel.
- Restrict who has access to File Manager, database tools, and backups.
- If possible, limit access by IP address for admin tools such as cPanel or Plesk.
Combine file security with a backup strategy
Even the best hardening can’t guarantee you’ll never be compromised, or that a plugin update won’t introduce an issue. That’s why file security must work hand in hand with a strong backup and restore plan.
Before changing advanced server settings or experimenting with new plugins, make sure you have a tested backup plan in place. You can follow a dedicated tutorial on building a WordPress backup strategy to structure this properly.
Protect WordPress files locked down and recoverable
Protecting WordPress files isn’t about one magic plugin or snippet—it’s about layering defenses. You’ve tightened permissions, hardened .htaccess, locked down uploads, disabled risky file editing, introduced monitoring, and tied everything together with a backup strategy.
With these steps in place, attackers have a much harder time writing or reading files in ways they shouldn’t. Keep reviewing your file security periodically, especially after installing new plugins, changing hosts, or redesigning your site. The more consistent you are, the less attractive your site becomes as a target.
Further Reading
- Beginner WordPress Security Best Practices Guide
- WordPress Security Complete Overview
- How to Protect Your WordPress Admin Area Using .htaccess
- Best WordPress Security Plugins Compared
- WordPress Disaster Recovery Walkthrough
Frequently Asked Questions
How long does it take to harden and protect WordPress files and will it slow my site down?
.htaccess rules should not slow down your site in any noticeable way. In some cases, blocking directory listings and malicious requests can even reduce unnecessary load. What should I do if editing .htaccess breaks my website?
.htaccess, don’t panic. Use your File Manager or SFTP client to rename .htaccess to something like .htaccess.broken. Reload your site—WordPress will usually regenerate a fresh .htaccess when you visit Settings → Permalinks and click Save Changes. Then, reapply your security rules one small piece at a time to find the problematic line. Why are 777 file permissions dangerous in WordPress?
777 give anyone (including other users on the same server) full read, write, and execute access. On shared hosting, that means another compromised account could write files into your site. Instead, stick to 755 for directories and 644 for files unless your host explicitly recommends something different for a specific path. My image uploads stopped working after I added .htaccess rules. How do I fix this?
.htaccess to /wp-content/uploads/, it usually means the rules are too strict. First, temporarily remove or rename the .htaccess file in that folder and test uploads again. If they work, gradually reintroduce your rules, ensuring you only block executable scripts (like .php) and not the MIME types you need (such as .jpg, .png, or .pdf).