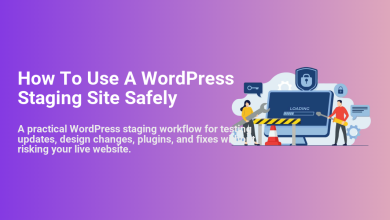
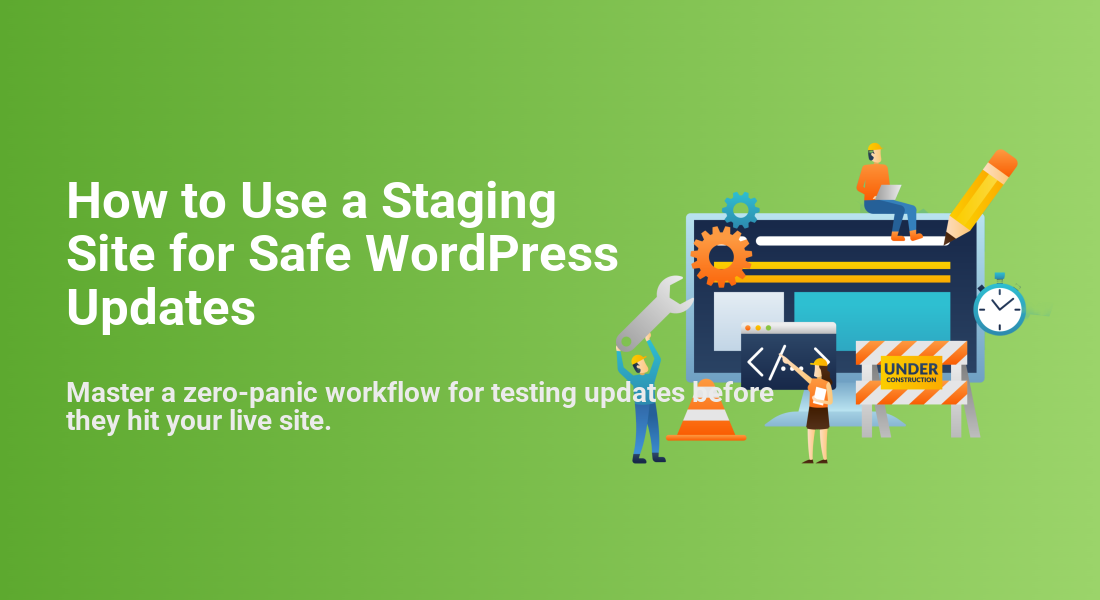
How to Use a Staging Site for Safe WordPress Updates
Master a zero-panic workflow for testing updates before they hit your live site.
Clicking “Update” on a live WordPress site can be nerve-wracking. One bad core, plugin, or theme update can trigger the white screen of death, broken layouts, or a checkout that quietly stops working while visitors are still on your site.
A staging site solves this by giving you a private, safe copy of your website where you can test updates, fixes, and design changes before they go anywhere near production. When you use staging correctly, WordPress updates become a predictable maintenance task instead of a risky gamble.
If you don’t have a staging environment yet, start with this tutorial to create a WordPress staging site, then return here to learn the safest way to handle updates using that staging copy.
Prerequisites
Before you build a staging-based update workflow, make sure a few essentials are in place. These will help you avoid data loss and keep the process repeatable.
- Working staging environment: Either provided by your host (common on managed WordPress hosting) or created with a staging plugin/subdomain.
- Admin access to both sites: You need WordPress admin login for live and staging, plus hosting control panel access if your host manages staging.
- Reliable backups: Automatic daily backups at minimum, plus the ability to trigger a manual backup before deploying changes.
- Basic traffic awareness: Know when your site is quiet (off-peak hours) so you can deploy with minimal user impact.
Step 1: Review How Your Staging Site Syncs With Live
Not all staging systems work the same way. Before you run any updates, understand exactly how your host or plugin copies changes between live and staging.
Most staging tools follow one of these patterns:
- Full overwrite: When you push staging to live, it overwrites both files and database tables on production.
- Files only: Only the WordPress files (core, plugins, themes) from staging are deployed; the live database stays untouched.
- Selective/merge: You can choose which tables or file paths to push (advanced and less common on entry-level hosting).
Log into your hosting control panel and look for labels like “Push to Live,” “Deploy,” or “Copy Staging to Production.” Read the help tooltip or documentation so you know whether you’re overwriting or merging data when you click those buttons.
Step 2: Sync Your Live Site to Staging Before Each Update
To be useful, your staging site must be a current snapshot of live. If the copy is months old, your tests won’t reflect how today’s plugins, theme, and content will behave.
- Trigger a fresh copy: In your host’s panel, choose the option like “Copy Live to Staging” or “Refresh Staging from Production.” In a staging plugin, use the “Clone” or “Refresh” feature.
- Wait for the sync to finish: Larger sites may take several minutes. Don’t start updates until the tool confirms the staging copy is complete.
- Verify the copy: Log into staging and quickly check the front page, a recent blog post, and any key template (shop, cart, course page) to ensure they match live.
At this point, staging should look and behave like your production site did just before you started the update cycle.
Step 3: Update WordPress Core on Staging First
Once staging is synced, start with WordPress core. Updating core first reduces compatibility surprises when you later update plugins and themes.
- Log into staging: Use the staging site URL and your WordPress admin credentials.
- Go to the Updates screen: In the admin menu, navigate to Dashboard → Updates.
- Check for core updates: If a new WordPress version is available, click “Update Now”.
- Wait for completion: Don’t navigate away until you see the confirmation message that WordPress has been updated.
After the update, quickly test:
- Admin login (log out and back in).
- Creating and saving a draft post or page.
- Any custom post types or critical editor features your team uses.
If something fundamental breaks right after a core update on staging, it’s much better to discover it here than on your live site.
Step 4: Update Plugins and Themes on Staging in Small Batches
Plugins and themes are the most common source of update conflicts. Updating everything at once makes it hard to pinpoint the culprit when something goes wrong. Instead, update in small, logical batches.
- Group by importance: Separate mission-critical plugins (eCommerce, membership, LMS, bookings) from low-risk ones (social sharing, minor UI helpers).
- Update a small batch: On staging, go to Plugins → Installed Plugins, select 2–4 related plugins, and use the bulk update option. Do the same for themes via Appearance → Themes when needed.
- Test after each batch: After every group of updates, run quick checks of the areas those plugins affect (shop, forms, caching, SEO, etc.).
- Note any issues: If you see errors, disable the suspect plugin on staging and record its name and version in your maintenance log.
Updating in small batches lets you isolate problematic plugins quickly and decide whether to postpone that update on live or look for an alternative.
Step 5: Test Your Staging Site With a Simple QA Checklist
Updates that “seem fine” can still hide subtle bugs. A short but consistent QA checklist helps you catch issues before they reach visitors or customers.
After you finish the core, plugin, and theme updates on staging, run through this list:
- Homepage and key landing pages: Check for layout shifts, missing images, console errors, and broken sliders.
- Navigation and internal links: Click through main menu items and a few sidebar/footer links.
- Forms: Test at least one contact form, comment form, and any lead-generation forms.
- eCommerce or membership flows: Add a product to cart, go through checkout in test mode, sign up and log in to a member account if applicable.
- Search and filters: Use site search and any product or content filters.
- Performance sanity check: Load a few heavy pages to make sure they don’t feel noticeably slower than before.
Step 6: Deploy Staging Changes to Live Safely
Once you’re confident that staging is stable, it’s time to bring those updates to your live site. This is where understanding your host’s deployment behavior really matters.
- Schedule a low-traffic window: Deploy during off-peak hours to minimize impact if you need to troubleshoot or roll back.
- Enable maintenance mode (optional but recommended): Use your host’s tool or a plugin following this guide on how to put WordPress in maintenance mode so visitors see a friendly message rather than a broken page.
- Take a fresh live backup: Trigger a manual backup of your live site in your hosting panel or backup plugin.
- Deploy staging to live: Use your host or staging plugin’s “Push to Live” or “Deploy” button. Confirm the options: files only vs files + database, and ensure they match your plan from Step 1.
- Wait for completion and clear caches: When deployment finishes, clear any server cache, WordPress caching plugins, and CDN cache.
After deployment, repeat a slimmed-down version of your QA checklist on the live site: homepage, navigation, forms, and any revenue-critical flows.
Step 7: Roll Back Quickly If Something Breaks
Even with careful testing, real-world traffic can expose edge cases you miss on staging. A rollback plan keeps small issues from turning into extended downtime.
If you notice serious problems on live right after deployment (checkout failures, login issues, fatal errors), act quickly:
- Decide whether to roll back: If critical parts of the site don’t work, it’s usually better to revert immediately rather than debug in production.
- Restore from the pre-deployment backup: Use your hosting backup tool or backup plugin to restore the snapshot you took just before pushing staging to live.
- Reproduce the issue on staging: Once live is stable again, go back to staging and try to recreate the problem there, where you can safely debug.
- Plan a revised update: Exclude the problematic plugin/theme, or update your theme/child theme code to fix compatibility before trying again.
With this approach, the worst-case scenario is a short window of issues followed by a clean restore, instead of a broken site with no obvious way back.
Run WordPress Updates With Confidence Using a Staging Workflow
A staging site is more than just a copy of your WordPress site—it’s your safety net. By syncing from live, updating core and plugins in small batches, and testing with a clear QA checklist, you dramatically reduce the risk that an update will take your site down.
Once you layer in safe deployment habits—backups, maintenance mode, and a fast rollback plan—updates become a predictable, low-stress part of your monthly WordPress maintenance routine instead of a source of anxiety.
Adopt this staging workflow, document it for your team, and you’ll be able to keep WordPress core, themes, and plugins current without putting your visitors, customers, or revenue at risk.
Further Reading
- How to Update WordPress Plugins Safely
- How to Update a WordPress Theme
- WordPress Disaster Recovery Walkthrough
- WordPress Maintenance and Backup Plan
- Beginner WordPress Security Best Practices Guide
Frequently Asked Questions
Do I really need a staging site for WordPress updates?
What if my hosting plan doesn’t include a staging site?
How do I avoid overwriting new orders or user data when I push from staging to live?
- Schedule updates during very low traffic periods.
- Minimize the time between refreshing staging and deploying back to live.
- Use tools that can deploy files only (leaving the live database intact) if your host supports that.
In high-volume scenarios, it’s worth consulting your host or a developer about more advanced strategies, such as deploying only code changes while keeping the production database live at all times.
How should I secure my staging site?
- Password protection at the server level (HTTP auth).
- Unique, strong WordPress admin credentials different from production.
- “Noindex” settings so search engines don’t index your staging URLs.
Treat staging like a real site from a security perspective; it runs the same code and plugins as your live site, so it can also be a target if left exposed.