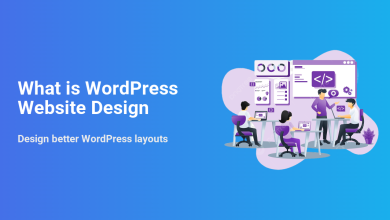
WordPress Website Design can feel overwhelming when you first log in and see hundreds of themes, layout options, and settings. Instead of guessing, follow a clear process that helps you plan your pages, select a fast theme, and design a layout that looks professional on every device.
In this tutorial, you will design a complete visual foundation for your site. The process includes planning your structure, choosing a lightweight theme, customizing your branding, building key pages like Home and About, and verifying that your WordPress Website Design is mobile friendly, readable, and ready to support your goals.
What You Need to Start with WordPress Website Design
- A working WordPress site installed on your hosting (with access to the /wp-admin dashboard).
- Administrator access to your WordPress account so you can change themes and settings.
- A simple brand starter kit such as a logo file or text logo, 2–3 brand colors, and a preferred font style.
- A short list of must have pages such as Home, About, Services or Shop, Blog, and Contact.
- Basic familiarity with clicking around the WordPress dashboard and saving changes.
Step 1: Plan Your Site Structure
Before you touch any design controls, plan how your content will be organized. A clear structure keeps your design focused and makes every later layout choice easier.
- Write one sentence that states your site’s primary goal, for example “Generate service inquiries” or “Grow blog subscribers”.
- List your core pages such as Home, About, Services, Blog, and Contact on paper or in a notes app.

Effortlessly manage all your website pages, drafts, and published content from the WordPress admin panel. - Decide which pages belong in your main menu and which belong in the footer (privacy policy, terms, and other secondary items).
- Under each core page, jot down 3–5 sections you want, such as “Hero”, “Benefits”, “Testimonials”, and “Call to action”.
Confirm this step is complete when you can describe your site in one sentence and your navigation fits in a simple top menu without clutter.
Step 2: Choose and Install a Clean Theme for WordPress Website Design
The theme you choose controls the overall look and layout of your WordPress Website Design. To support a fast, modern experience, pick a lightweight, responsive theme so the site loads quickly and works well on phones and desktops.
- Log in to your WordPress dashboard and navigate to Appearance » Themes.
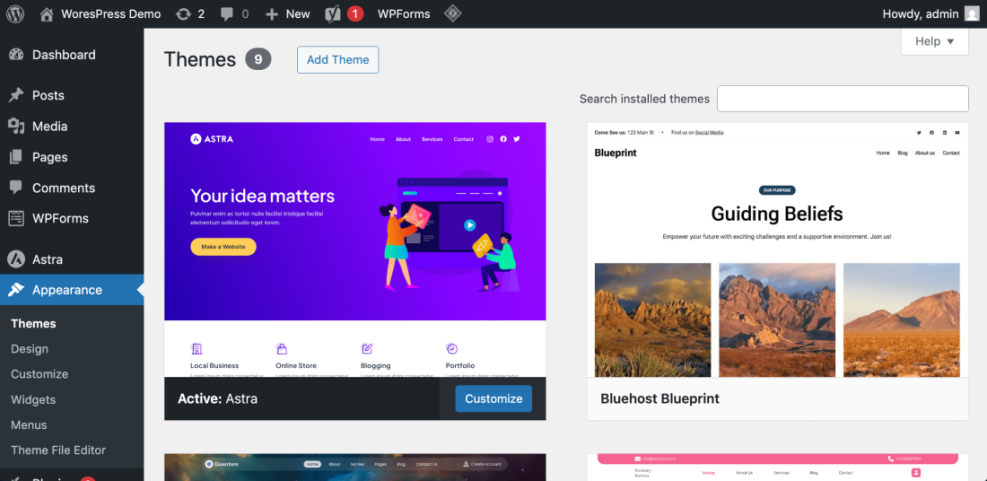
- Click Add New and use the search box or filters to look for modern, responsive themes with good ratings.
- Hover a theme and click Preview to see its layout, fonts, and menu style using your sample content.
- When you find a theme that matches your structure, click Install then Activate.
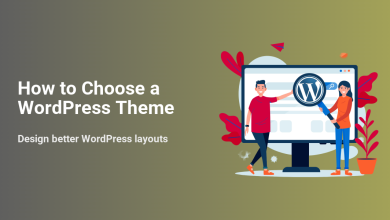
For more help evaluating fast and lightweight options, read How to choose WordPress theme.
To verify success, open your site in a new browser tab. A fresh header, menu, and base layout from the new theme should appear without any errors.
Step 3: Customize Your Branding and Styles
Strong branding ties your theme to your business by setting a logo, colors, and basic typography. When these elements stay consistent, your WordPress Website Design looks polished and trustworthy.
- From the dashboard, go to Appearance » Customize to open the theme customizer.
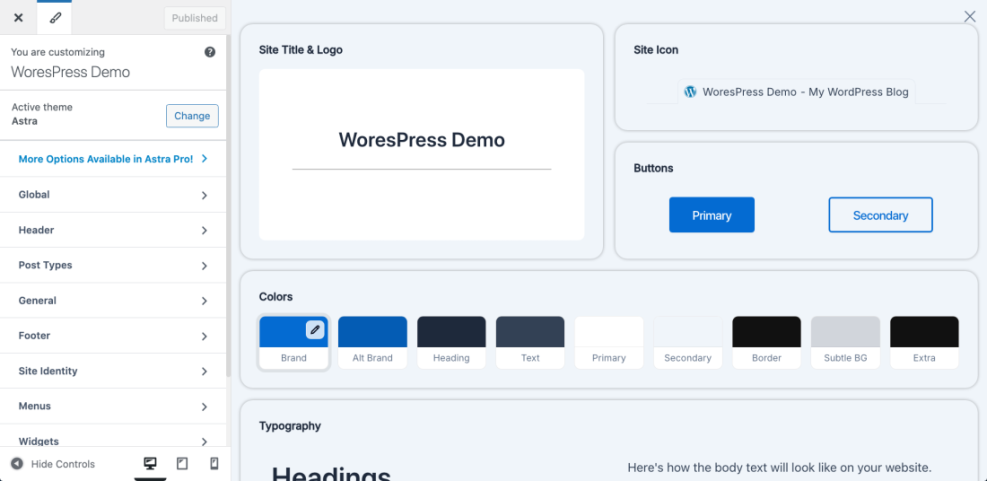
- Click Site Identity, enter your Site Title and Tagline, and upload your logo if you have one.
- Open the Colors panel and set your main background, link, and accent colors using your brand palette.
- If your theme offers a Typography section, choose a clean, readable body font and a stronger heading font.
If your theme does not expose certain typography options, add a small tweak in Additional CSS inside the customizer.
body {
  font-family: system-ui, -apple-system, BlinkMacSystemFont, "Segoe UI", sans-serif;
}

h1, h2, h3 {
  font-weight: 700;
}
After publishing your changes, browse a few pages. When your logo, colors, and fonts look consistent everywhere, you can consider this step complete.
Step 4: Design Essential Pages
Once your theme and branding are in place, start designing the core pages that visitors will see first. Aim for clear sections, strong headings, and obvious calls to action.
- Navigate to Pages » Add New and create a page titled Home.
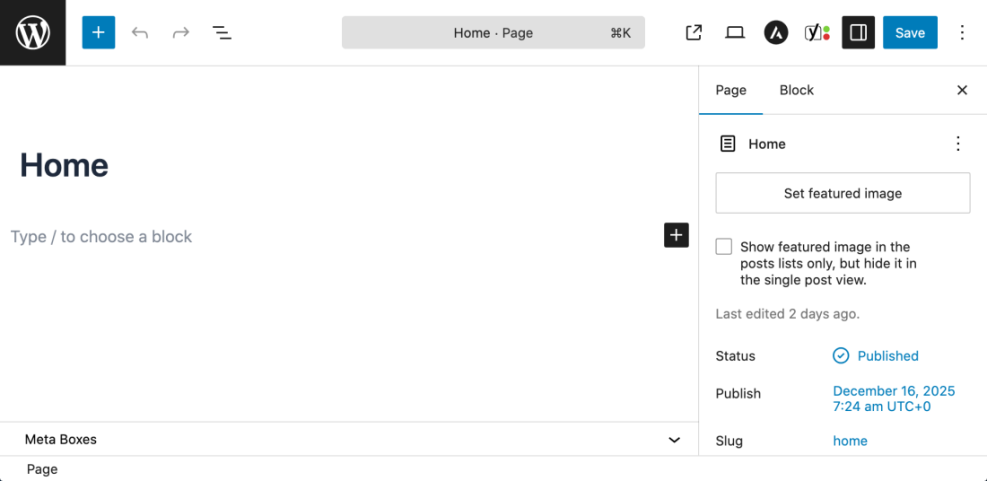
- Use the block editor or your page builder to add a hero section, short benefit list, testimonials, and a clear button like “Contact us” or “Get started”.
- Create additional pages for About, Services or Shop, Blog, and Contact using Pages » Add New.
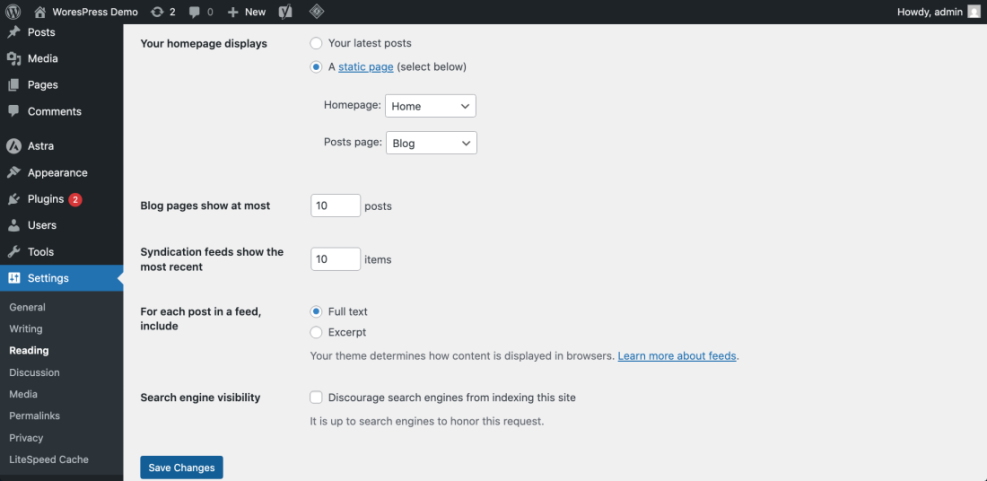
- Go to Settings » Reading, set Your homepage displays to A static page, select your new Home page as Homepage, and your blog page as Posts page.
For deeper ideas on arranging posts and sidebars, review the WordPress migration blog guide.
Visit each page in a new browser tab. Confirm that the header, footer, and fonts look consistent and that your menu links take you to the correct pages.
Step 5: Optimize Mobile Layout and Navigation
A large share of visitors now browse on phones, so your WordPress Website Design must look great on small screens. That means tuning your layout and navigation for mobile users.
- Open Appearance » Customize and click the mobile preview icon at the bottom of the customizer panel.
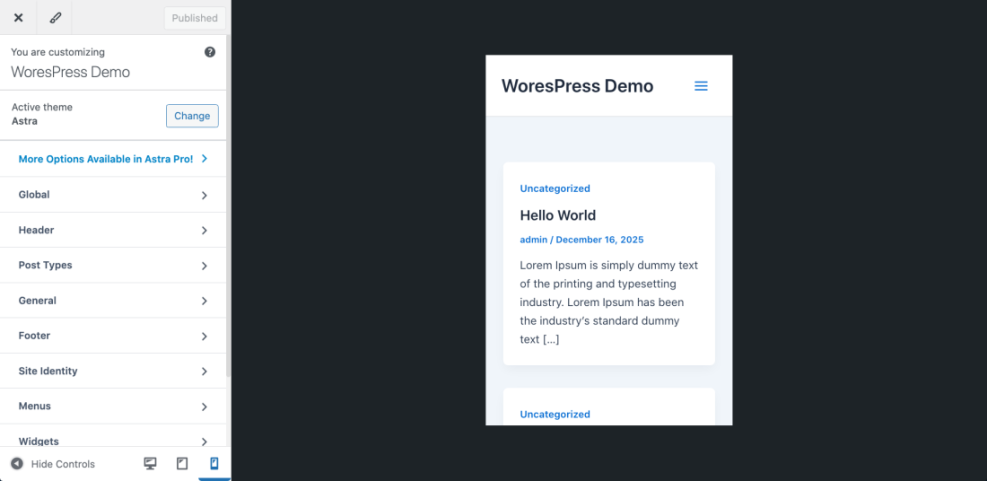
- Check your header and menu. Make sure important links appear in the mobile menu and that it collapses into a simple hamburger icon.
- Scroll each page and look for sections that feel cramped or too tall. Adjust padding, margins, and font sizes where your theme allows.
- Test all buttons and forms to confirm they are easy to tap with a thumb and that no horizontal scrolling appears.
For image specific tuning, especially on visual pages, study Beginner WordPress security best practices guide and apply its sizing and compression tips to your page images.
Finish by checking your site on at least one actual phone and one tablet. Everything should be readable, clickable, and visually balanced without extra zooming.
Step 6: Improve Speed and Readability
Design is not only about how a site looks but also how fast it feels. A clean, quick-loading layout improves both user experience and search performance.
- Limit each page to a few key fonts, colors, and content blocks. Remove any unnecessary sliders, carousels, or heavy animations.
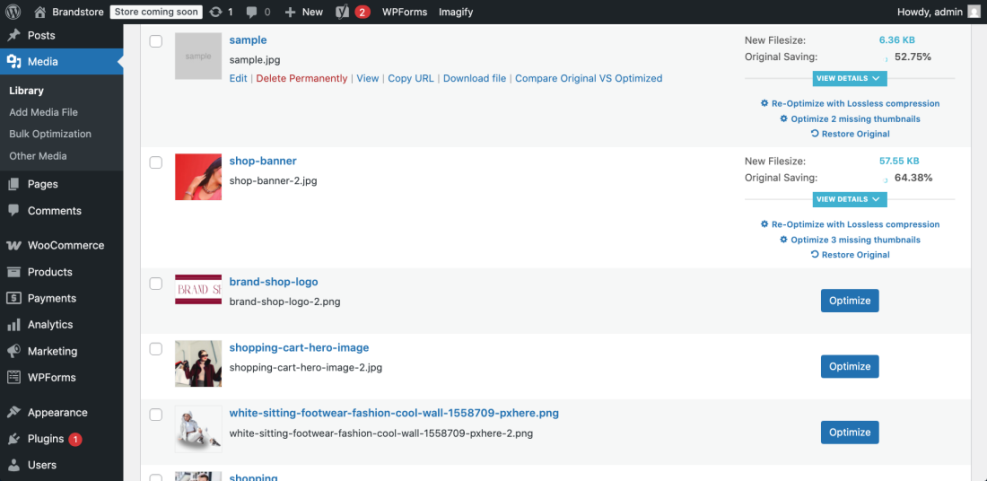
- Resize large images before uploading and use an image optimization plugin to compress existing media in your Media Library.
- Install a trusted caching plugin and use the default recommended settings if your host does not already provide caching.
- Run your site through a speed test such as PageSpeed Insights and note any layout shift or image related warnings.
When you are ready for more technical speed wins that still respect your design, read the Beginner guide to WordPress speed optimization.
Re test your pages after each adjustment. If they load quickly, scroll smoothly, and remain easy to read, your visual design is supporting performance instead of fighting it.
Step 7: Choose a Maintenance Method
After your WordPress Website Design looks and performs the way you want, keep it that way with a simple maintenance routine. Each method below shows where maintenance happens and what it’s best for, from DIY to fully managed care plans.
| Method | Where You Use It | Main Purpose |
|---|---|---|
| DIY Manual Maintenance | WordPress dashboard and hosting control panel | Maximum control over updates, theme and plugin changes, and manual checks for title issues on small or low-risk sites. |
| Managed Hosting Tools | Your host’s control panel or custom dashboard | Simplify routine maintenance with one-click updates, built-in backups, and basic monitoring so template problems are less likely to appear. |
| SEO, Maintenance & Security Plugins | Plugins section inside the WordPress dashboard | Automate repetitive tasks like backups, database cleanup, image optimization, and security scans, while also running periodic audits of titles and meta tags. |
| WP-CLI and Developer Tools | SSH terminal with WP-CLI and deployment tools | Scriptable, fast maintenance for developers managing multiple or complex sites, including scanning themes for legacy header.php markup. |
| Professional WordPress Care Plan | External provider, freelancer, or agency | Hands-off maintenance with proactive monitoring, regular audits, and expert fixes so problems like duplicate titles are caught early. |
Pick one primary method that fits your skills and budget, then schedule regular check-ins so your design, performance, and SEO all stay in good health over time.
Conclusion Your WordPress Website Design Is Ready to Go
By this point you have planned your structure, chosen a lightweight theme, customized branding, built essential pages, tuned your mobile layout, improved speed, and picked a maintenance method. As a result, your WordPress Website Design now has a clear foundation instead of random trial and error.
From here you can refine individual sections, test new copy, and expand your content library. Because your design is consistent and performance aware, every new page you add will fit naturally into the site and keep visitors engaged.
Further Reading and Resources
- Best WordPress seo plugins and tools
- How to design a website with WordPress
- WordPress speed optimization new bloggers