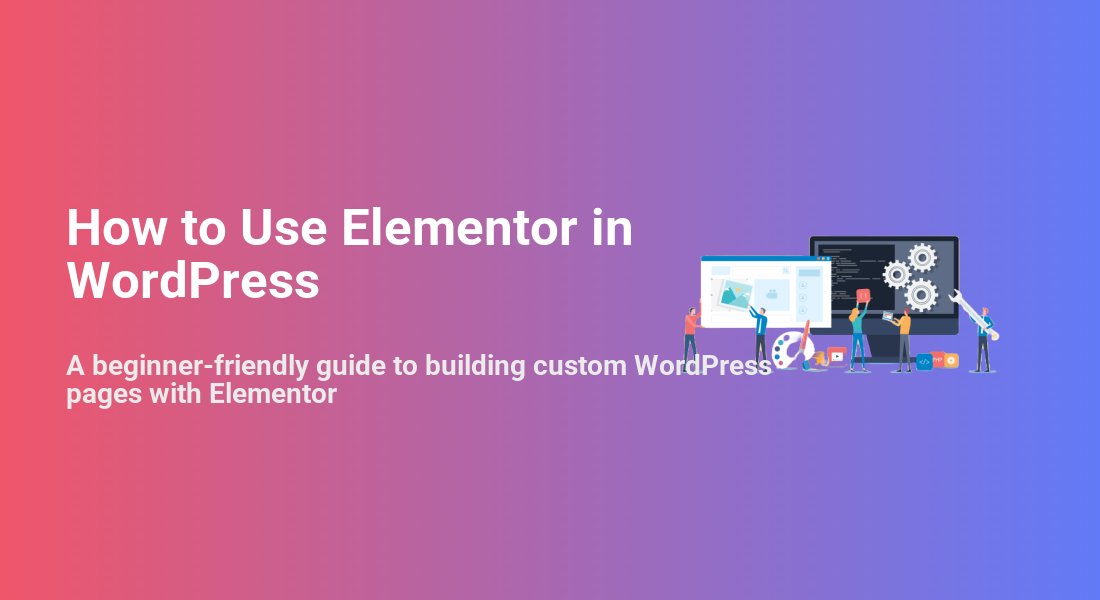
How to Use Elementor in WordPress
A beginner-friendly guide to building custom WordPress pages with Elementor
Elementor is one of the most popular drag-and-drop page builders for WordPress. Instead of wrestling with shortcodes or theme options, you can visually design landing pages, homepages, and sales pages by dragging widgets into place and editing them in real time.
In this guide, you will install Elementor, connect it to your WordPress site, and build a complete page from scratch. You will learn how sections, columns, and widgets work together, how to keep your design mobile-friendly, and how to reuse layouts as templates.
If you are brand new to the WordPress dashboard, start with how to use WordPress so the basics (pages, posts, menus) are clear before diving into Elementor.
Prerequisites
Before you start using Elementor, make sure you have the following in place:
- An existing WordPress website installed and working (any modern theme, including Jannah).
- Access to the WordPress admin dashboard (Administrator role recommended).
- Permission to install plugins on the site.
- Optionally, a staging site where you can test Elementor layouts before pushing them live.
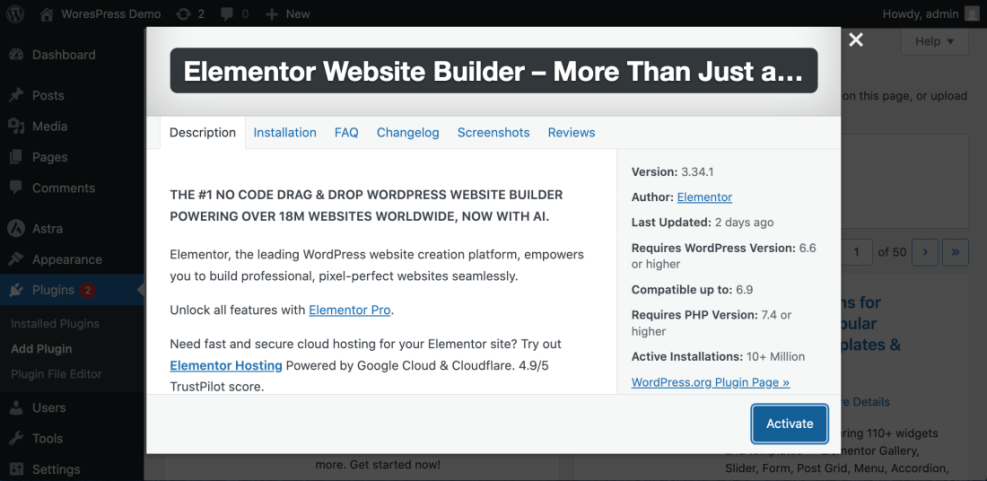
Step 1: Install the Elementor plugin
Elementor is installed like any other WordPress plugin. The free version is enough to learn the basics and build solid layouts.
- Log in to your WordPress admin dashboard.
- Go to Plugins > Add New.
- In the search box, type Elementor.
- Find Elementor Website Builder by Elementor.com.
- Click Install Now, then click Activate after installation.
If you need a refresher on how plugin installation works in general, see how to install a plugin in WordPress.
Step 2: Configure Elementor settings in WordPress
Once Elementor is active, you should adjust a few global settings so it works smoothly with your theme and editor setup.
- In the WordPress dashboard, go to Elementor > Settings.
- Under the General tab, choose where Elementor can be used (Pages, Posts, custom post types). For beginners, enabling it on Pages is enough.
- Under the Advanced tab, you can control CSS Print Method and other technical options. Leave defaults unless you are troubleshooting.
- In Role Manager, limit who can edit with Elementor. For example, you might allow only Administrators and Editors.
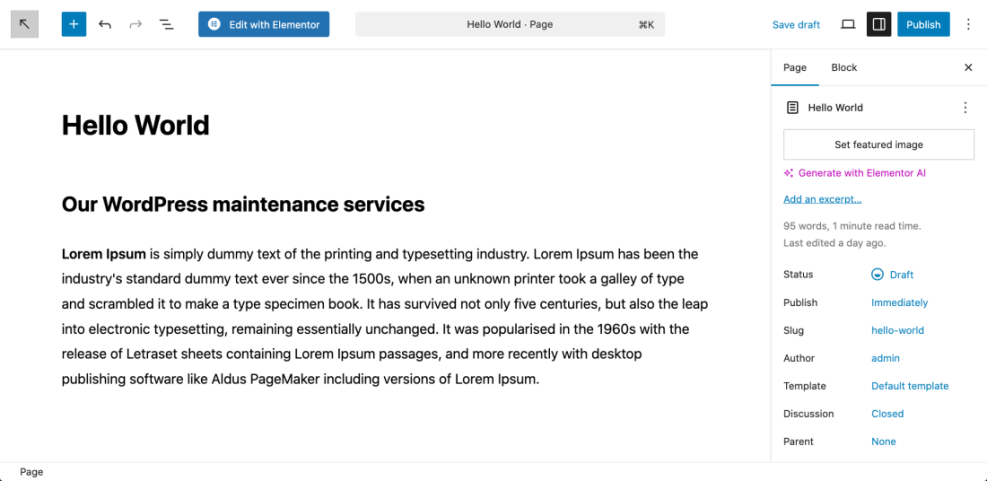
Step 3: Create a new page for your Elementor layout
Elementor works best when you create a fresh page and hand over most of the layout control to the builder.
- Go to Pages > Add New.
- Enter a descriptive title, like Home, Services, or Landing Page.
- In the page settings sidebar, look for the SEO and UX, and where you will see it in daily work.”>Template or Page Attributes panel and select a full-width or no-sidebar layout if your theme provides it.
- Click Save Draft.
- Click the Edit with Elementor button to launch the Elementor editor.
Step 4: Learn the Elementor interface
When Elementor loads, you will see two main areas:
- The left panel containing widgets (Heading, Text Editor, Image, Button, etc.) and section settings.
- The canvas area on the right where your page layout appears.
At the bottom of the left panel, the control bar gives you quick access to:
- Settings (gear icon): Page title, status, featured image, layout.
- Navigator: A tree view of all sections, columns, and widgets.
- History: Undo/redo steps and revision history.
- Responsive Mode: Preview and edit for desktop, tablet, and mobile.
- Preview, Save Draft, Publish/Update: Control the page’s visibility.
Step 5: Build your first hero section
The core building block in Elementor is the section. A section can contain one or more columns, and each column contains widgets (content elements).
- On the canvas, click the + icon to Add New Section.
- Choose a single-column layout for a simple hero section.
- With the section selected (blue border), go to the Layout tab in the left panel and set Content Width to Boxed or Full Width as you prefer.
- Switch to the Style tab and set a background color or image for the hero.
- Drag a Heading widget into the column and type your main headline.
- Add a Text Editor widget under the heading for supporting text.
- Drag a Button widget below the text and update the label and link.
Once finished, you should see a clean hero section with a bold headline, short description, and a call-to-action button centered or aligned as you prefer.
Step 6: Add more content blocks to your page
After the hero section, you can stack more sections to explain your services, show features, or prove social proof.
- Click the + icon below your hero to add another section.
- Choose a two- or three-column layout for features or services.
- Drag Icon Box, Image, or Heading widgets into each column.
- Use the Style tab to control colors, borders, and typography.
- Use the Advanced tab to adjust margins and padding if elements feel too cramped or too spaced out.
You can repeat this process to build testimonials, FAQs, pricing tables, and more. Each section can have a different background to visually separate content areas.
Step 7: Make your Elementor page mobile-friendly
Responsive design is critical for both user experience and SEO. Elementor lets you adjust settings for desktop, tablet, and mobile individually.
- Click the Responsive Mode icon in the bottom bar and switch to Tablet or Mobile view.
- Select key widgets (headings, buttons, images) and look for device icons next to font size, alignment, and spacing controls.
- Set smaller font sizes and adjust line-height for mobile so text is readable without zooming.
- Use Margin and Padding in the Advanced tab to reduce empty space on small screens.
- Hide purely decorative elements on mobile using the Responsive > Visibility options if they make the layout too heavy.
Step 8: Save templates and reuse designs
Once you have a layout you like, you do not need to rebuild it from scratch on every page. Elementor lets you save sections and entire pages as templates.
- Right-click on a section handle (the blue tab at the top of a section).
- Choose Save as Template.
- Give your template a descriptive name, such as Service Hero or Lead Capture Section.
- On a different page, click the gray folder icon in the canvas, go to the My Templates tab, and insert the saved template.
You can also design a full-page template and reuse it as a starting point for multiple landing pages, ensuring a consistent look across your site.
Step 9: Publish and test your Elementor page
Once your layout looks good on all devices, you are ready to publish.
- Click the Preview icon to open the page in a new tab and scan it for typos, spacing issues, and broken links.
- Return to Elementor and click Publish (or Update if it is an existing page).
- Visit the live URL in an incognito/private browser window to confirm everything loads correctly for logged-out visitors.
- Test the page on a real mobile phone as well as desktop.
If this is your main homepage or landing page, you can set it as the front page in Settings > Reading so visitors see your Elementor layout first.
For bigger design projects, it also helps to review designing a WordPress website so that your Elementor pages fit into an overall site strategy.
Turn Elementor into your everyday WordPress page builder
By now, you have installed Elementor, created a new page, learned the interface, built core sections, and tuned your layout for mobile devices. You have also seen how templates can save time and keep your designs consistent across multiple pages.
From here, you can start experimenting with more advanced widgets, dynamic content, and integrations such as forms and popups. Take it slowly: refine one section at a time, keep an eye on performance, and always test on multiple devices before going live.
Further Reading
- How to Use WordPress Website Builder
- WordPress Guides & Tutorials Overview
- How to Create a WordPress Staging Site
- WordPress Speed Optimization Step-by-Step