When you clear cache WordPress stops serving outdated pages and loads a new version of your content for every visitor.
This guide walks you through how to safely clear all important cache layers in WordPress including plugin cache, server cache, CDN cache, and your browser cache so your updates appear quickly and consistently.
What You Need to Start
- Administrator access to your WordPress dashboard.
- Login details for your web hosting control panel if your host uses server caching.
- Login details for your CDN provider such as Cloudflare if you use one.
- A modern web browser such as Chrome, Firefox, Safari, or Edge.
- A recent backup of your site created with your preferred backup plugin or hosting tool.
Step 1:: Understand WordPress Cache Layers
Before you clear cache in WordPress it helps to know which cache layers your site is using. That way you can purge the right layer and avoid confusion while testing changes.
A typical WordPress setup may include several layers: plugin page cache, server-level cache, object cache (like Redis or Memcached), CDN cache, and your own browser cache.
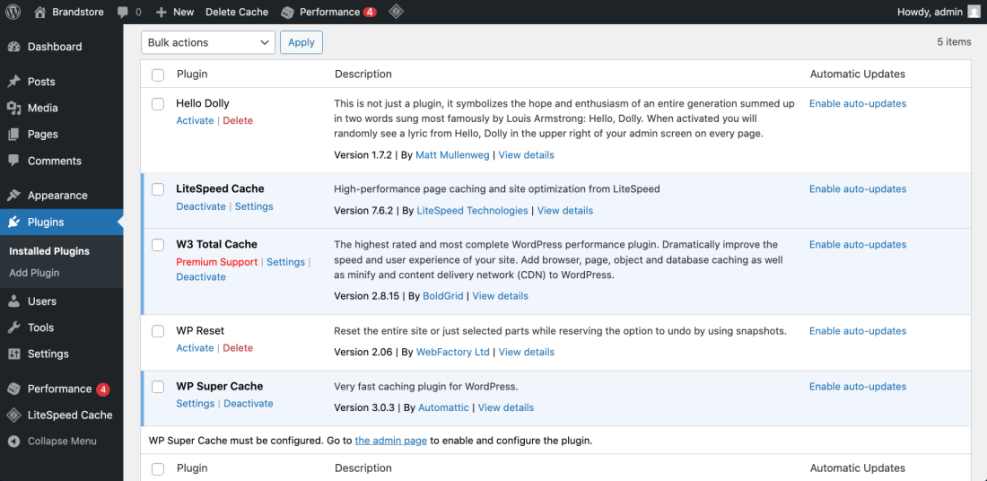
Identify Active Caching Plugins
- Log in to your WordPress dashboard using your administrator account.
- Navigate to Plugins » Installed Plugins and scan the list for caching tools such as WP Super Cache, W3 Total Cache, LiteSpeed Cache, WP Rocket, or similar.
Check for Hosting and CDN Caching
- Check the top admin bar for a menu from your caching plugin that includes options like Clear Cache or Purge All.
- If you use managed WordPress hosting, log in to your hosting control panel in a separate tab and look for sections called Caching, Performance, or Speed.
- Open your CDN provider (if any) and confirm whether it offers full-site caching or only static file caching.
Make a quick note of which layers apply to your site: plugin cache, server cache, CDN cache, and browser cache. You will clear each one in the next steps.
Step 2:: Clear Cache from Your WordPress Caching Plugin
The most common way to clear cache in WordPress is directly from your caching plugin. This layer usually controls what visitors see first when they hit your site.
Locate the Plugin’s Clear Cache Controls
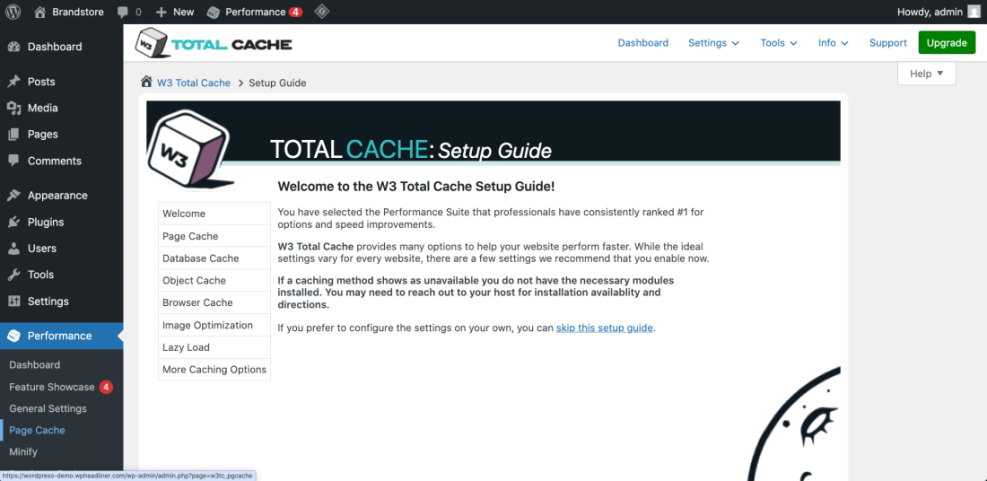
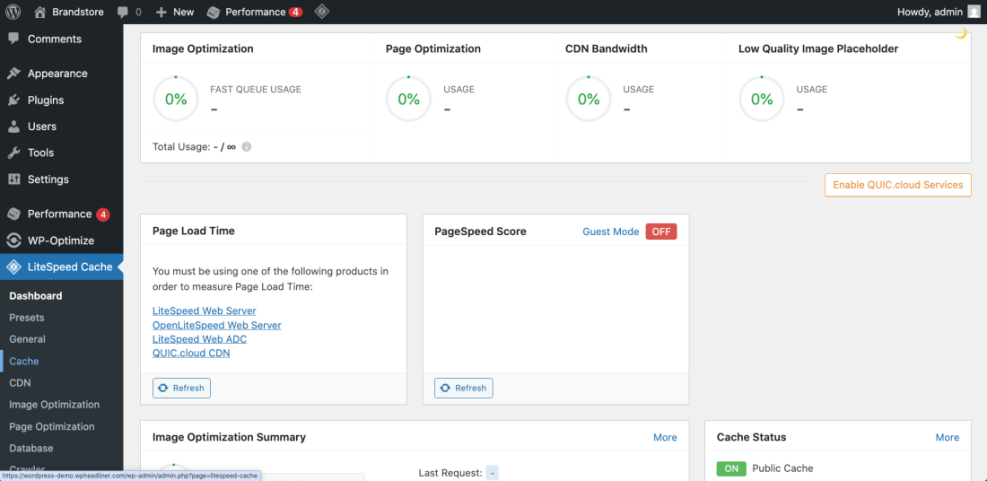
- In the WordPress dashboard, find the menu item for your caching plugin in the left sidebar or under Settings.
- Click the plugin menu and open its main settings screen or dashboard area.
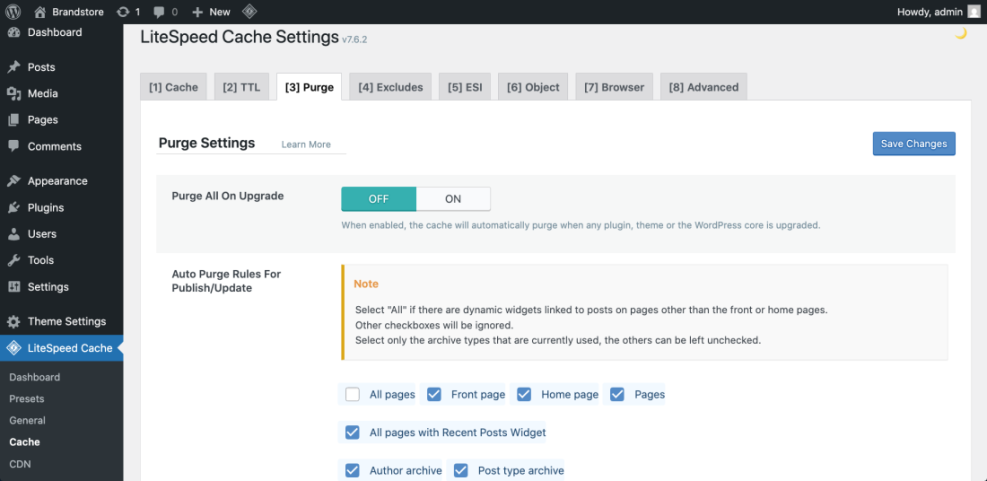
Run a Full Cache Purge
- Look for a button labeled Clear Cache, Delete Cache, Purge All, or Flush Cache and click it to clear all stored pages.
- Check the top admin bar and, if your plugin adds a menu there, use the Clear Cache or Purge All option to ensure front-end pages are also cleared.
Verify That Plugin Cache Is Cleared
Open your homepage in an incognito window or private tab. Then navigate to a page you recently edited and confirm that the latest design or content changes now appear. When the update is visible, plugin cache has been successfully cleared.
Step 3:: Clear Cache from Your Hosting Control Panel
Many managed WordPress hosts add a server-level cache that can continue to serve older copies of your pages even after you clear plugin cache. To completely clear cache in WordPress, this extra layer often needs attention.
Find the Hosting Cache Tool
- Log in to your web hosting account in a new browser tab and open the control panel for the WordPress site you are working on.
- Locate a section named Caching, Performance, Speed, or Acceleration, depending on your host.
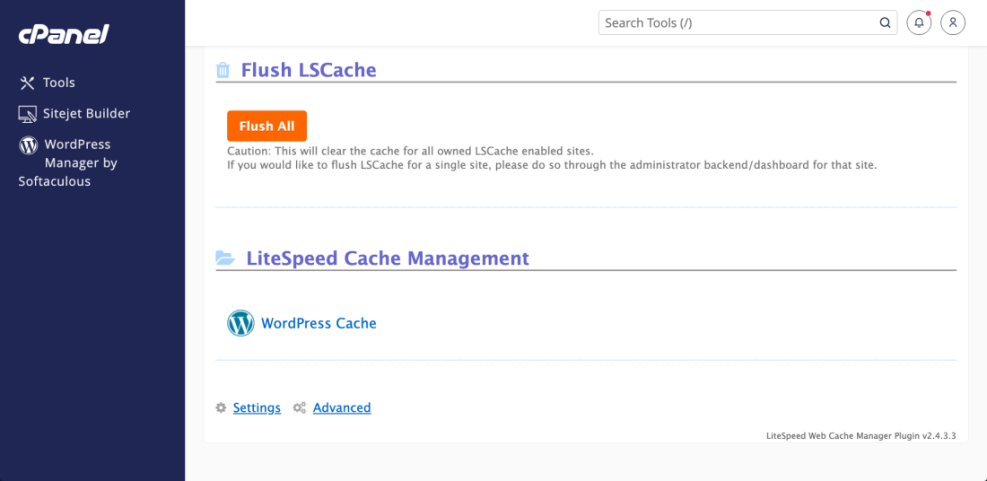
- Open the caching tool and look for buttons such as Flush Cache, Purge Cache, or Clear All Caches.
- Click the appropriate button for your domain to clear server cache for the entire site.
Test the Site After Server Cache Is Cleared
Reload your site in an incognito window and compare it to how it looked before. Pay close attention to pages you previously updated. If new content and design changes now display correctly, the server cache is no longer serving stale copies.
Step 4:: Clear Cache in Your CDN Service
Sites that use a CDN such as Cloudflare or another provider distribute cached copies of your pages around the world. To fully clear cache in WordPress and show updates to remote visitors, you need to purge this cache as well.
Open the CDN Dashboard
- Log in to your CDN provider dashboard using the account linked to your domain.
- Select the website or domain you want to manage from the list of properties.
- Find the section labeled Caching or Performance and open the cache management tools.
- Use the Purge Everything (or similar) option when you have made site-wide changes. For minor edits, select options that purge a single URL where available.
Confirm CDN Cache Is Updated
After purging CDN cache, wait a short moment and then visit your site from an incognito window or a different device and network. Visitors worldwide should now receive the updated pages instead of older cached versions.
Step 5:: Clear Your Browser Cache and Test the Site
Your own browser stores local copies of pages, images, and scripts. Sometimes these files make it look like cache did not clear correctly even though the server now delivers fresh content.
By clearing or bypassing browser cache, you make sure you are seeing what a new visitor would actually see.
Bypass Browser Cache with Incognito and Hard Refresh
- Open a new incognito or private window in your browser and visit your WordPress homepage.
- Perform a hard refresh on the problem page by pressing Ctrl + F5 on Windows or Cmd + Shift + R on macOS.
- If the page still looks outdated, open your browser Settings and navigate to Privacy and security, then choose Clear browsing data.
- Select only Cached images and files, choose a suitable time range such as “Last hour”, and then click Clear data.
Now reload your site again. When the latest version appears in both normal and incognito windows, local browser caching is no longer masking your updates.
Step 6:: Use Code or WP-CLI to Clear Cache (Advanced)
Developers and advanced users sometimes need a repeatable way to clear object cache or page cache from the command line, especially on sites using Redis or Memcached. These methods help when you automate deployments or manage several environments.
Flush Cache with WP-CLI
- Connect to your server via SSH and navigate to the WordPress installation directory where wp-config.php is located.
- Run the following WP-CLI command to flush the cache if WP-CLI is installed on your server:
wp cache flushTrigger Cache Flush with a Temporary Plugin Snippet
- If you prefer a temporary code-based tool, add the snippet below to a small custom plugin or a must-use plugin, then visit the provided URL once to trigger the flush.
add_action( 'admin_init', function () {
 if ( current_user_can( 'manage_options' ) && isset( $_GET['flush_object_cache'] ) ) {
 if ( function_exists( 'wp_cache_flush' ) ) {
 wp_cache_flush();
 }
 }
} );Sites that rely on Redis or another external object cache can gain extra performance from proper configuration. When you are ready to go deeper for a more advanced walkthrough.
After running either method, reload your site and test several pages while logged out. When all changes appear and no unexpected errors show up, the advanced cache flush worked correctly.
Conclusion: You Are Ready to Clear Cache in WordPress
You have now gone through how to clear cache in WordPress at every important layer including your caching plugin, hosting server, CDN, and browser. Visitors should see the most recent version of your content instead of outdated pages.
Whenever you carry out major design changes, switch themes, update key plugins, or publish important new content, repeat these steps in the same order. A clear cache combined with a good caching setup keeps your WordPress site fast, reliable, and user-friendly.
Further Reading
- Clear WordPress Cache
- Set up comprehensive WordPress caching
- WordPress caching
- A beginner's checklist for optimizing
- Optimizing WordPress site performance