How to Create a WordPress Staging Site
Safely clone your site to test updates first
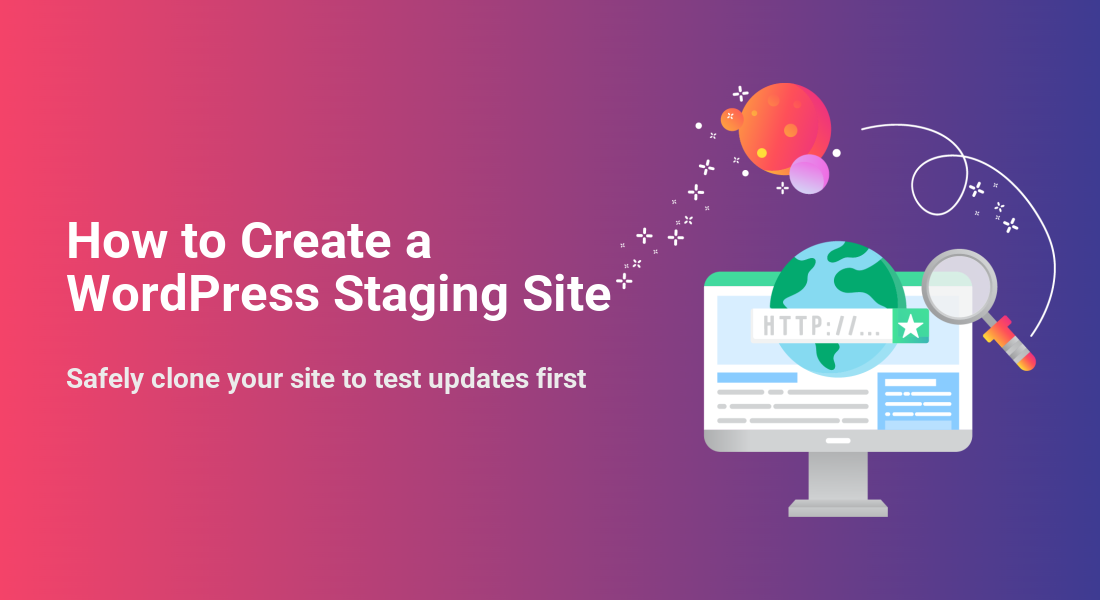
A WordPress staging site is a safe copy of your live website. You can test changes there without risking errors that visitors can see. It is one of the easiest ways to avoid white screens, broken layouts, and plugin conflicts.
In this guide, you will create a staging site with your host or a plugin. You will learn how to protect it, test updates, and deploy changes back to your live site in a controlled way.
What You Need to Start
Access and permissions
- A working WordPress site where you are an Administrator.
- Login details for your hosting control panel such as cPanel, hPanel, Plesk, or a managed WordPress panel.
Backup and file tools
- A reliable backup option. This can be host level backups or a backup plugin.
- Optional but useful access to SFTP or your host’s File Manager for editing files like wp-config.php.
Step 1: Understand What a Staging Site Is
How a staging site fits into your workflow
A staging site is a private clone of your live WordPress site. You can break things there without harming your brand, your visitors, or your sales. Once everything works on staging, you copy those changes to the live site.
Plan what you want to test
- Open your live site in a browser and note the current URL such as https://example.com.
- Make a short list of what you want to test. Include WordPress core updates, plugin updates, theme changes, and any design tweaks.
- Decide whether you prefer a host based staging tool or a staging plugin. You can change your method later if needed.
When you know what you will test and how you will create the staging copy, move to the backup step.
Step 2: Back Up Your Live Site
Why backups matter before staging
Any time you copy or sync a website, you must have a recent backup. If the staging process fails or overwrites the wrong site, a backup lets you restore your live WordPress site quickly.
Create a full backup with your host or plugin
-
- Log in to your hosting account and open the control panel for your WordPress site.
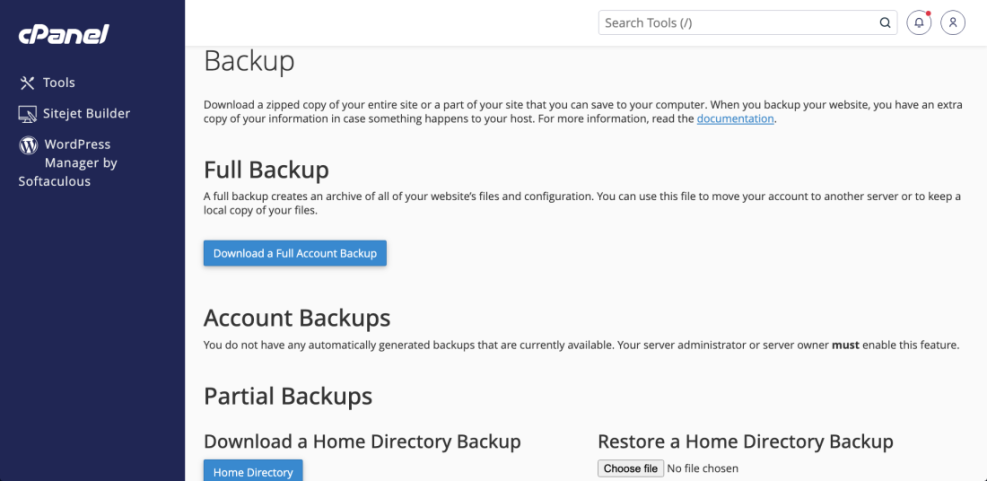
- Look for a section labeled Backups, Backup Manager, or similar.
- Create a new full backup that includes both files and the database.
- If your host does not offer easy backups, go to Plugins » Add New in your WordPress dashboard and install a trusted backup plugin.
- Run a full backup and wait until the tool reports that it is Completed or Successful.
Confirm that the backup appears in your host’s backup list or in the plugin’s backup history with today’s date and time.
Step 3: Create a Staging Site With Your Host
Check if your host offers one click staging
Many shared and managed WordPress hosts include a Staging feature. This option is usually the fastest and safest choice because the host handles copying both files and the database for you.
Clone your site from the hosting dashboard
- Select your site and look for a Staging, Clone, or Create Staging button.
- Choose a location for the staging copy. Most hosts suggest a subdomain like staging.example.com or a subfolder like example.com/staging.
- Confirm the action and let the host clone your site.
- When the process finishes, make a note of the staging URL and the WordPress login link.
Open the staging URL in your browser and log in. Check a few pages to confirm it looks like your live WordPress site.
Step 4: Create a Staging Site With a Plugin
When to use a staging plugin
If your host does not provide staging, you can still create a WordPress staging site with a plugin. The plugin will clone your site into a subfolder or subdomain on the same server.
Install and run a staging plugin
-
- Log in to your WordPress dashboard and go to Plugins » Add New.
- In the search field, type staging.
- Choose a well reviewed staging plugin that supports cloning the full site.
- Click Install Now, then click Activate.

- Open the plugin’s new menu item, such as WP Staging or Staging Sites, in the WordPress sidebar.
- Start the cloning wizard. Select everything for copying unless you have special needs.
- Click the button to create your staging site and wait for the process to finish.
When the plugin displays the staging URL, click it. Verify that the site loads and that the WordPress admin bar clearly indicates that you are on the staging site.
Step 5: Protect And Configure Your Staging Site
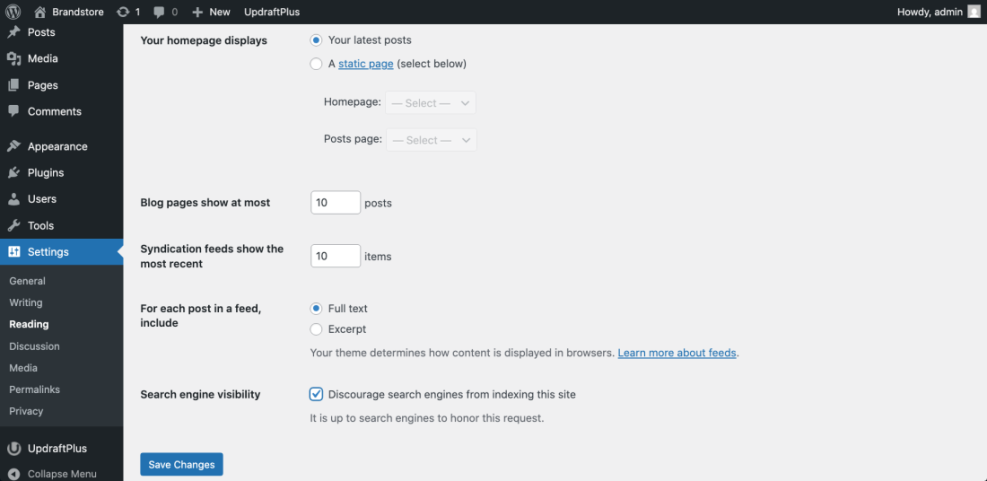
Block search engines from indexing staging
Your staging site should never compete with your live site in search results. You need to block indexing to avoid duplicate content and confusing URLs.
-
- Log in to the staging site’s WordPress dashboard.
- Go to Settings » Reading.
- Check the box labeled Discourage search engines from indexing this site.
- Click Save Changes.
Label the staging site clearly
- Go to Settings » General.
- Update the Site Title to include a clear tag such as [STAGING].
- Save your changes.
This simple change makes it much harder to mix up live and staging when you have several tabs open.
Add extra access protection
- If your host offers Password Protection or Directory Privacy, enable it for the staging URL.
- Use SFTP or the host’s File Manager to open the wp-config.php file for the staging site.
- Add this line above the comment that says /* That’s all, stop editing */:
define( 'WP_ENVIRONMENT_TYPE', 'staging' );Open your staging site in an incognito browser. Confirm that search engines are blocked, the title shows [STAGING], and logins work as expected.
Step 6: Test Changes On Your Staging Site
Update WordPress core first
-
- On the staging site, go to Dashboard » Updates.
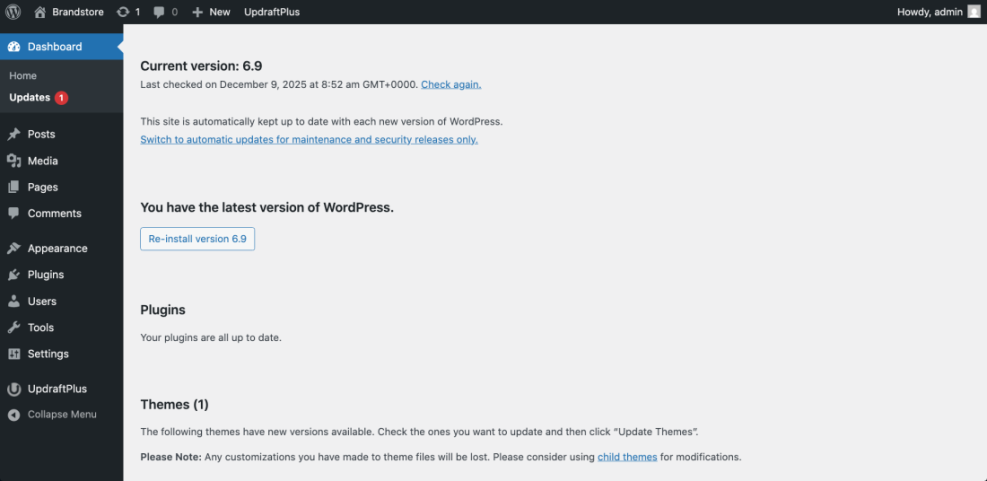
- Update WordPress Core.
- Visit key pages such as your homepage, blog page, and contact page.
- Check that they load quickly and do not show errors.
Update plugins in small batches
- Select a small group of plugins and update them.
- Test any features they control, such as Contact Forms, Search, or Booking tools.
- Repeat this process until all plugins are up to date.
Update themes and layouts
- Update your active theme and any child theme.
- If you use a page builder, open a few important pages in the editor and on the front end.
- Look for layout shifts, missing sections, or styling issues.
Apply design or content tweaks
Make any design or content changes you planned. Work in small steps. After each change, reload the front end and confirm that everything looks correct.
Your staging WordPress site is now your safe playground for every future update cycle.
Step 7: Push Changes From Staging To Live
Use your host’s deployment tool
When you are happy with the staging site, you can copy those changes to the live site. The exact process depends on how you created staging.
- Choose the option to Deploy, Push to Live, or Publish the staging site.
- Review any advanced options, such as pushing only files, only the database, or both.
- Confirm the deployment and wait for it to complete. Avoid editing the live site while this happens.
Use your staging or backup plugin
- If you created staging with a plugin, open the plugin’s migration or deployment wizard.
- Follow the prompts to replace the live site with your tested staging copy.
- Do not close the browser until the tool confirms that the process has finished.
Verify the live site after deployment
Open your live site in a fresh browser tab. Check the homepage, a sample blog post, and your contact or sales pages. If you run an online store, place a small test order to confirm that checkout still works.
Log in to the live WordPress dashboard and open Dashboard » Updates. Confirm that WordPress versions, plugins, and themes match what you saw on staging.
Conclusion You Are Ready to Go
A WordPress staging site adds a simple safety net to your workflow. Instead of hoping that updates will behave, you test them on a private copy first. Only when you are happy do you push changes to your live site.
Each time you plan major changes, repeat this cycle. Refresh or recreate staging, protect it, test your updates carefully, and then deploy. You will enjoy fewer surprises, less downtime, and a more stable WordPress site.
Further Reading
- How to publish WordPress site
- How to use ai in WordPress
- How to fix common WordPress performance issues