Schema Markup in WordPress helps search engines understand your pages so they can show rich snippets like stars, FAQs, and product details directly in search results.
In this tutorial you will configure schema in popular SEO plugins, add custom JSON LD code safely, and test everything with Google tools so your structured data stays clean and error free.
What You Need Before You Start
- Administrator access to your WordPress Dashboard.
- A recent full backup of your site files and database.
- Permission to install plugins or edit theme files.
- Optional but recommended staging site to test schema changes first.
Step 1: Choose Your Setup Strategy
Before you start clicking buttons decide whether you will rely on an SEO plugin, a dedicated schema plugin, or manual JSON LD code. A clear plan keeps your setup simple and maintainable.
- Log in to your WordPress Dashboard as an administrator.
- Go to Plugins » Installed Plugins and check whether Yoast SEO, Rank Math SEO, or All in One SEO is already active.
- If an SEO plugin is active, plan to manage most Schema Markup through that plugin’s settings.
- If you do not yet use an SEO plugin, decide whether you prefer to install one, use a dedicated schema plugin, or add JSON LD manually for full control.
- Make a short list of key content types such as blog posts, services, products, events, or local business pages that you want to enhance with schema.
When you finish this step you should know which method you will use and which content types you will mark up first.
| Method | Where You Use It | Main Purpose |
|---|---|---|
| SEO Plugin Defaults | Inside your main SEO plugin (Yoast, Rank Math, AIOSEO) | Set global schema types for posts, pages, and custom post types so most content automatically outputs valid Article or WebPage markup. |
| Dedicated Schema Plugins | Schema plugin settings and per-post options | Add advanced schema types like Product, FAQ, Event, or Course with field mapping for richer search results on specific content. |
| Manual JSON LD Snippets | Code Snippets plugin or child theme functions.php | Get maximum control over every property in your structured data when you need highly customized or template-specific schema. |
| Developer & WP-CLI Workflows | SSH terminal, version control, and deployment tools | Manage schema programmatically across many sites, including scanning templates for missing, duplicate, or conflicting markup. |
| Professional Schema Audit & Setup | External SEO, freelancer, or agency | Design a long-term schema strategy, fix complex issues, and monitor for problems so rich results stay stable over time. |
Step 2: Configure Schema Markup in Your SEO Plugin
If you already use a modern SEO plugin it likely outputs basic Schema Markup automatically. You only need to confirm the global settings and set sensible defaults for each content type.
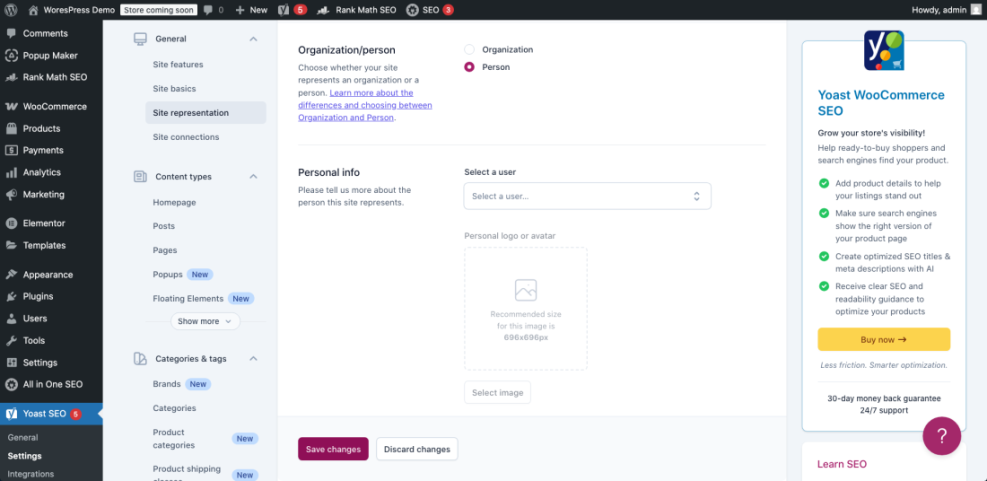
Yoast SEO Settings Overview
- In the dashboard, go to Yoast SEO » Settings.
- Under Site basics or Site representation, choose whether your site represents an Organization or a Person, upload your Logo, and save changes.
- Open the Content types section and select Posts.
- Scroll to the Schema area and set Default Page type to Article and Default Article type to the option that best matches your posts such as Blog Post or News Article.
- Repeat for Pages and any custom post types so each has an appropriate default schema type.
To override schema on a single post, edit the post, scroll to the Yoast SEO box, open the Schema tab, and choose a more specific type such as FAQ or How-to when needed.
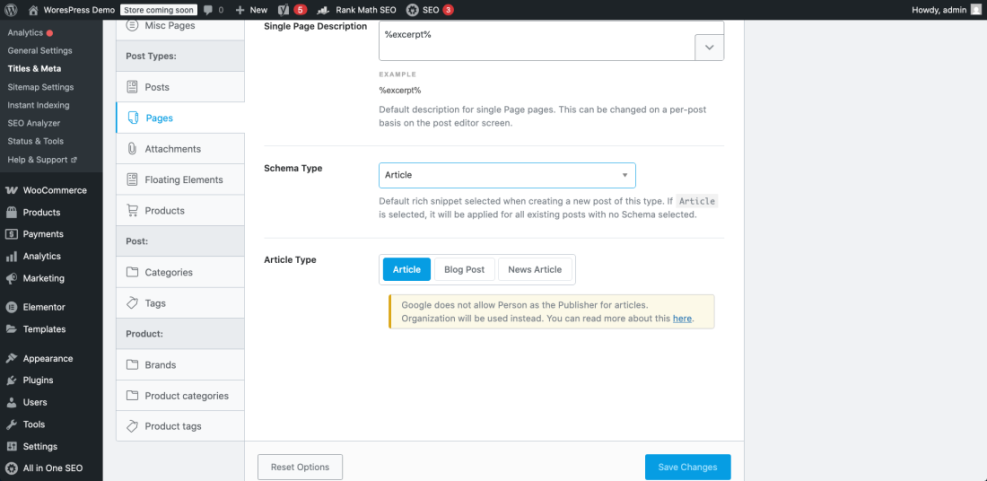
Rank Math SEO Structured Data Settings
- In the dashboard, go to Rank Math » Dashboard and make sure the Schema (Structured Data) module is enabled.
- Navigate to Rank Math » Titles & Meta and open the Posts tab.
- Find the Schema Type dropdown and choose the default type, usually Article for blog posts.
- Repeat for Pages and other post types, then click Save Changes.
To set schema for a specific post, edit the content, click the Rank Math icon, open the Schema tab, and choose or edit the schema type for that page.
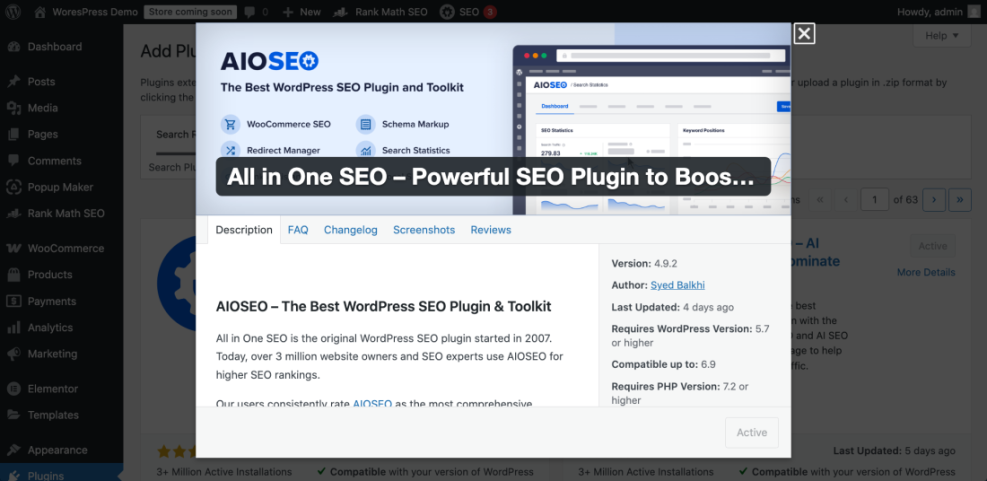
All in One SEO Setup Tips
- Go to All in One SEO » Search Appearance.
- Open the Content Types tab and select Posts.
- In the Schema Markup area, choose the correct Schema Type such as Article, Product, or Local Business, then save.
- Repeat for Pages and other post types you use on the site.
After this step, any new post or page using your defaults should automatically output at least basic Article or WebPage schema when tested.
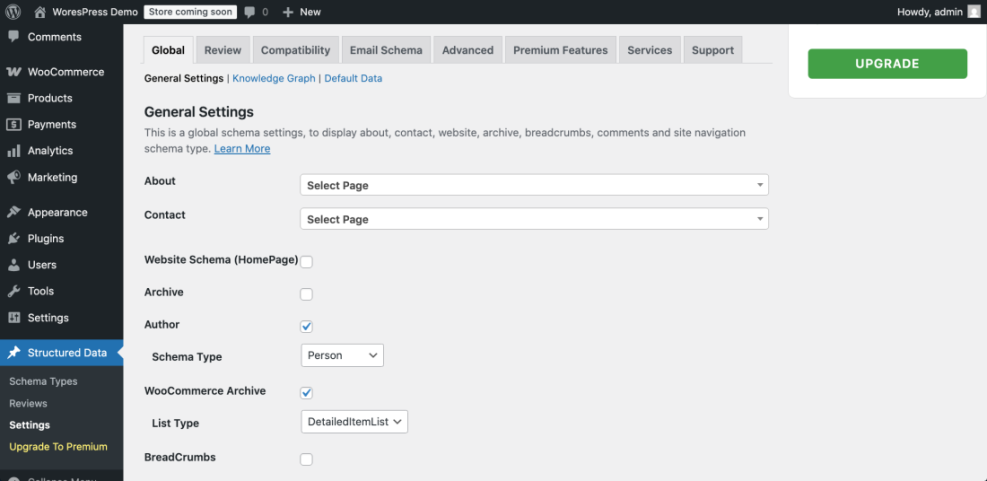
Step 3: Use a Dedicated Plugin for Special Content Types
If your SEO plugin cannot handle a specific rich result you want, such as recipes, courses, or events, use a dedicated schema plugin to add those structured data types.
- From the dashboard, go to Plugins » Add New and search for a schema plugin such as Schema or Schema Pro.
- Click Install Now, then Activate on your chosen plugin.
- Look for the new menu entry such as Schema or Schema Pro in the sidebar and open its Settings or Setup Wizard.
- Choose the schema types you need, for example Local Business, Product, Event, or FAQ.
- Map each schema field to WordPress data like Post Title, Featured Image, Author, and Excerpt so the plugin can fill the structured data automatically.
- Assign each schema type to relevant post types or categories so it appears only on the right pages.
When this step is complete, view a page that should contain enhanced schema and confirm in the plugin interface which schema type it is outputting so you know what to test next.
Step 4: Add JSON LD Schema Markup Manually
Manual JSON LD gives you maximum control over Schema Markup and avoids extra plugins, but you must insert it safely to prevent errors and keep your theme update friendly.
- In the dashboard, go to Plugins » Add New, search for Code Snippets, then click Install Now and Activate.
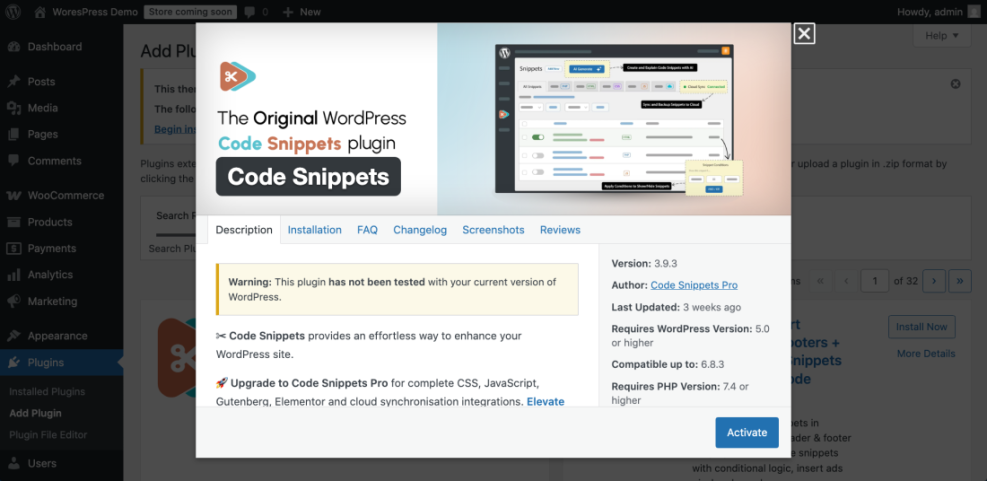
- Navigate to Snippets » Add New and give the snippet a clear name such as “Article Schema for Blog Posts”.
- Copy the following PHP example into the snippet code editor, adjusting details like author type or organization fields later if needed.
function wpheadliner_article_schema() {
    if ( ! is_single() ) {
        return;
    }

    global $post;

    $schema = array(
        '@context'         => 'https://schema.org',
        '@type'            => 'Article',
        'headline'         => get_the_title( $post ),
        'author'           => array(
            '@type' => 'Person',
            'name'  => get_the_author_meta( 'display_name', $post->post_author ),
        ),
        'datePublished'    => get_the_date( 'c', $post ),
        'dateModified'     => get_the_modified_date( 'c', $post ),
        'mainEntityOfPage' => array(
            '@type' => 'WebPage',
            '@id'   => get_permalink( $post ),
        ),
    );

    echo "n<script type="application/ld+json">n";
    echo wp_json_encode( $schema, JSON_UNESCAPED_SLASHES | JSON_UNESCAPED_UNICODE );
    echo "n</script>n";
}
add_action( 'wp_head', 'wpheadliner_article_schema' );
- Under the snippet options, set Code type to PHP Snippet, configure it to run on the Front-end only, and click Save Changes and Activate.
- Open a single blog post on the front end in a new browser tab to load the snippet.
If you prefer editing theme files directly, add the same function to your child theme’s functions.php file instead, never to the parent theme, so theme updates do not remove your Schema Markup.
To verify this step without external tools, view the page source of a single post and search for @context or application/ld+json. You should see a JSON LD script block in the <head> of the page.
Step 5: Test and Debug Your Implementation
Testing is critical because a small syntax error can stop search engines from reading your Schema Markup. Always validate new setups before rolling them out broadly.
- Copy the URL of a page where you configured schema using a plugin or manual JSON LD.
- Open the Google Rich Results Test, paste your URL, and click Test URL.
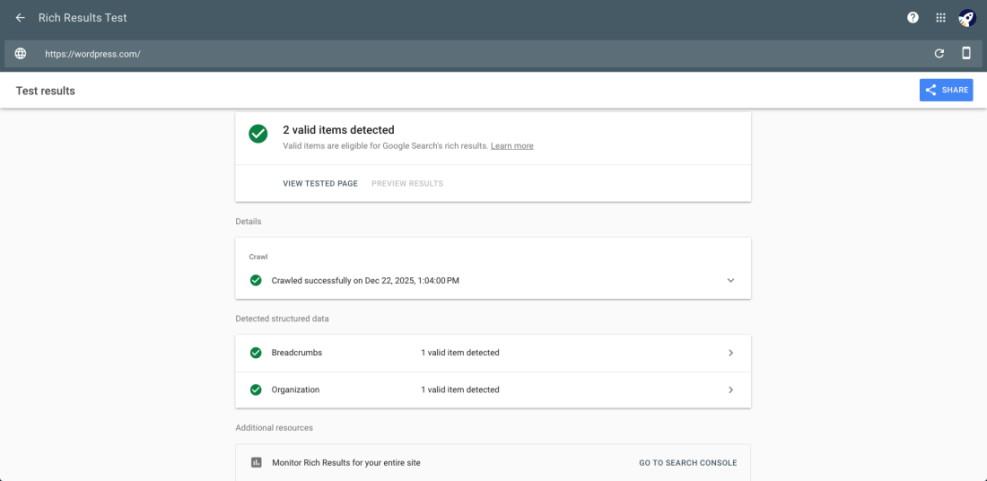
- Review the results panel to confirm the expected schema types are detected and check for any errors or important warnings.
- If there are errors, copy your schema code and validate it in the Schema Markup Validator to see which properties are missing or incorrectly formatted.
- After deploying schema across many pages, open Google Search Console, go to the Enhancements section, and monitor structured data reports for new issues.
- Fix problems and rerun the tests until all critical errors are cleared for your most important URLs.
When this step is complete, your key pages should show valid schema with zero critical errors in the Rich Results Test and related reports.
Step 6: Keep Your Structured Data Healthy Over Time
Schema is not a one time task. You need a simple maintenance routine so new content and site changes do not break your structured data.
- Add a quick check to your publishing checklist to confirm each new post or page uses the right schema type in your SEO or schema plugin.
- When you introduce new content types such as events, products, or courses, update your plugin configuration or manual code to include the matching schema types.
- Schedule a quarterly review where you test a sample of important URLs in Google’s tools to confirm Schema Markup still validates correctly.
- Review Search Console enhancement reports regularly and fix new warnings or errors before they grow into larger issues.
If you follow this routine your WordPress site will stay eligible for rich results even as themes, plugins, and search guidelines evolve.
Conclusion: You’re Ready to Use Schema Markup in WordPress
You have learned how to add Schema Markup in WordPress using SEO plugins, dedicated schema plugins, and custom JSON LD code, plus how to validate everything with Google’s testing tools.
Start by configuring sensible defaults in your SEO plugin, add dedicated schema where you need richer snippets, and rely on validation and regular reviews so your structured data keeps supporting better visibility and click through rates.
Further Reading and Resources
- How to add schema markup in WordPress
- WordPress seo complete beginners guide
- Is WordPress good for seo
- Is WordPress good for seo
- Is WordPress good for seo