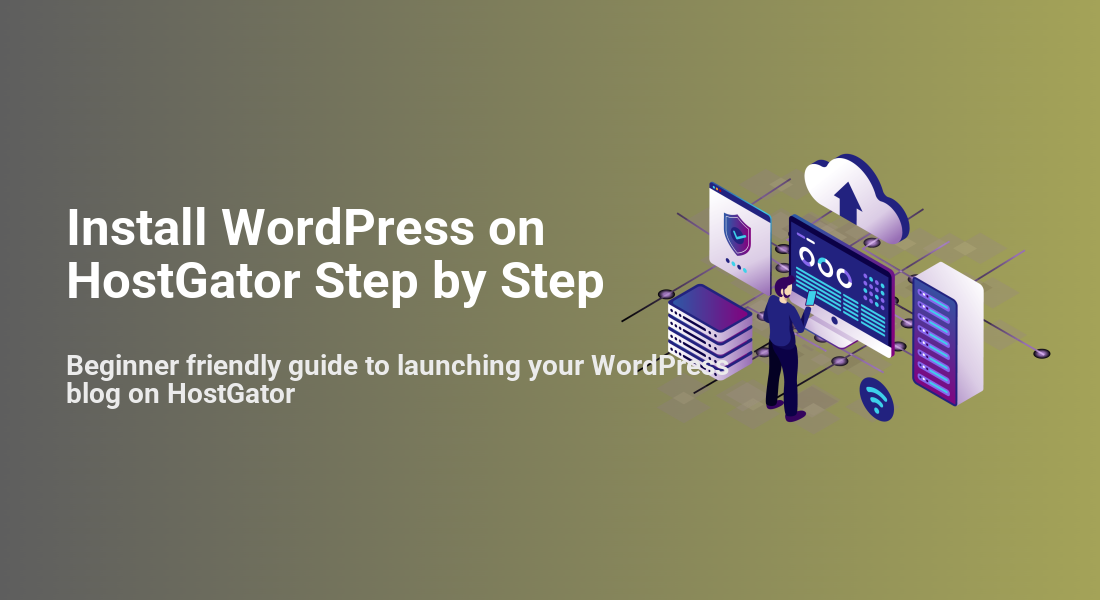
Install WordPress on HostGator Step by Step
Beginner friendly guide to launching your WordPress blog on HostGator
Installing WordPress on HostGator can feel confusing the first time, but setting up WordPress on HostGator is actually quick once you know where everything lives. In this guide you will install WordPress on HostGator using the one click installer built into your cPanel hosting.
By the end of this tutorial you will have a working WordPress site on your HostGator account, a secure admin login, and the basic settings configured so you can move straight into choosing a theme and publishing your first post.
What You Need to Start
- An active HostGator shared hosting plan such as Hatchling, Baby, or Business with cPanel access.
- A registered domain name connected to your HostGator hosting package.
- Your HostGator Customer Portal login email and password.
- A working email address for your WordPress admin account.
- 10–15 minutes of uninterrupted time in front of a desktop or laptop browser.
Step 1: Log in to HostGator and Open cPanel
You must reach your hosting control panel before you can run the one click WordPress installer. HostGator routes everything through the Customer Portal, then into cPanel for shared hosting customers.
- Open your browser and go to https://www.hostgator.com/my-account/login.
- Enter the Email Address and Password for your HostGator Customer Portal.
- Click the Log In button.
After logging in you will land on the HostGator Customer Portal dashboard with a left side menu.
- In the left menu click Hosting.
- Locate the hosting package you want to use and click its Manage or Launch cPanel button under Quick Links.
- Wait while cPanel opens in a new tab or window.
Use the Hosting tab and Launch cPanel shortcut to open your hosting control panel with Single Sign On access from the Customer Portal.
You will know you are in cPanel when you see grouped sections such as Files, Databases, Domains, and Software laid out in icon tiles.
Step 2: Run the HostGator One Click WordPress Installer
HostGator includes a one click installer that automatically creates the database and configures WordPress for you, so you do not need to upload files or edit configuration manually.
- In cPanel scroll down to the Software section.
- Click One-Click Installs. On some accounts this may be labeled Softaculous Apps Installer.
In cPanel scroll to the Software section and select the One-Click Installs or Softaculous Apps Installer icon to open the application installer list.
- On the installer page click the WordPress icon.
- Click the Install or Install Now button to open the installation form.
On the application list, choose WordPress so HostGator knows which software you want to install.
- Under Domain, choose the domain or subdomain where you want WordPress installed.
- Leave the Directory field blank to install WordPress at https://yourdomain.com/, or enter a folder name like blog to install at https://yourdomain.com/blog/.
- Fill out the Site Name or Blog Title field (you can change this later).
- Enter your Admin Email where WordPress will send login information.
- Choose an Admin Username that is not “admin” and a strong Password or passphrase.
- Review any additional options such as automatic updates or language and configure them to your preference.
- Click the Install button and wait while HostGator installs WordPress.
On the WordPress installer form carefully fill in your domain, directory, admin user, and password fields before clicking Install.
When the installation finishes you should see a success message with two URLs: your website URL (for example, https://yourdomain.com/) and your admin URL (for example, https://yourdomain.com/wp-admin/). Save these somewhere safe so you can log in during the next step.
Step 3: Verify Your New WordPress Site and HTTPS
Before you start customizing your site, make sure WordPress is running correctly on your domain and that the free SSL certificate is active so visitors see a secure padlock.
- Open a new browser tab and go to http://yourdomain.com/ (replace with your actual domain).
- Confirm you see the default WordPress homepage with a sample post such as “Hello world”.
Visit your domain in a browser and confirm the default WordPress frontend is loading without errors.
- Update the address bar to https://yourdomain.com/ and press Enter.
- If you see a secure padlock with no warnings, your SSL certificate is active. If not, wait a few minutes or contact HostGator support to check AutoSSL.
- Go to https://yourdomain.com/wp-admin/.
- Log in with the Admin Username and Password you set in the installer.
- In the WordPress dashboard menu navigate to Settings » General.
- Verify that both WordPress Address (URL) and Site Address (URL) begin with https://. If they do not, add the s to each URL and click Save Changes.
Use the Settings » General screen to confirm the site URLs match your final HTTPS domain.
If your homepage loads over HTTPS without a browser warning and your WordPress dashboard is reachable at /wp-admin, your core installation on HostGator is successful.
Step 4: Complete Essential WordPress Settings on HostGator
With WordPress running, configure a few key settings so your new site is easier to use and better prepared for search engines and future growth.
- In the WordPress dashboard go to Settings » Permalinks.
- Select the Post name option to make URLs clean and descriptive.
- Click Save Changes.
Choose Post name permalinks so your blog posts use readable URLs instead of numeric IDs.
- Navigate to Settings » General again.
- Update SEO and UX, and where you will see it in daily work.”>Site Title and Tagline to match your brand or blog topic.
- Set your Timezone, Date Format, and Time Format so scheduled posts and comment timestamps are accurate.
- Click Save Changes.
- Go to Users » Profile.
- Change the Nickname to something other than your login name and choose a friendlier value in Display name publicly as.
- Optionally upload a profile image using Gravatar associated with your admin email.
Update your site title, tagline, timezone, and profile display name so content and author information look professional from day one.
- Under Posts » All Posts, hover over the “Hello world” post and click Trash.
- Under Pages » All Pages, delete any sample pages you do not plan to use.
Remove sample content so you start with a clean slate ready for your own posts and pages. For a deeper walkthrough of early content steps on your new site, follow the guide How to create a blog on WordPress next.
Step 5: Secure and Maintain Your WordPress on HostGator
Even on a fresh installation you should secure your WordPress login, set up backups, and plan basic maintenance so your HostGator site stays safe and fast over time.
- In the WordPress dashboard navigate to Users » Profile and confirm your Admin Email is an inbox you check regularly.
- Click Edit on your user and confirm your password remains strong. If not, generate a new secure password and save it in a password manager.
- Install a reputable two factor authentication plugin to protect your login page and follow its setup wizard to pair your phone or authentication app.
Hardening your login with strong passwords and two factor authentication dramatically reduces the risk of brute force attacks. For a detailed walkthrough see the internal guide WordPress seo complete beginners guide.
- Go to Plugins » Add New Plugin.
- Search for a trusted backup plugin compatible with your HostGator environment.
- Click Install Now then Activate.
- Follow the plugin’s setup wizard to schedule automatic full site backups to a remote location such as cloud storage.
Regular backups are your safety net if something goes wrong. You can compare options and strategies in the guide Best WordPress lms plugins compared.
- From the dashboard go to Dashboard » Updates.
- Click Update Now if a newer WordPress version is available.
- Apply available updates for themes and plugins, ideally during low traffic times.
Keeping WordPress core, themes, and plugins updated is one of the easiest ways to stay secure. If you want more detail on overall security habits, read Beginner WordPress security best practices guide.
Conclusion You Are Ready to Go
You have now logged into HostGator, used the one click installer to set up WordPress on HostGator, verified your domain and HTTPS, adjusted core settings, and put basic security and backup steps in place. From here you can focus on choosing a theme, designing your homepage, and publishing content instead of worrying about technical setup.
Any time you need to manage your site you can return to the HostGator Customer Portal, launch cPanel, or go directly to https://yourdomain.com/wp-admin/ to access the WordPress dashboard.
Further Reading
- How to install a WordPress theme
- Beginner guide to WordPress speed optimization
- Beginner guide to WordPress speed optimization
- Beginner guide to WordPress speed optimization
- Beginner Guide to WordPress Speed Optimization