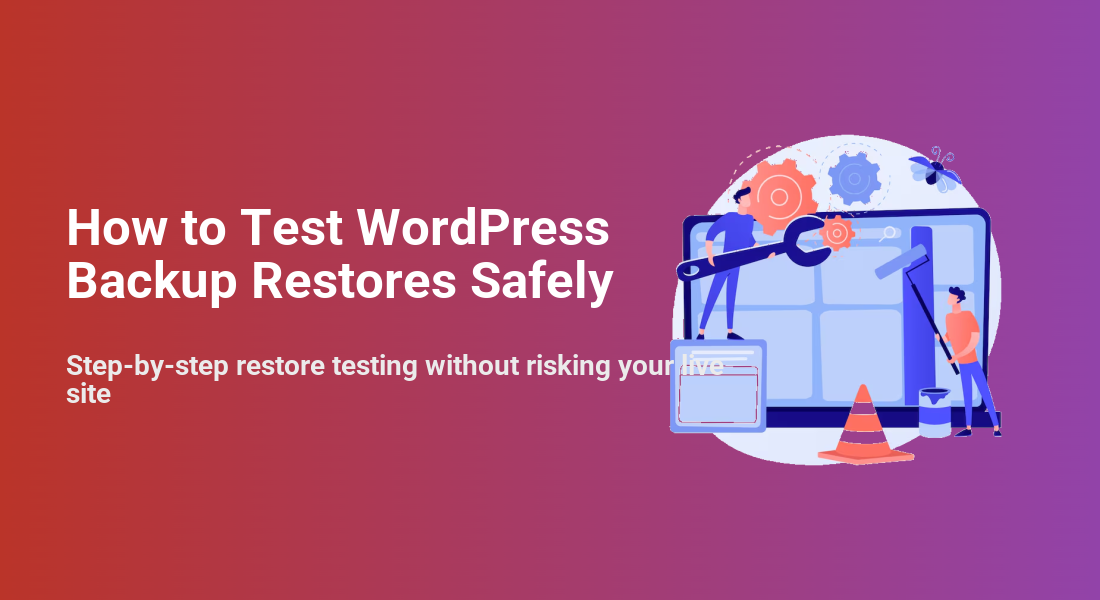
How to Test WordPress Backup Restores Safely
Step-by-step restore testing without risking your live site
Most site owners feel safe once backups are set up, but an untested backup can be almost as bad as having no backup at all. The real test is simple: can you actually restore your site when something breaks?
In this tutorial, you’ll learn how to test WordPress backup restores safely, without touching your live website. We’ll work on a staging or cloned copy of your site, walk through a full test restore, and confirm everything is working before you ever need it in an emergency. If you’re just getting started with backups, start with a solid beginner guide to WordPress backups and restore strategies and then come back here to practice restores.
By the end, you’ll have a repeatable restore-testing checklist you can run every month or quarter, so you know your backup plan will work when your site is on the line.
Prerequisites
Before you run any restore test, make sure you have the basics in place.
- Administrator access to your WordPress dashboard.
- Access to your hosting control panel (cPanel, Plesk, or a managed WordPress dashboard).
- At least one recent full backup (files + database) from your backup plugin or hosting provider.
- A plan for where you will restore the backup (staging site or local copy).
Step 1: Prepare a Safe Testing Environment
Your first task is to create a safe clone of your site where you can freely break and restore things without impacting real users.
You typically have two good options:
- Staging site on your host: Many managed WordPress hosts offer one-click staging. This is ideal because you can restore backups directly to staging.
- Local copy of your site: Tools like local development stacks let you run WordPress on your computer and restore backups there.
On most hosts, you’ll:
- Log in to your hosting control panel.
- Select your WordPress site.
- Look for a “Staging”, “Clone”, or “Dev” environment tool.
- Create a new staging site, typically at a subdomain (e.g., staging.yourdomain.com).
If you don’t already have staging, follow a guide to create a WordPress staging site before you continue with restore testing.
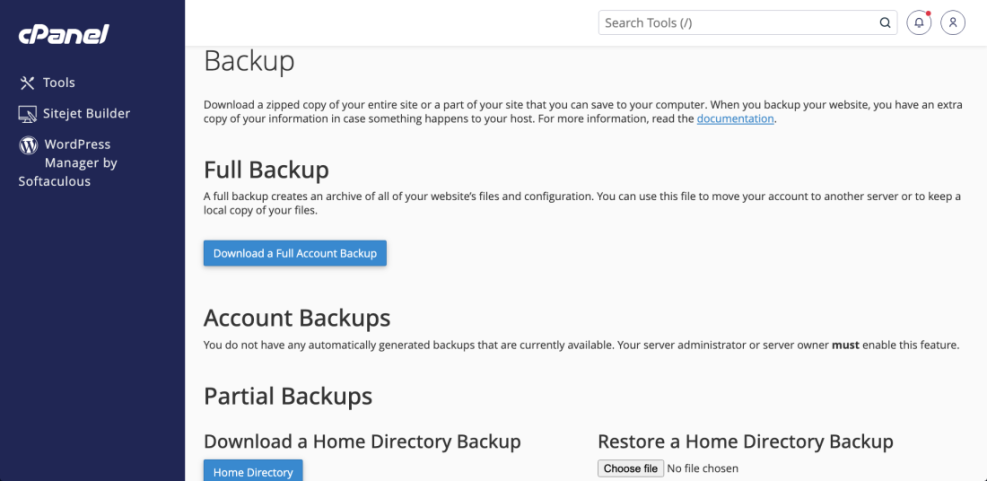
Step 2: Verify Your Backup is Complete
Before you attempt a restore, confirm that the backup you’re testing is actually usable. A broken or partial backup is a common failure point.
Check the following:
- Backup type: Confirm it includes both your database and files (wp-content, themes, plugins, uploads).
- Backup date: Make sure the date matches what you expect (e.g., last night’s scheduled backup).
- Backup size: Compare size against previous backups. A backup that’s suddenly much smaller may be missing files.
If your backup plugin stores files in the cloud (e.g., S3, Google Drive), download the backup archive (ZIP or similar) and quickly inspect it on your computer to make sure folders like wp-content/uploads are present.
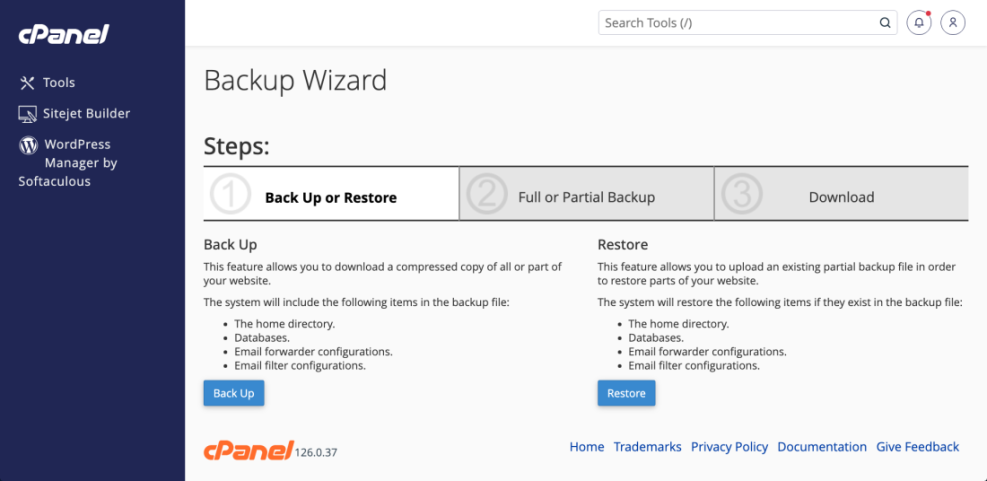
Step 3: Perform a Test Restore on Staging
With a safe environment and a verified backup, you can run your first test restore.
Option A: Restore via your backup plugin
On the staging or cloned site, do this from your WordPress admin:
- Log in to the staging WordPress dashboard.
- Install and activate the same backup plugin you use on the live site.
- Connect the plugin to the same storage location (e.g., your cloud backup folder).
- Locate the backup set you want to test and choose Restore or Clone/Migrate to this staging site.
- Follow the plugin’s prompts and wait for the restore process to finish.
Option B: Restore via your host’s backup tool
If your host offers backups, they may allow you to restore directly to staging:
- Open your host’s backup section (often called “Backups”, “Snapshots”, or “Restore Points”).
- Select a recent backup snapshot that includes files and database.
- Look for an option like “Restore to staging” or “Clone to dev environment”.
- Confirm the restore target is your staging domain and start the restore.
Step 4: Validate Your Restored Site
Once the restore completes, don’t assume it worked. You need to verify that the restored site actually behaves like the original.
Front-end checklist
In a browser, visit your staging site and check:
- Homepage loads correctly with the expected design and content.
- Key landing pages and blog posts load without errors.
- Menus, internal links, and pagination work as expected.
- Images and media display properly (no broken image icons).
Back-end checklist
Log in to the staging WordPress admin and verify:
- You can log in with your usual admin account.
- Plugins and themes are present and activated as expected.
- Custom post types, taxonomies, and settings (permalinks, reading, discussion) look right.
- For WooCommerce or other ecommerce plugins, test cart, checkout, and account pages.
Step 5: Fix Common Restore Issues
Even on staging, restore tests sometimes fail. That’s good news—it’s safer to discover these problems now than during a real outage.
Problem 1: White screen or PHP errors
If you see a blank screen or obvious PHP error messages after a restore:
- Disable plugins by temporarily renaming the
wp-content/pluginsfolder in your file manager or via FTP. - Switch to a default theme (e.g., Twenty Twenty-Four) from the database if you can’t access the admin.
- Check your PHP error logs in the hosting panel to identify the exact plugin or theme causing issues.
Problem 2: Wrong URLs or mixed content
Sometimes a restored staging site still uses the live site’s URL, causing redirects or mixed content warnings. If you have SSH and WP-CLI available, run the following command in your staging site’s directory:
wp search-replace 'https://www.yourliveurl.com' 'https://staging.yourliveurl.com' --skip-columns=guidThis replaces old URLs with the staging domain in the database. Always adjust the URLs to match your real live and staging addresses.
Problem 3: Missing images or uploads
- Verify the backup archive actually contains
wp-content/uploads. - Check that your restore included files and not just the database.
- Ensure file permissions on the uploads folder are correct (often
755for folders,644for files).
Problem 4: Database restore fails or times out
- Try restoring from a slightly older backup to see if the issue is specific to one backup file.
- Increase PHP execution time and memory limit in your hosting settings if possible.
- Use your host’s database import tool or WP-CLI to manually import the SQL file if the plugin fails.
Step 6: Automate Regular Restore Tests
Once you’ve successfully run a manual restore test, turn it into a regular, predictable process instead of a one-time project.
- Set a schedule: Test your restores at least once per quarter, or monthly for mission-critical sites.
- Use the same environment: Keep a dedicated staging site for restore testing so the process is consistent.
- Document results: Record the date, backup source, how long the restore took, and any issues you found.
- Refine your tools: If restores are slow or unreliable, consider switching to a more robust backup solution or upgrading hosting.
Over time, your restore tests will feel routine, and you’ll have real confidence that your backups are more than just files sitting in a storage bucket.
Keep Testing Your Restores Before You Need Them
Backups are only as good as your last successful restore test. By using a staging or local environment, verifying your backup content, running a full restore, and validating the result, you prove that your backup strategy actually works.
Make restore testing part of your regular WordPress maintenance, not a reaction to a crisis. The small time investment you make now will pay off massively the next time an update breaks your site or a plugin conflict takes you offline.
Further Reading
- WordPress Backup Strategy
- WordPress Maintenance & Backup Plan
- WordPress Disaster Recovery Walkthrough
- Common WordPress Backup Errors and How to Fix Them