How to Install WordPress Plugins is one of the first things every WordPress site owner should learn.
Plugins act like apps for your website and add features such as contact forms, SEO tools, security, backups, and more without you needing to write code. Because of that, knowing how to install WordPress plugins safely will save you time and prevent problems.
In this guide, you will see three main ways to install plugins, how to prepare your site before adding new tools, and what to do when plugin installation fails or breaks something. By the end, you will be able to choose the safest method for your situation.
What You Need Before Installing WordPress Plugins
Before you start installing WordPress plugins, it is important to make sure a few basics are in place. Otherwise, even simple changes can become risky.
- Administrator access to your WordPress site so you can see the Plugins menu and manage installations.
- Login access to your hosting account or file manager for manual installations and troubleshooting when something goes wrong.
- A recent backup of your site, especially before installing multiple new plugins or large feature packs.
- Basic understanding of how to log in to the WordPress dashboard and move around the main menus.
Quick Safety Checklist Before You Install WordPress Plugins
Before clicking Install, it is wise to pause for a moment and review a quick safety checklist. As a result, you greatly reduce the risk of conflicts, slowdowns, or security problems.
- Check plugin reviews and ratings. To begin with, look for recent reviews and a solid average rating from other users.
- Confirm recent updates. In addition, avoid plugins that have not been updated in a long time or are not tested with recent WordPress versions.
- Review active installs. Generally, popular plugins with many active installations are better maintained and more thoroughly tested.
- Make a backup. Before any major change, ensure you have a full backup of your files and database so you can roll back if needed.
- Avoid duplicates. Finally, do not install multiple plugins that do the same thing (for example, two page builders or two security suites) unless you know exactly why.
Method 1: How to Install WordPress Plugins From the Dashboard
For most free plugins in the official WordPress plugin directory, the easiest method is installing directly from your dashboard. In most cases, this is the method you will use day to day.
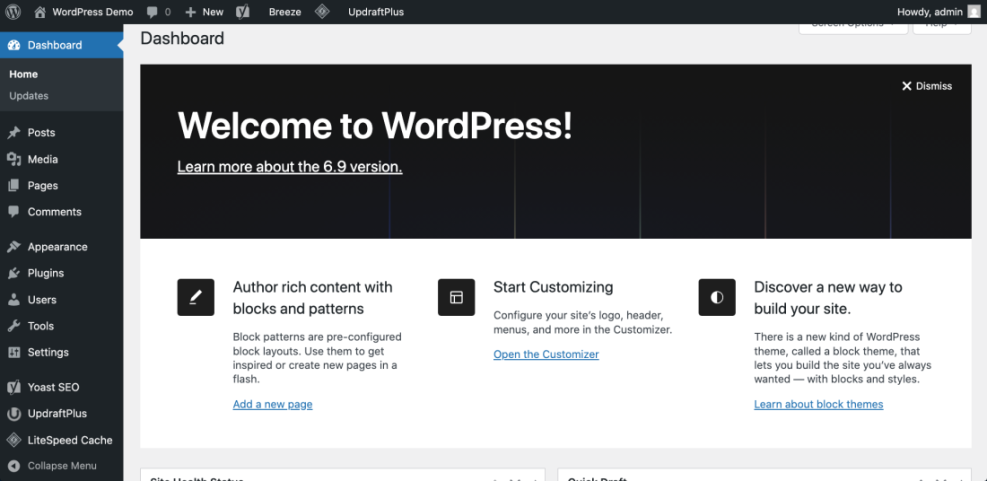
Step 1: Open the Add Plugins Screen in WordPress
- First, log in to your WordPress dashboard.
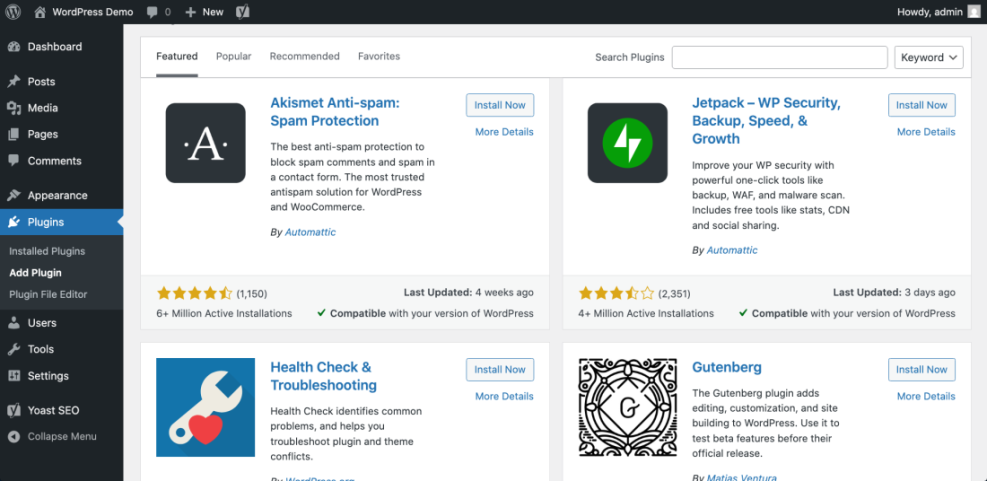
- Next, in the left sidebar, go to Plugins » Add New.
- After that, you will see the Add Plugins page with featured, popular, and recommended plugins.
Step 2: Search and Choose a Plugin to Install
- Now, use the search box in the top right to type the plugin’s name or function (for example, “contact form” or “Yoast SEO”).
- Then, review the results. Look at the rating, active installations, and Last updated information for each plugin.
- Whenever you are unsure, click the plugin name or More Details to read the full description, screenshots, and changelog.
Step 3: Install and Activate a WordPress Plugin
- When you have chosen the plugin you want, simply click the Install Now button.
- WordPress will then download and install the plugin files automatically.
- Finally, after installation finishes, click Activate to turn the plugin on.
Once activated, most plugins add a new menu item in the sidebar or a settings page under Settings. At this point, visit that page to configure the plugin according to your needs.
Method 2: Install WordPress Plugins by Uploading a ZIP File
Sometimes you need to install premium or custom plugins that are not listed in the official WordPress plugin directory. In those cases, the vendor usually gives you a .zip file that you can upload directly.
Step 1: Download the WordPress Plugin ZIP File
- First, log in to the website where you bought the plugin (for example, a plugin developer site or marketplace).
- Then, download the plugin package. It should be a single .zip file.
- After the download finishes, save this file on your computer where you can find it easily.
Step 2: Upload the ZIP File to Install the Plugin
- Back in your WordPress dashboard, go to Plugins » Add New.
- At the top of the page, click the Upload Plugin button to switch to the upload form.
- Next, click Choose File, select the plugin .zip file from your computer, then click Install Now.

Step 3: Activate the Installed WordPress Plugin
- After WordPress uploads and unpacks the file, you will see a success message on the screen.
- From there, click Activate Plugin to enable it.
- After activation, configure the plugin’s settings according to the vendor’s documentation so it works correctly.
Method 3: Install WordPress Plugins Manually via FTP or File Manager
The manual method is helpful when your server does not allow automatic installations, your ZIP file is too large, or you are troubleshooting a tricky plugin issue. Although it takes slightly more technical comfort, it follows a predictable pattern.
Step 1: Prepare the WordPress Plugin Folder
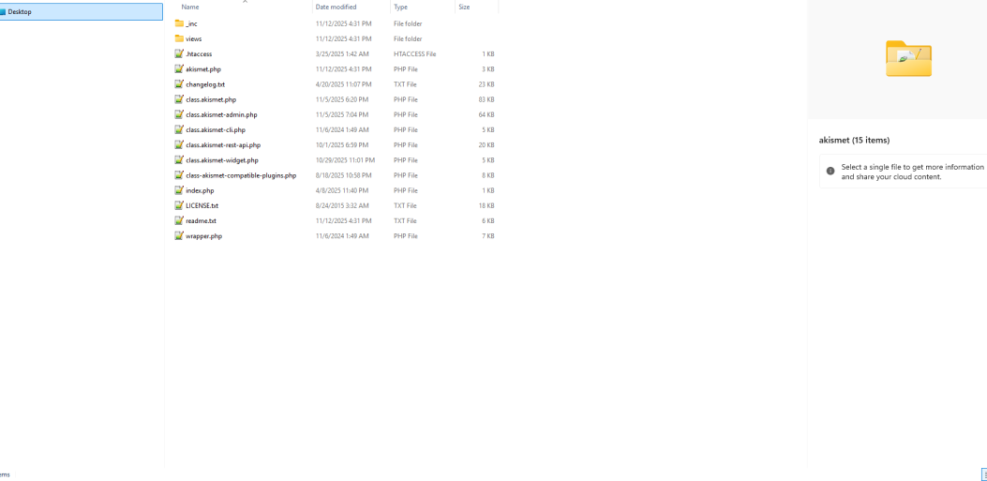
- First, download the plugin .zip file to your computer.
- Next, right click and Extract or Unzip the file. You should end up with a folder named after the plugin (for example, wordpress-seo or contact-form-7).
- Finally, keep this folder handy for the upload step.
Step 2: Connect to Your Site Files
- To begin, open your hosting control panel’s File Manager or use an FTP/SFTP client like FileZilla.
- Then, locate your WordPress installation folder (often named public_html or similar).
- After that, open wp-content and then the plugins directory.
Step 3: Upload the Plugin Folder to Install It
- Now, upload the unzipped plugin folder into the wp-content/plugins directory. Do not upload the .zip file via FTP.
- Then, wait for the upload to finish; this may take a few minutes for large plugins.
- Once the upload is complete, log back into your WordPress dashboard and go to Plugins » Installed Plugins.
- Finally, find the plugin you just uploaded and click Activate.
Method 4: Install WordPress Plugins Using WP-CLI (Advanced)
If you manage multiple sites or love working in the terminal, you can install and activate plugins using WP-CLI, the official command line interface for WordPress. In many professional workflows, this quickly becomes the fastest option.
Basic WP-CLI Plugin Installation Commands
# Install a plugin from the WordPress.org directory
wp plugin install wordpress-seo

# Install and activate in one command
wp plugin install wordfence --activate

# Activate an already installed plugin
wp plugin activate akismet
Because WP-CLI works directly on the server, it is especially useful in deployment scripts, for bulk activating or updating plugins, and for running tasks across many WordPress sites from a single terminal session.
Maintenance Methods for Keeping WordPress Plugins Healthy
Comparing Common WordPress Plugin Maintenance Approaches
Installing a plugin is only the beginning. After that, keeping plugins updated, compatible, and secure is what keeps your site stable over the long term. Different methods suit different site sizes and skill levels.
The table below compares common options so you can choose a maintenance style that matches your site and your available time.
| Method | Where You Use It | Main Purpose |
|---|---|---|
| DIY Manual Maintenance | WordPress dashboard and hosting control panel | Maximum control over plugin updates, conflict testing, and manual checks for performance or security issues. |
| Managed Hosting Tools | Your host’s control panel or custom dashboard | One click plugin updates, automatic backups, and basic uptime monitoring so you can roll back if an update breaks something. |
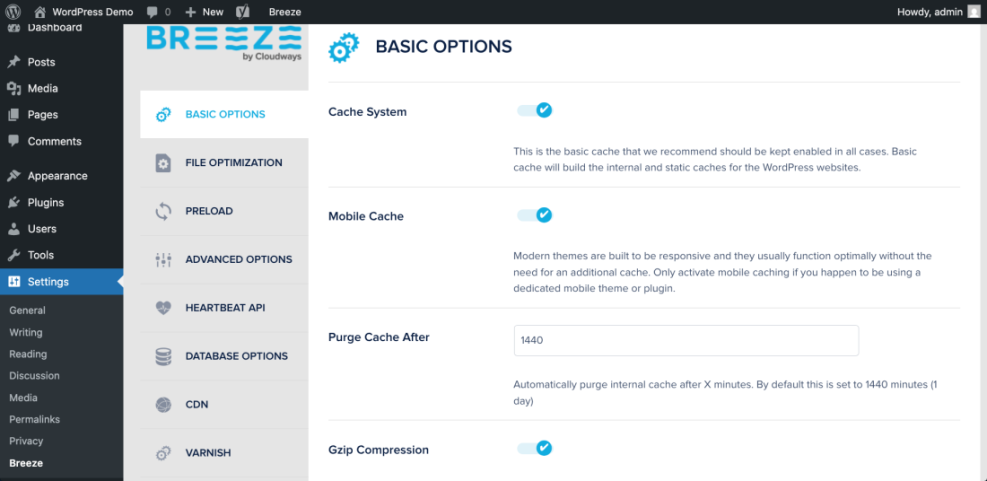
| Maintenance & Security Plugins | Plugins section inside the WordPress dashboard | Automate backups, malware scans, and update notifications while giving you reports when plugins are outdated or vulnerable. |
| WP-CLI and Developer Workflows | SSH terminal with WP-CLI and deployment tools | Scriptable maintenance routines for advanced users, including bulk updates and quick rollbacks across multiple sites. |
| Professional WordPress Care Plan | External provider, freelancer, or agency | Hands off maintenance with proactive monitoring, scheduled plugin reviews, and expert cleanups when problems go beyond simple fixes. |
How to Update and Remove WordPress Plugins Safely
Over time, plugins receive new features, bug fixes, and security patches. Therefore, keeping them updated is critical, but you also want to avoid surprise breakages on important pages.
Updating Installed WordPress Plugins
- First, make sure you have a recent backup of your site or test the update on a staging site.
- Then, in the dashboard, go to Dashboard » Updates or Plugins » Installed Plugins.
- Next, look for plugins that show an update notice and click Update Now.
- After updating, carefully check key pages on your site (homepage, checkout, important forms) to confirm everything still works.
Deactivating and Deleting WordPress Plugins
- To begin, go to Plugins » Installed Plugins.
- Then, click Deactivate under the plugin you no longer need.
- Once it is deactivated, click Delete to remove its files from your server.
Troubleshooting Common Plugin Installation Problems
Sometimes plugin installations do not go smoothly. When that happens, use the tips below to quickly narrow down what went wrong.
“Installation Failed” or “Could Not Create Directory”
- Often, your hosting account may be out of disk space.
- Alternatively, your file permissions on wp-content or the plugins folder might be incorrect.
- In either case, ask your host to check storage and permissions or adjust them through your file manager.
“The Link You Followed Has Expired”
- Typically, this means your plugin ZIP file is larger than the allowed upload size.
- As a solution, use the FTP/SFTP method to upload the plugin manually, or ask your host to increase the upload limit.
White Screen or Error After Activating a Plugin
- First, disable the plugin by renaming its folder inside wp-content/plugins via FTP or File Manager.
- Next, check your site’s error logs or ask your host’s support team to review the error message.
- After that, look for conflicts with other plugins or your theme by reactivating plugins one by one on a staging site.
Conclusion: You Know How to Install WordPress Plugins
WordPress plugins open the door to powerful features and tools without custom development. By using the dashboard search, ZIP upload, and FTP/SFTP methods, you can install almost any plugin you need and keep your site flexible as it grows.
To stay safe over time, combine this with a simple routine: keep backups, test plugins on staging, update regularly, and remove tools you no longer use. In the long run, these habits make extending your WordPress site with plugins both easy and low risk.
Further Reading
- What is managed WordPress
- Managed WordPress hosting guide
- Beginner WordPress security best practices guide
- Beginner guide to WordPress speed optimization