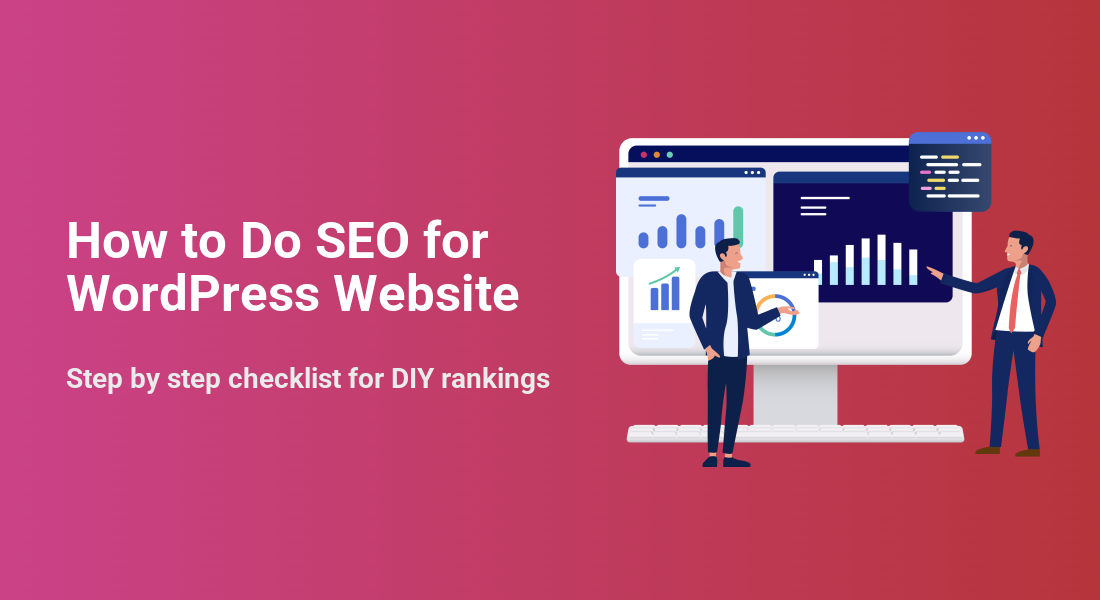
SEO for WordPress can feel confusing. You want your site to appear in Google and attract the right visitors.
The good news is that you can follow a clear process. In this tutorial, you will set up your SEO plugin, tune your content, improve speed, and track results so your WordPress website keeps growing over time.
What You Need to Start
- A self hosted WordPress website with admin access.
- Ability to install and activate plugins on your site.
- Basic familiarity with editing posts and pages in the WordPress editor.
- A Google account for Analytics and Search Console setup.
- Thirty to sixty minutes of focused time without distractions.
Step 1: Prepare Your WordPress Basics
Before you change titles or write new content, make sure WordPress is SEO friendly. This prevents simple mistakes that can block or confuse search engines.
Check Search Engine Visibility
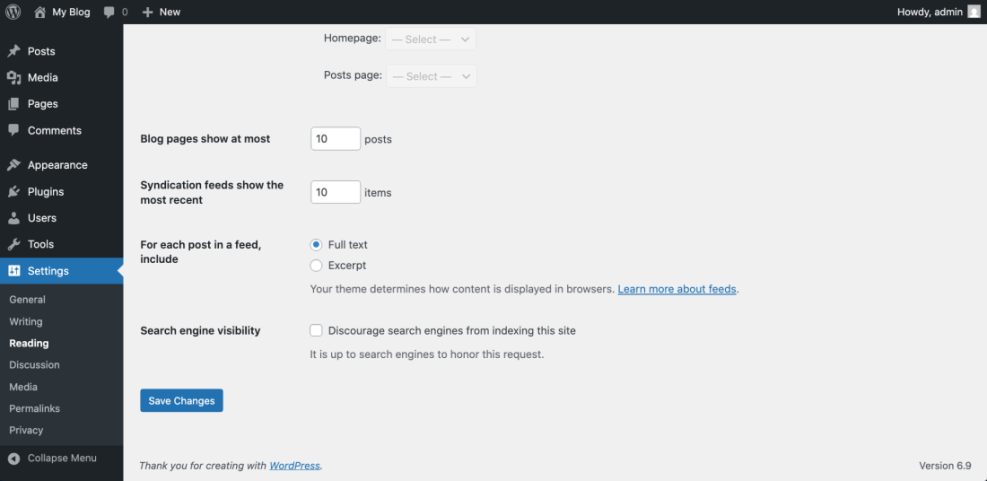
- Log in to your WordPress dashboard and go to Settings » Reading.
- Find Search engine visibility and make sure Discourage search engines from indexing this site is unchecked.
Set Clean, Readable URLs
- Go to Settings » Permalinks.
- Select the Post name structure so your URLs use words instead of numbers.
Review Site Title and HTTPS
- Go to Settings » General and review your Site Title and Tagline. Make sure they clearly describe your brand or topic.
- Open your homepage in a browser and confirm it loads over https with a padlock icon. This builds trust for both users and search engines.
- Return to Settings » Reading and double check that search engine visibility is still set correctly.
Visit a few posts or pages on the front end. Confirm that the URLs look clean, readable, and load securely without obvious errors.
Step 2: Install and Configure Your SEO Plugin
An SEO plugin gives you easy control over titles, descriptions, sitemaps, and more. Configure it once and you get a solid SEO foundation across your site.
Install a Trusted SEO Plugin
- In your dashboard go to Plugins » Add New.
- Search for a popular SEO plugin such as Yoast SEO or Rank Math.
- Click Install Now, then click Activate.
Run the Setup Wizard
- Look for the new SEO menu in your dashboard, such as SEO or Rank Math.
- Open the Setup Wizard if one appears.
- Set your site type, brand name, and default social profiles when prompted. This helps the plugin output correct metadata.
Enable XML Sitemaps
- Inside your SEO plugin, enable XML sitemaps so search engines can discover your important pages.
- Open the plugin’s General or Settings screen. Confirm that sitemaps are enabled and your site details look correct.

Open one of your pages on the front end and view its source. You should see a descriptive <title> tag and a meta description generated by your SEO plugin.
Step 3: Research Keywords for Your Main Pages
SEO works best when each key page targets a clear search phrase. Keyword research helps you use the same language your audience uses.
List Your Key Pages
- List your most important pages in a simple spreadsheet. Include your homepage, core services, key products, and main blog categories.
Collect Keyword Ideas
- Open Google and type broad phrases related to each page.
- Write down autocomplete suggestions and related searches at the bottom of the results.
- Use free keyword tools to estimate search volume and find useful variations.
Assign a Primary Keyword to Each Page
- Choose one primary keyword for each page plus one or two close variations.
- Add columns for Primary Keyword and Secondary Keywords in your spreadsheet.
- Make sure no two important pages target the exact same primary keyword.
Review your sheet and confirm that every key URL has one clear primary keyword. You should be able to explain what each page should rank for in one short sentence.
Step 4: Optimize Your Content on Each Page
Now you can tune your pages so search engines and readers understand them quickly. Focus on titles, headings, copy, images, and internal links.
Set Strong Titles and Headings
- Go to Pages » All Pages and open a key page in the editor.
- Make sure the main page heading at the top includes your primary keyword in natural language.
- Scroll to your SEO plugin box and enter an SEO title that leads with the primary keyword.
- Add a clear, inviting meta description that tells users what they will get on the page.
Improve Body Content and Structure
- Break up your content with subheadings. Use your keyword variations where they fit naturally.
- Keep paragraphs short. Aim for two to four sentences per paragraph.
- Use bullet points or numbered lists to make steps easy to scan.
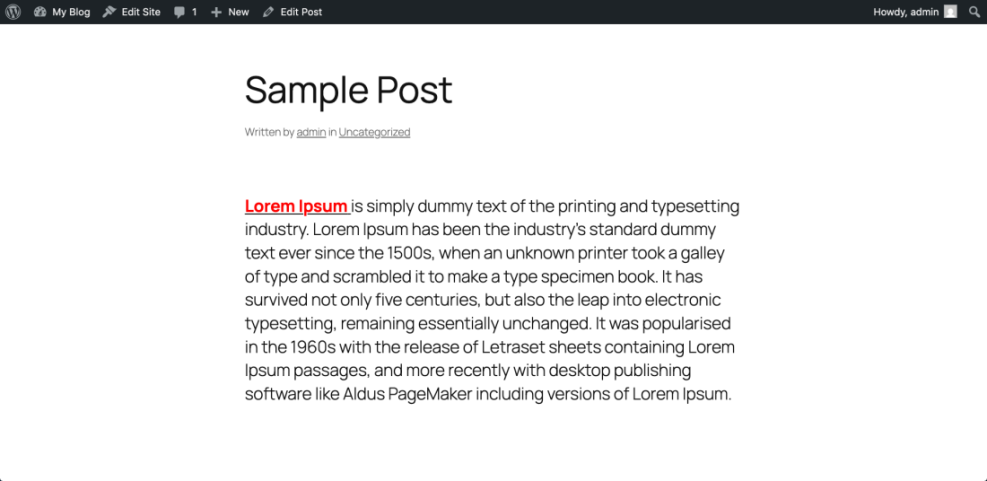
Add Internal Links and Image Alt Text
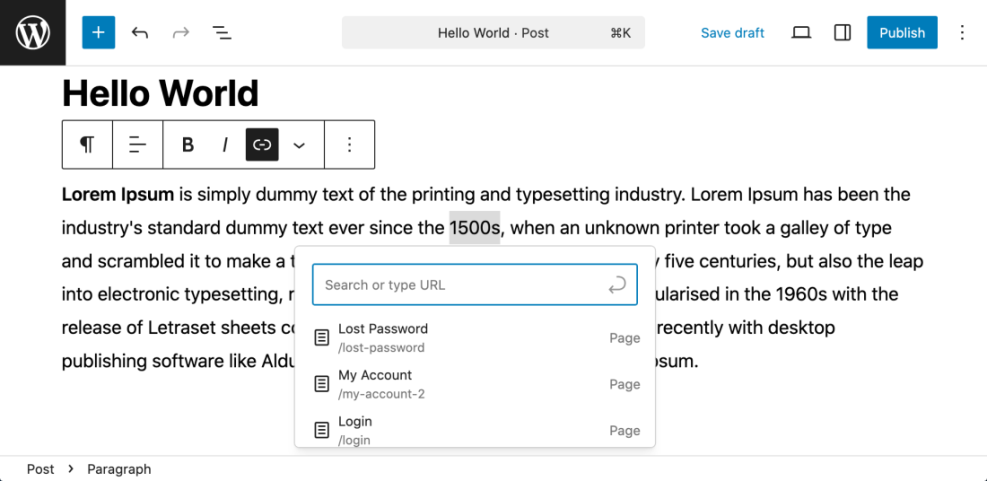
- Add at least one internal link to another relevant page. Select text, click the Insert link button, and search for an existing post or page.
- Click each image and fill in the Alt text field. Describe the image in clear language that supports the topic.
- Click Update to save your changes and repeat the process for your other high value pages.
Scroll to the SEO analysis area in your plugin and review its checks. Use them as a guide, but keep your content natural for readers.
Step 5: Improve Speed and Technical SEO
Search engines prefer sites that load fast and work well on mobile. Technical SEO changes help crawlers and improve user experience.
Reduce Bloat and Use Caching
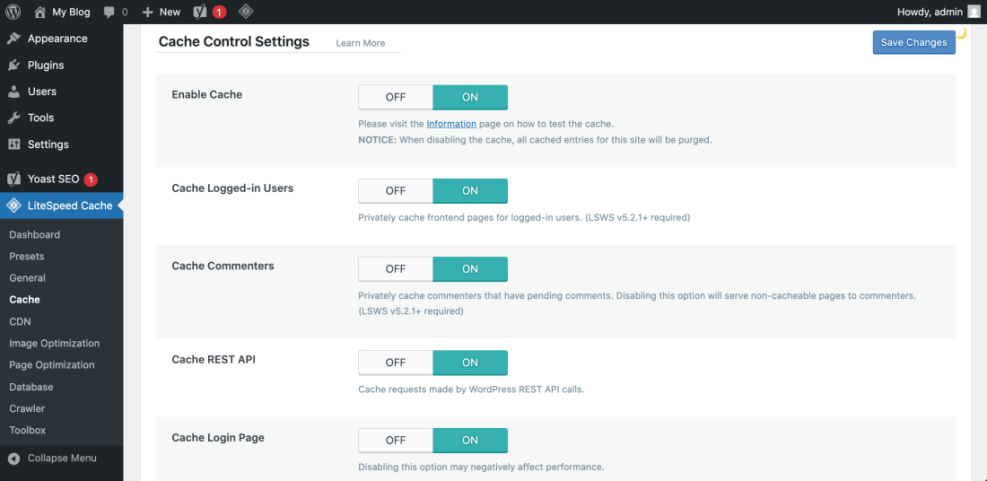
- Install a reputable caching plugin if your host does not already provide server level caching.
- Go to Plugins » Installed Plugins. Deactivate tools you no longer use, then delete them.
- Set up basic page caching in your plugin by following its recommended configuration.
Use a Lightweight Theme and Optimize Images
- Switch to a lightweight, mobile responsive theme if your current design feels slow or outdated.
- Run your homepage through a speed testing tool and note the main issues, such as large images or render blocking scripts.
- Compress oversized images with an optimization plugin or an external tool before uploading them again.
Enable Modern Title Tag Support
If your theme is old and does not support modern title tags, you can enable them with a small code snippet in a child theme or custom plugin.
add_action( 'after_setup_theme', function() {
    add_theme_support( 'title-tag' );
} );
Run your site through a speed testing tool again. Check that load times and mobile scores have improved compared to your earlier test.
Step 6: Set Up Analytics and Tracking
You need data to see whether your SEO work helps. Analytics and Search Console show you traffic, queries, and coverage issues.
Connect Google Analytics
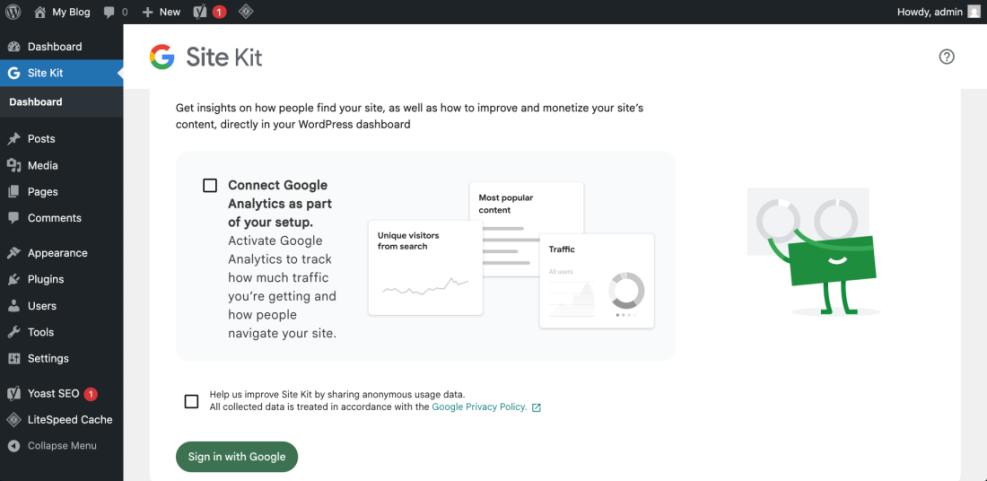
- Create a Google Analytics property for your website if you do not already have one. Note your measurement ID.
- Install a trusted Analytics or tag manager plugin and open its settings screen.
- Paste your measurement ID or tracking code into the plugin’s Measurement ID or Tracking ID field and save.
- Visit the front end of your site in a private browser window and confirm that real time data appears in Analytics.
Connect Google Search Console
- Open Google Search Console and add your domain as a new property.
- Submit your XML sitemap URL from your SEO plugin so search engines can discover your pages faster.
Return to your Analytics plugin settings if you want to exclude admin users from tracking. This keeps your data cleaner.
Check Analytics after a few hours to ensure visits are recorded. After a few days, check Search Console to confirm that your sitemap has been discovered and pages are being indexed.
Step 7: Build Internal Links and Early Backlinks
Internal links help search engines understand your content structure and pass authority between pages. A few basic backlinks give your domain its first trust signals.
Strengthen Internal Linking
- Open your main blog posts and pages. Add at least two contextual internal links pointing to relevant articles or key service pages.
- Go to Appearance » Menus and review your navigation. Make sure it links to your most important pages.
- Update your footer to include links to key pages such as your contact, about, and top services.
Start Building Simple Backlinks
- List your business on key local or industry directories and include your website URL where allowed.
- Add your site URL to your main social media profiles so visitors can click through to your WordPress site.
- Ask existing partners or suppliers if they can link to your site from a relevant resources or partners page.
Visit a few updated articles on the front end. Click through the new internal links and confirm they work as expected.
Over time, combine this simple backlink work with more advanced strategies to keep improving your site’s authority.
Conclusion: You Are Ready to Go
By completing these steps you have prepared your WordPress basics, installed and tuned an SEO plugin, chosen clear keywords, optimized onpage content, improved technical performance, set up tracking, and started building links.
SEO is an ongoing process. Revisit your site each month, apply small improvements, and use your data to decide which pages and keywords to focus on next. With steady effort, your WordPress website will gain more search visibility, better traffic, and more conversions.
Further Reading
- Complete WordPress SEO Guide For 2025
- WordPress SEO Basics For New Site Owners
- Simple SEO Checklist for WordPress Bloggers
- How To Run Regular SEO Audits on WordPress
- Content Planning With Keyword Research Tools