How to Add Keywords to WordPress Website
Place SEO keywords across your entire WordPress site correctly

If you are not sure how to add keywords WordPress across your whole site, it becomes harder for people to find you in search results. In this tutorial you learn exactly where to place keywords in WordPress so search engines understand what every page is about.
By the end, you will know how to map keywords to your pages, configure an SEO plugin, optimize titles and content, use categories and tags correctly, and optionally output a meta keywords tag for legacy tools without harming your rankings.
What You Need to Start
- Access to your WordPress Admin dashboard with an Administrator account.
- A list of primary and secondary keywords for your main pages and posts.
- A modern SEO plugin such as Yoast SEO, Rank Math, or All in One SEO installed and activated.
- Basic familiarity with editing posts and pages in either the Block Editor or Classic Editor.
- A recent backup of your site so you can safely test changes.
Step 1: Plan your keyword strategy
Before you start editing WordPress settings, decide which keyword belongs to each page. This prevents overlap and keeps your content focused for both visitors and search engines.
- List your most important pages such as your homepage, service pages, and top blog posts.
- Assign one main keyword and one to three related supporting phrases to each page.
- Group similar pages into small themes or topics so you avoid competing with yourself.
- Use a simple spreadsheet to track the URL, main keyword, and supporting keywords for every page.
- For help choosing phrases, review Best keyword research tools for seo and complete the exercises before you move on.
Review your spreadsheet and confirm that no two pages share exactly the same main keyword. Each important page should target a distinct phrase.
Step 2: Install an SEO plugin
The easiest way to manage titles, descriptions, and keyword placement in WordPress is with a dedicated SEO plugin. This gives you consistent fields on every page and a preview of how your result will appear in Google.
- In your dashboard, navigate to Plugins » Add New.
Navigate to Plugins » Add New and search for your preferred SEO plugin.
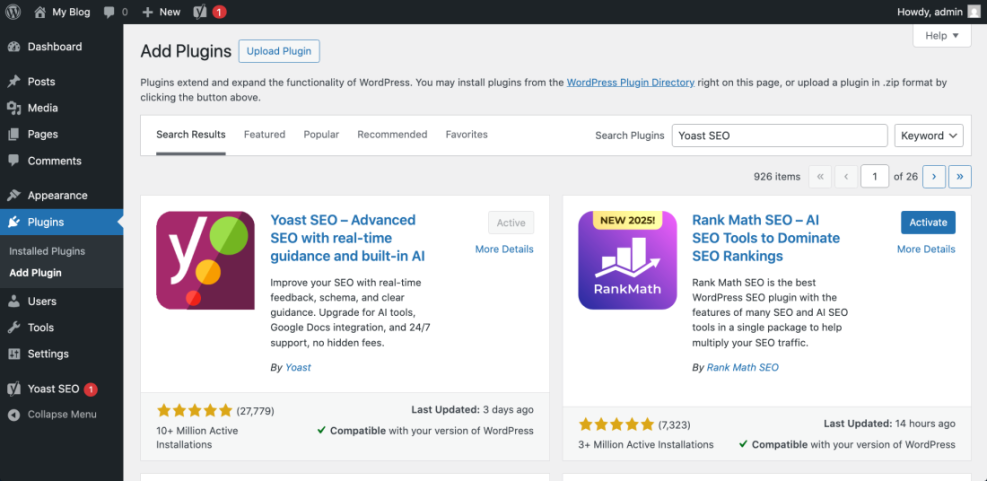
- In the search box, type Yoast SEO or another trusted SEO plugin.
- Click Install Now, then click Activate when the button changes.
- Run the plugin Configuration Wizard if prompted and choose basic defaults for your site type and organization.
- If you want more detailed help, follow the step by step guide in How to install a plugin in WordPress and Yoast seo setup guide.
To verify success, open any post editor screen and confirm that you see a new SEO panel with fields for SEO title, slug, and meta description.
Step 3: Add keywords to site title and homepage
Your site title, tagline, and homepage content tell search engines what your entire WordPress website is about. Placing a carefully chosen keyword here helps your brand appear for broader searches.
- In the dashboard, go to Settings » General.
On the General Settings screen, locate the Site Title and Tagline fields.
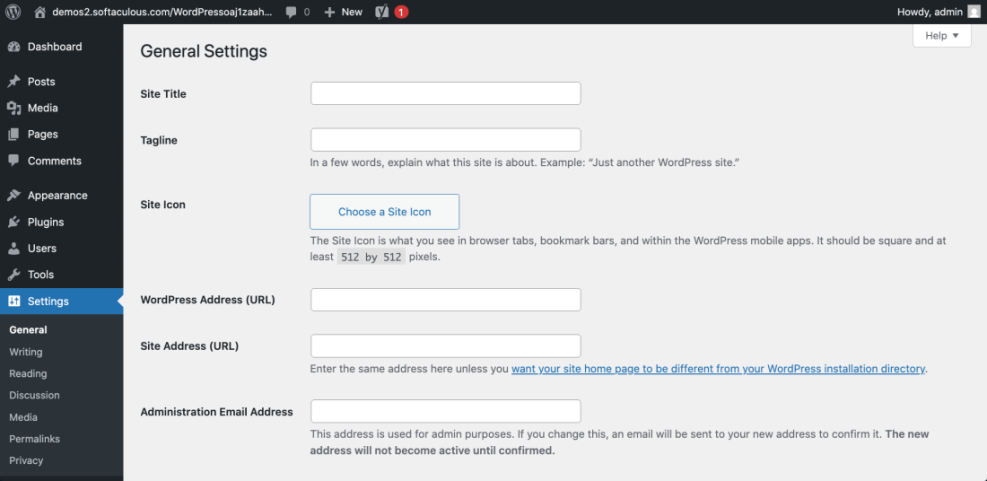
- Edit Site Title to include your main brand name plus one short keyword, such as “Green Valley Plumbing | Emergency Plumber”.
- Update the Tagline with a brief phrase that mentions your location or service keyword in a natural sentence.
- Click Save Changes at the bottom of the page.
- Next, go to Pages » All Pages and click Edit on your homepage.
In the editor, place your primary keyword in the page title and the first paragraph of content.
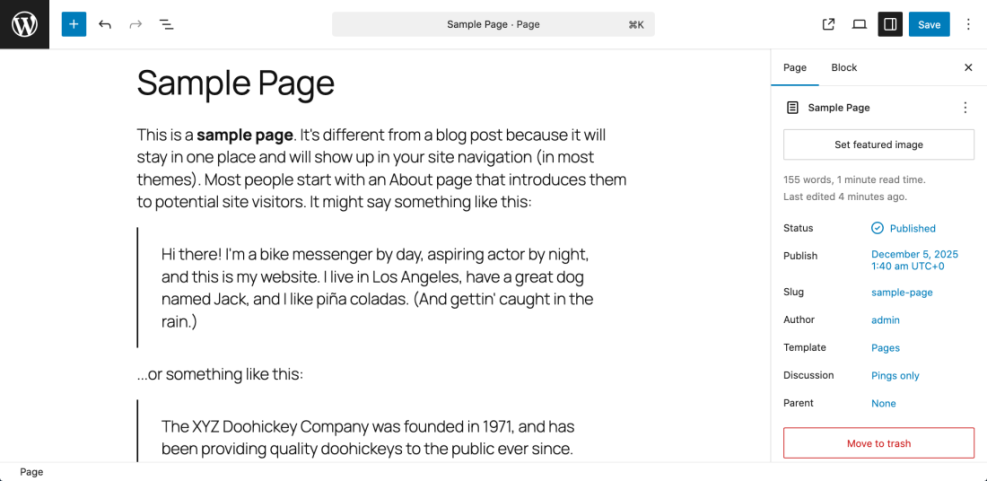
- Scroll to your SEO plugin panel and write an SEO title and Meta description that include the main keyword once each.
Visit your homepage in a new browser tab and confirm that the browser tab text shows your updated title and that the tagline text appears where your theme displays it.
Step 4: Add keywords to posts and pages
Every important post or page should focus on one main keyword so that search engines understand its specific topic. You then repeat that phrase in strategic on page locations.
- From the dashboard, open Posts » All Posts or Pages » All Pages and click Edit on the content you want to optimize.
- Make sure the main keyword appears once in the Title field of the post or page.
- Place the keyword in the first 100 words of the opening paragraph in a natural sentence.
- Use related phrases in at least one Heading block or <h2> subheading within the content.
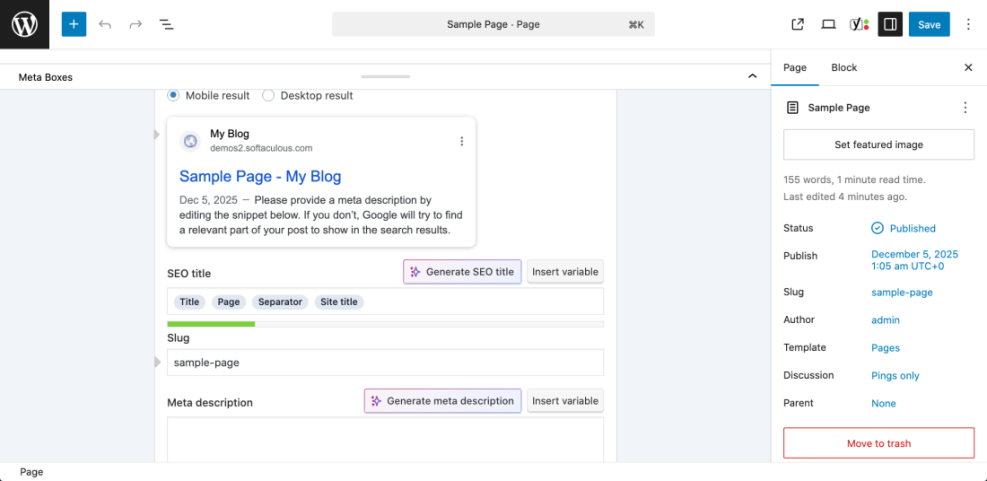
- Scroll to your SEO plugin panel and set the SEO title, Slug, and Meta description to include the main keyword once.
After you set the SEO fields, review the plugin’s preview snippet to confirm that the keyword appears once in the title and once in the description without sounding spammy.
Step 5: Add keywords with categories tags and permalinks
Categories, tags, and URL slugs help organize your content and give search engines extra context. You can safely include keywords here when you keep names short and consistent.
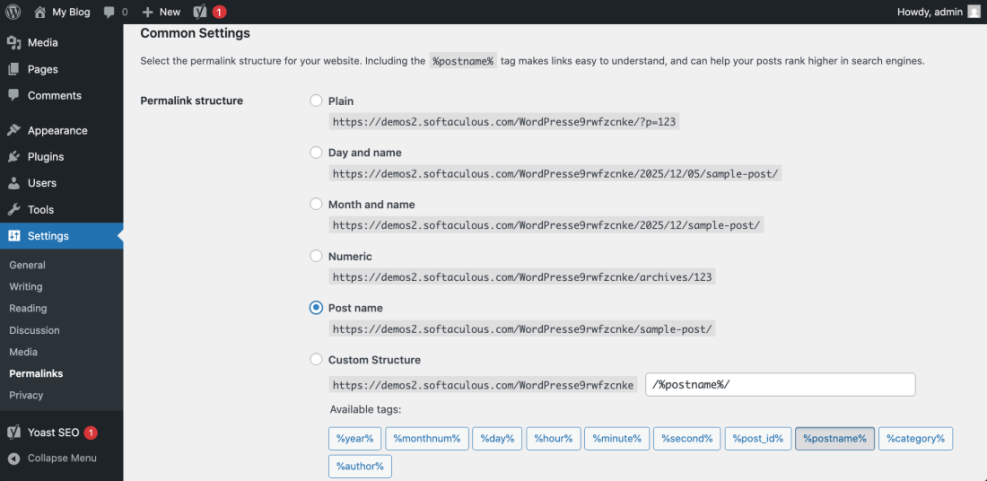
- For a new site, go to Settings » Permalinks and choose the Post name structure, then click Save Changes.
Use the Post name structure so your URLs match your content and keyword rich slugs.
- Open Posts » Categories and create clear category names that include broad topic keywords such as “WordPress Tutorials” or “Local SEO Tips”.
- Set the Slug field to a short hyphenated version of the category keyword, for example
local-seo. - Visit Posts » Tags and create supporting tags using more specific long tail keywords.
- When editing a post, assign it to one main category and two to five tags that genuinely describe the content.
- For deeper guidance, read Best WordPress seo plugins and tools and Categories tags beginner guide.
Open a few posts on the front end and confirm that the URLs, category links, and tag links reflect your new keyword informed names.
Step 6: Add keywords WordPress to images safely
Search engines use image file names and alt text to understand visuals. Descriptive alt text that includes your keyword improves accessibility and can drive more traffic from image search.
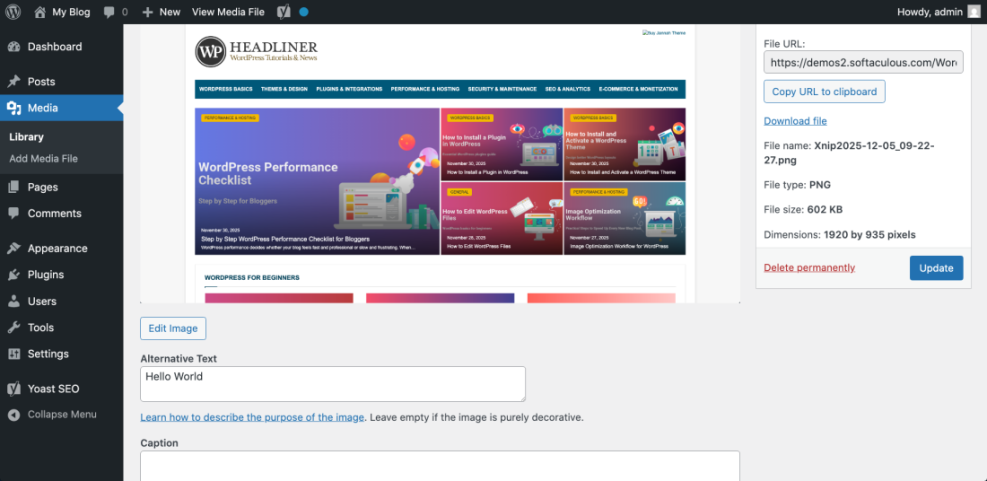
- Go to Media » Library and switch to the List view if you prefer more detail.
- Click an image used on an important page to open its Attachment Details panel.
In the Attachment Details panel, locate the Alt Text field and describe the image in a short sentence that naturally includes the keyword.
- Optionally update the image Title and Caption fields with human readable text that mentions your topic.
- For new uploads, rename the file on your computer to a descriptive keyword rich filename such as
wordpress-keyword-settings.pngbefore you upload it.
Reload your optimized page, inspect the image, and confirm that the correct alt text appears when you view the HTML source in your browser.
Step 7: Optional add keywords WordPress tag
Modern search engines like Google and Bing ignore the meta keywords tag for rankings, but some internal search tools or older platforms may still read it. Only add this tag if you have a specific business reason to use it.
- Install a code snippets plugin or open your child theme functions.php file in a safe editor.
- Copy the following code snippet and paste it at the end of functions.php or into a new snippet.
function wpheadliner_add_meta_keywords() {
    if ( is_singular() ) {
        $keywords = get_post_meta( get_the_ID(), 'meta_keywords', true );
        if ( $keywords ) {
            echo '<meta name="keywords" content="' . esc_attr( $keywords ) . "" />n";
        }
    }
}
add_action( 'wp_head', 'wpheadliner_add_meta_keywords' );
- When editing a post or page, scroll to the Custom Fields section, add a field named meta_keywords, and set its value to a comma separated list of keywords.
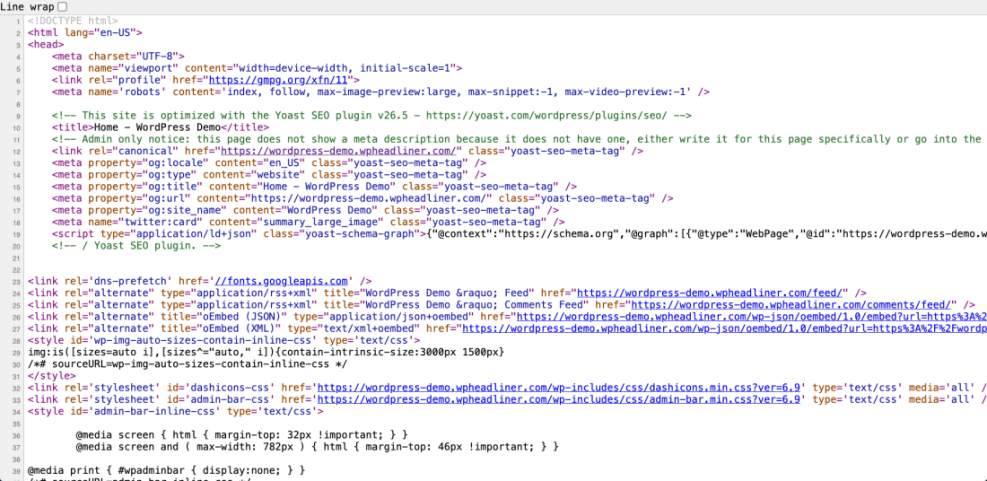
View the page source in your browser and confirm that a <meta name="keywords"> tag appears only on pages where you set the meta_keywords custom field.
Step 8: Review and track add keywords WordPress performance
After you place keywords across your WordPress website, you should monitor how those pages perform. This helps you refine titles and content based on real search data.
- Use your SEO plugin’s built in Content analysis or Focus keyphrase tool to check that each page uses its main keyword in the title, first paragraph, and at least one subheading.
- Connect your site to Google Search Console and submit your XML sitemap if you have not already.
- Regularly review your Search Console performance reports for impressions and clicks on your target keywords.
- For deeper reporting tips, read How to add google search console to WordPress.
- Continue to improve older posts using structured checklists such as WordPress migration checklist for blogs and Is WordPress good for seo.
Over the next few weeks, track whether your optimized pages move up in search results and adjust titles or descriptions if click through rates remain low.

Conclusion You Are Ready to Go
You have now mapped keywords to your main pages, configured an SEO plugin, optimized titles and content, fine tuned categories, tags, and URLs, improved image alt text, and optionally added a meta keywords tag for legacy tools. Your WordPress website now sends clear signals about each page’s topic.
Keep refining your keywords over time, update older posts with better phrases, and use your SEO plugin and Search Console data to guide future changes. Consistent, focused keyword placement will help search engines trust your site and send you more of the right visitors.
Further Reading
- How to add keywords in WordPress without hurting
- How to do on page seo in WordPress
- Is WordPress good for seo
- Is WordPress good for seo