Beginner guide to WordPress speed and Core Web Vitals
Practical steps to make your WordPress site fast and stable
If you are new to WordPress speed optimization, Core Web Vitals can seem confusing, but you can improve both with a simple, repeatable process. You do not need to be a developer to make your site load faster and feel smoother for visitors.
In this beginner guide, you will benchmark your current speed, apply safe performance tweaks, configure caching, optimize images, and learn how to monitor Core Web Vitals over time. Follow each step in order and you will finish with a noticeably faster WordPress site.
What You Need to Start
- Admin access to your WordPress dashboard.
- Login access to your web hosting control panel or account.
- A modern browser such as Chrome or Edge.
- Basic ability to install and configure WordPress plugins.
- Optional but recommended a staging site where you can test changes safely.
Step 1: Benchmark Your Core Web Vitals
Before you change anything, measure your current performance so you can see real improvements. Benchmarking gives you a baseline for both page speed and Core Web Vitals.
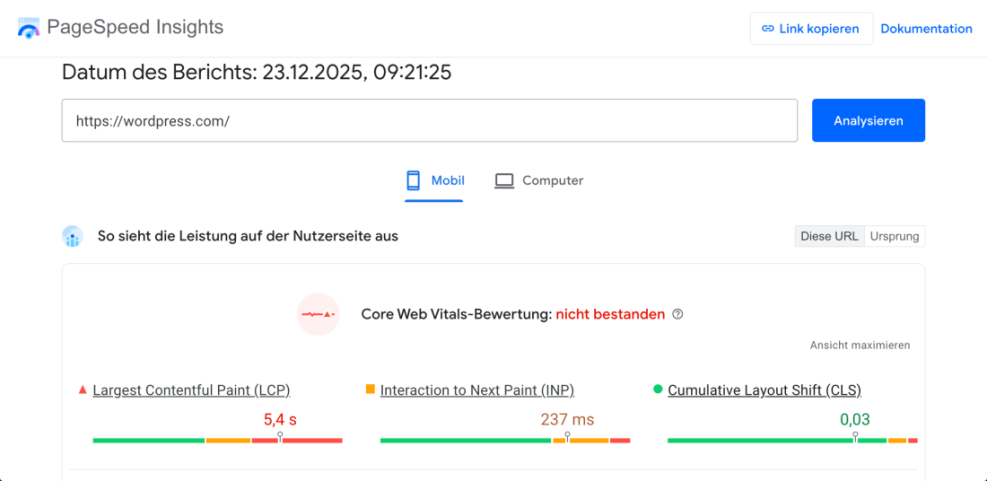
- Open a new browser tab and go to https://pagespeed.web.dev/.
- Paste your homepage URL into the field and click Analyze.
- Wait for the report to generate, then note the Performance score and Core Web Vitals such as Largest Contentful Paint and Cumulative Layout Shift.
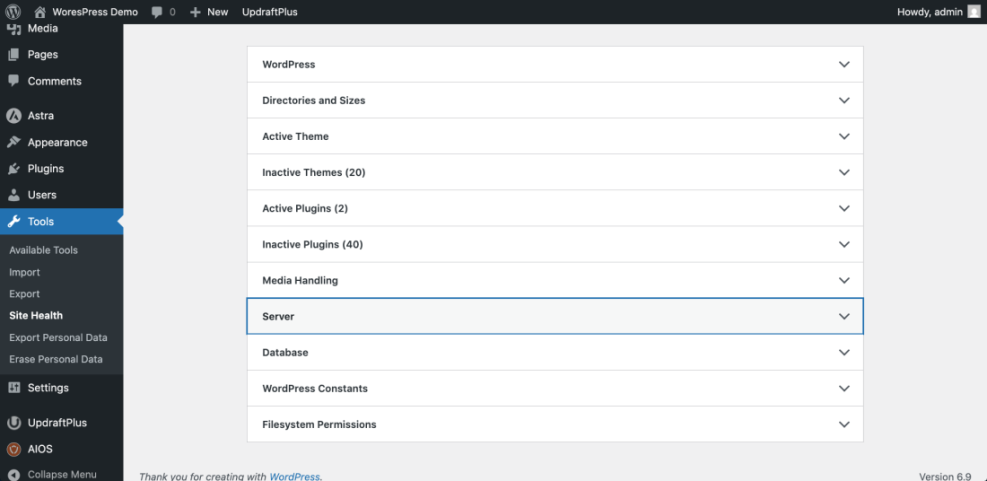
- Log in to your WordPress dashboard and navigate to Tools » Site Health.
- Click the Info tab and review the Server and Performance sections for any obvious issues.
Optionally, set up a deeper performance plan for later by bookmarking the Beginner Guide to WordPress Speed Optimization so you can expand beyond this starter roadmap after you complete these steps.
How to verify Run PageSpeed Insights again after later steps and compare your Performance score and Core Web Vitals values to this baseline.
Step 2: Configure Fast Hosting And SSL
Your hosting environment has a huge impact on speed. Even basic changes, such as enabling HTTPS and server caching, can improve Core Web Vitals without touching code.
- Log in to your hosting control panel or dashboard.
- Confirm your site uses HTTPS by checking that your main URL begins with https:// in the browser address bar.
- If SSL is missing, look in your host panel for a menu named Security or SSL Certificates and enable a free Let’s Encrypt or similar certificate.
- In your hosting panel, search for options like Server Caching, Page Cache, or Performance.
- Turn on any recommended server level caching features that are listed as compatible with WordPress.
If you are unsure whether your current plan is fast enough for WordPress, save the Beginner WordPress Hosting Checklist for Bloggers for later review.
How to verify After enabling SSL and caching, re run your PageSpeed Insights test and confirm load times and scores improve slightly or remain stable.
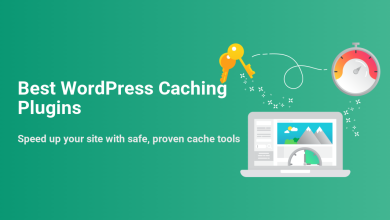
Step 3: Install And Configure A Caching Plugin
A good caching plugin creates and serves static versions of your pages, which dramatically reduces load times and improves Core Web Vitals such as Largest Contentful Paint.
- In your WordPress dashboard, go to Plugins » Add New.
- Use the search box and type the name of your preferred caching plugin recommended by your host.
- Click Install Now, then click Activate.
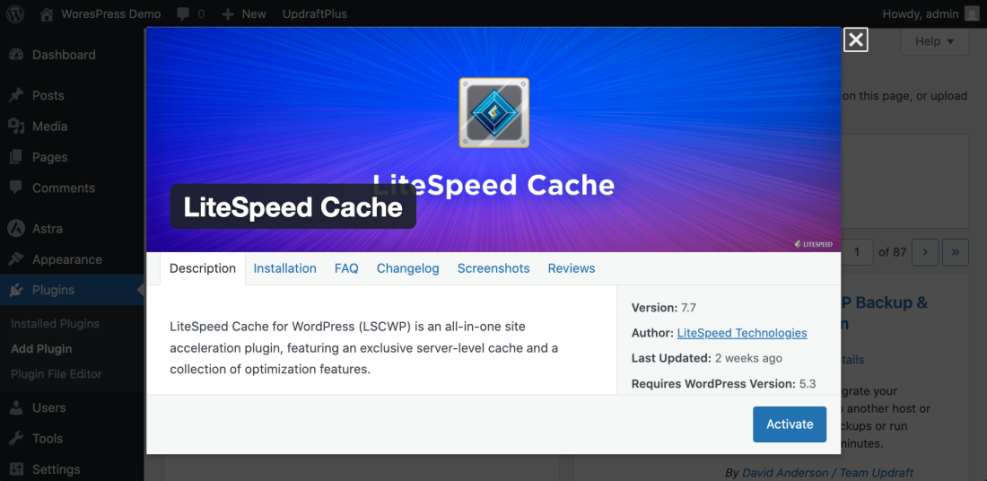
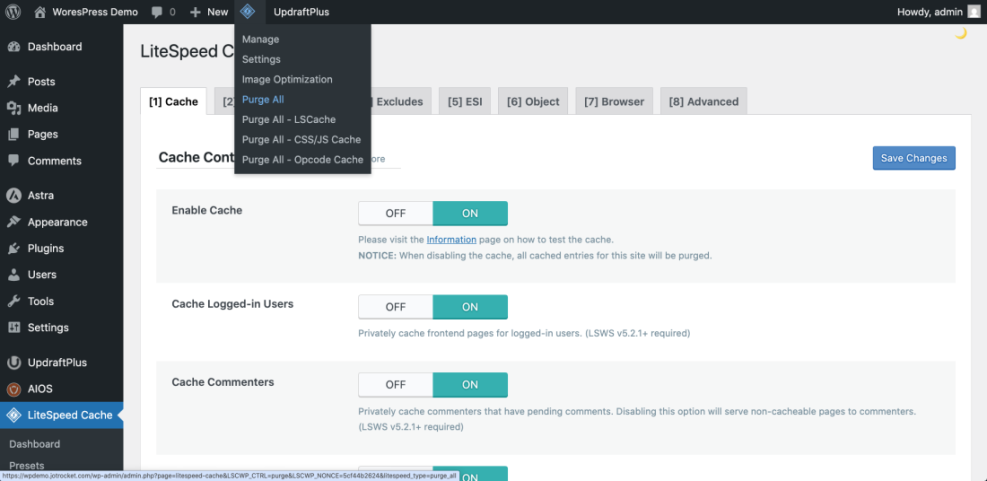
- After activation, look for a new menu item such as Settings » Cache or the plugin’s own menu.
- Enable basic Page Cache and Browser Cache or the plugin’s recommended default configuration.
- Clear or Purge All Cache from within the plugin after saving your settings.
For a safer, more detailed walkthrough of plugin settings, plan to follow the Step By Step Guide to WordPress Caching Plugins when you are ready to fine tune.
How to verify Open an incognito browser window, load your homepage twice, and confirm the second load is noticeably faster and your caching plugin shows cache hits.
Step 4: WordPress Speed Optimization
Large, uncompressed images are one of the most common reasons WordPress pages feel slow and fail Core Web Vitals, especially Largest Contentful Paint.
- In the WordPress dashboard, go to Plugins » Add New.
- Search for a well rated image optimization plugin that supports compression and WebP.
- Click Install Now, then click Activate.
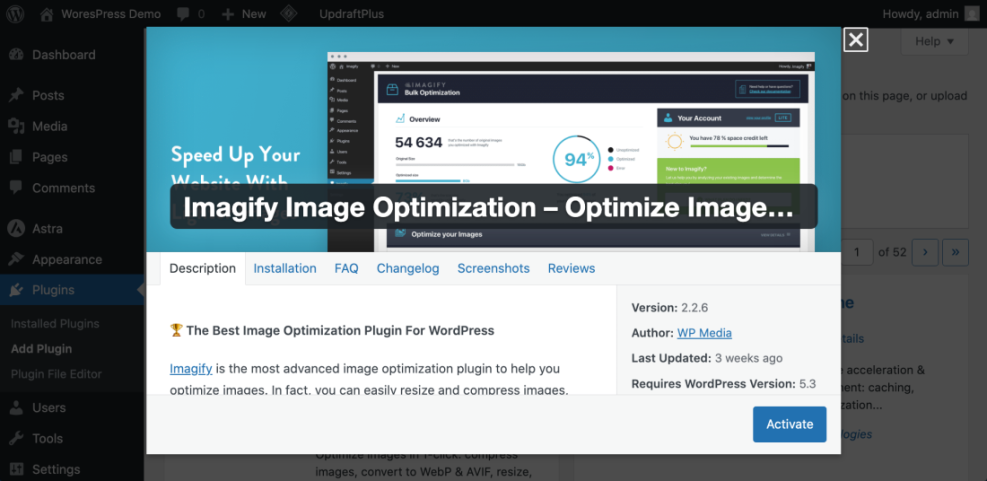
- After activation, navigate to the plugin’s settings screen, usually under Settings or its own menu.
- Enable Lossless or Balanced compression for existing images and turn on WebP or next generation formats if offered.
- Run the plugin’s Bulk Optimize or Bulk Smush tool to compress your current media library.
When you want a more precise, step by step workflow, follow the Image Optimization Checklist for WordPress Websites to standardize how you handle images before upload.
How to verify Re test your homepage in PageSpeed Insights and confirm the report shows fewer or smaller Serve images in next gen formats and Properly size images warnings.
Step 5: Use A CDN And Minify Assets
A Content Delivery Network (CDN) serves your images, CSS, and JavaScript from servers closer to your visitors, which reduces network latency and improves Core Web Vitals like SEO and UX, and where you will see it in daily work.”>Time to First Byte.
- Sign up for a beginner friendly CDN service, or log in if your host includes one.
- Add your domain to the CDN and follow the on screen instructions to point your DNS or enable the integration.
- In WordPress, install the official CDN plugin or enable the CDN integration inside your caching plugin.
- From your CDN or caching plugin settings, enable Minify CSS and Minify JavaScript options if labeled as safe or recommended.
- Save changes and clear both your WordPress cache and CDN cache or Purge Everything.
When you are ready to go deeper into configuration details, use the CDN Setup For WordPress Beginners guide as your next step.
How to verify Reload your homepage, open your browser’s developer tools, and confirm static assets such as images and CSS load from the CDN domain instead of your main domain.
Step 6: Clean Up Heavy Plugins And Themes
Every plugin and theme you install adds code and database queries. Removing unnecessary items and disabling heavy features keeps your WordPress Speed Optimization site lean and faster.
- In the dashboard, go to Plugins » Installed Plugins.
- Identify plugins you no longer use or recognize and click Deactivate next to each one.
- After deactivating, click Delete to remove them completely.
- Navigate to Appearance » Themes and keep only your active theme plus one default WordPress theme as a fallback.
- Delete any other unused themes to reduce clutter and potential conflicts.
If you are comfortable editing small snippets, you can disable emoji scripts with a lightweight code snippet rather than another plugin. Add this to a child theme or a safe snippets plugin:
add_action( 'init', function() { remove_action( 'wp_head', 'print_emoji_detection_script', 7 ); remove_action( 'wp_print_styles', 'print_emoji_styles' ); } );How to verify Re run PageSpeed Insights and the Reduce JavaScript execution time and Reduce unused CSS warnings should decrease as your site loads fewer scripts and styles.
Step 7: Monitor Results And Create A Routine
Core Web Vitals change as you publish new content, install plugins, or change themes. A simple monthly routine helps you keep your WordPress Speed Optimization site fast over time.
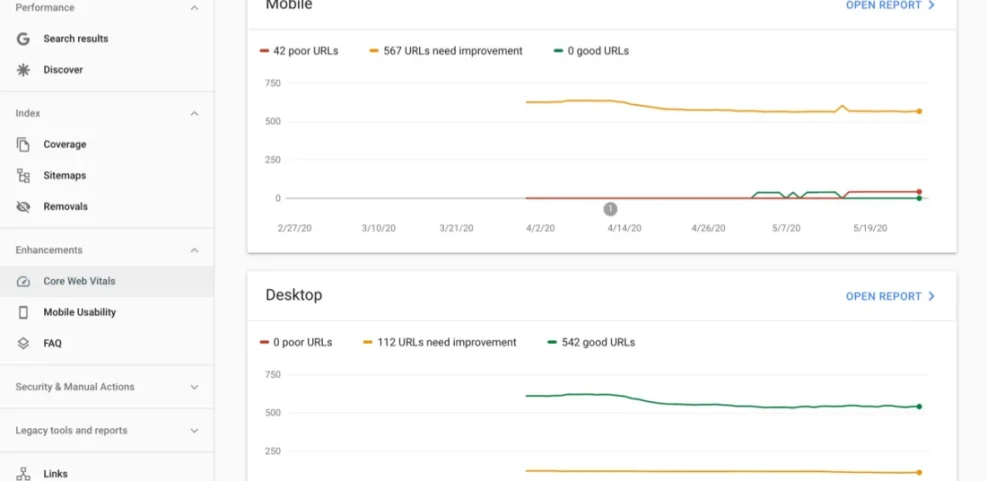
- Open your browser and log in to Google Search Console for your site.
- From the left menu, click Experience and then Core Web Vitals.
- Review the Desktop and Mobile reports to see how many URLs are rated Good, Needs improvement, or Poor.
- Set a monthly reminder to rerun PageSpeed Insights on key pages such as your homepage, top blog posts, and main landing pages.
- Record your scores in a simple spreadsheet so you can see trends over time as you make changes.
When you want a more focused Core Web Vitals action plan, save the Beginner Guide to Core Web Vitals in WordPress for your next improvement cycle.
How to verify After a few weeks, your Core Web Vitals report in Search Console should gradually move more URLs into the Good category if visitors see the faster version of your site consistently.
Conclusion You Are Ready to Go
By following this beginner friendly roadmap, you benchmarked your site, configured hosting and SSL, enabled caching, optimized images, added a CDN, cleaned up heavy plugins, and set up basic monitoring. These changes work together to improve both perceived speed and Core Web Vitals.
From here, you can refine individual areas such as advanced caching rules, database optimization, or script loading, but your WordPress site already has a strong performance foundation. Your visitors should now enjoy a noticeably faster, smoother experience.